Monday, July 13, 2015

Tank Top from Button-Up Shirt

I've inherited a ton of my husband's old button-up shirts, and I've wanted to do something with them.  There are a million projects I have in mind, and I finally got around to trying one.  I found this tutorial on Pinterest, and it was very straight forward with the instructions!


Here's the shirt I started out with.

558EF4A6-C2AD-45A5-BF9B-0523CE6C236F_zps

The first thing to do is cut off the sleeves.

34FCFEB3-B61E-4714-B461-70121966769F_zps

Then cut straight across the armpits.

40D110F4-3CF0-4167-9770-6BF6EC4B34AD_zps

I sliced the sleeves open and laid them flat.  

FC7BE05A-C0B0-4BDA-BA2C-330C13CDACEC_zps

Then I cut a 3" or 4" band that was about 15" or 20" across, from each sleeve.

8ADE7DA1-1F3F-4117-B613-A10CB8D1B060_zps

I folded one side up a 1/4" and ironed it flat.  Repeat for the second band.  

D4BF5AD2-3AC8-486D-B8AC-A77A357C773F_zps

Then, I zigzag stitched the hem.

AC018AD3-DD86-4B9E-BFDF-F2FD14FCC19F_zps

47ABA28D-EA01-4E11-8817-311BC0F7A18B_zps

Sew the two bands together, right side to right side.

2444D6FC-BF9F-4737-93FC-06918F935FD1_zps

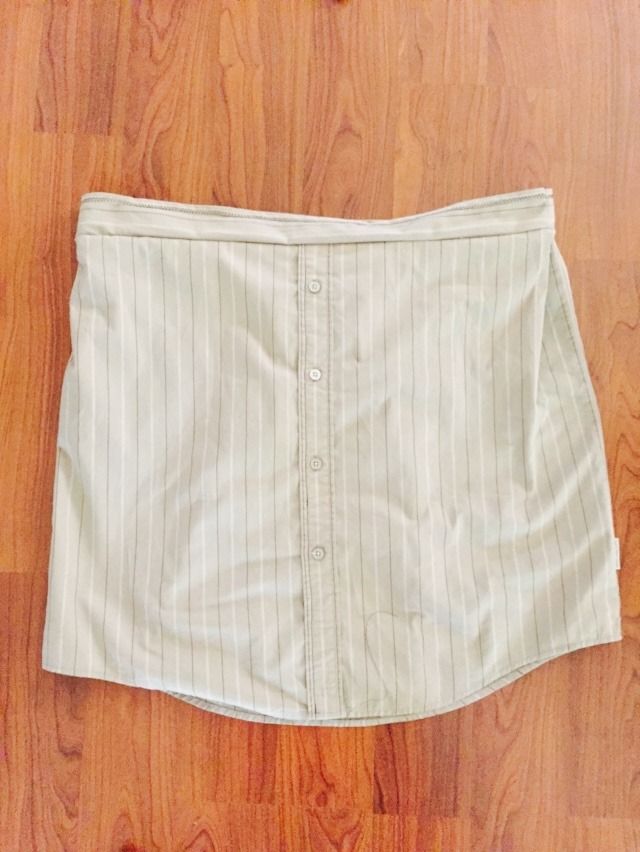
Moving onto the body.  The first thing I did was sew up the front of the buttons, ensuring that it will lay flat and not peek when I'm wearing it.  I used brown thread.
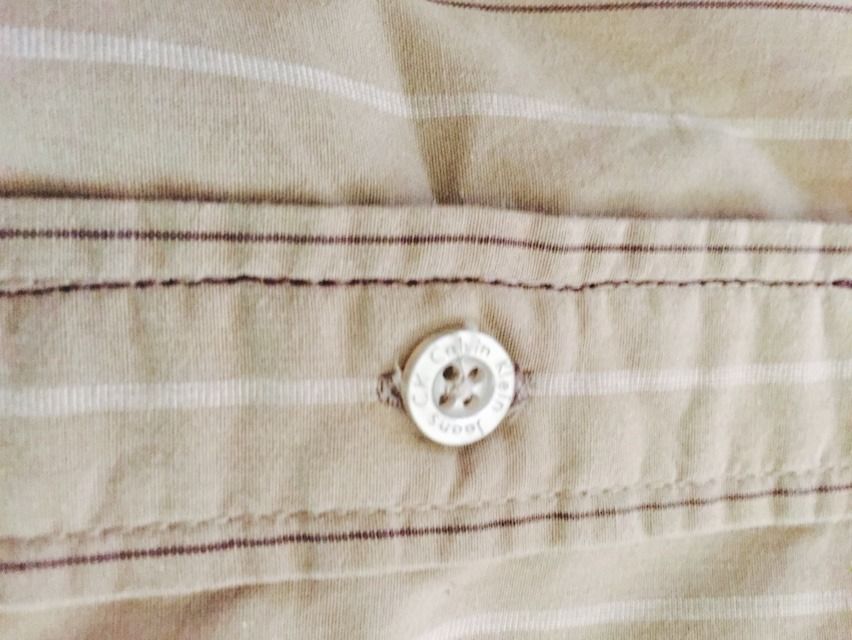
5706980F-2C78-4F14-8407-2C145C498685_zps

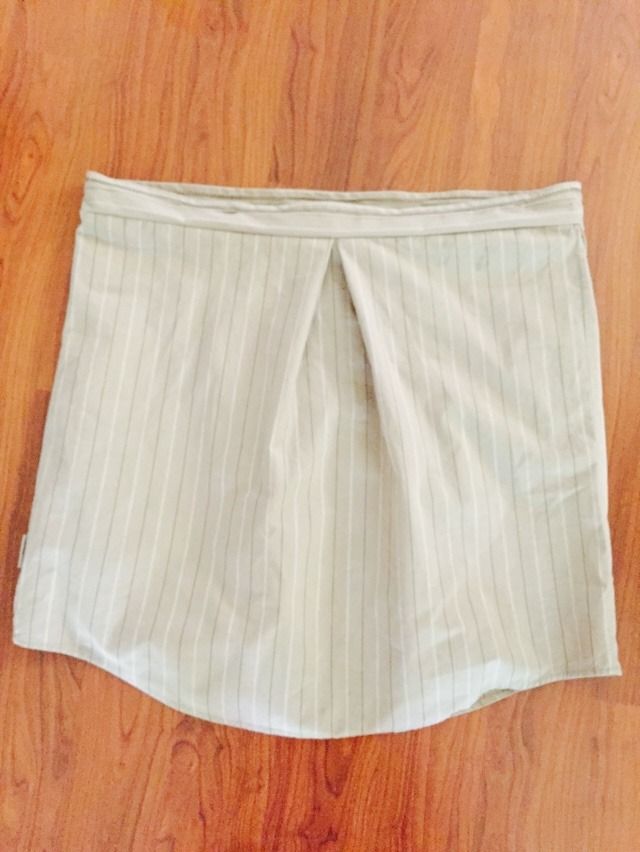
Next, I pinned the bodice to the band, starting with lining up the seams.  For the front, I tucked in about an inch to an inch and a half into a pleat on the side.  For the back, I had the material meet in the middle, and made a large pleat (probably five inches or so).
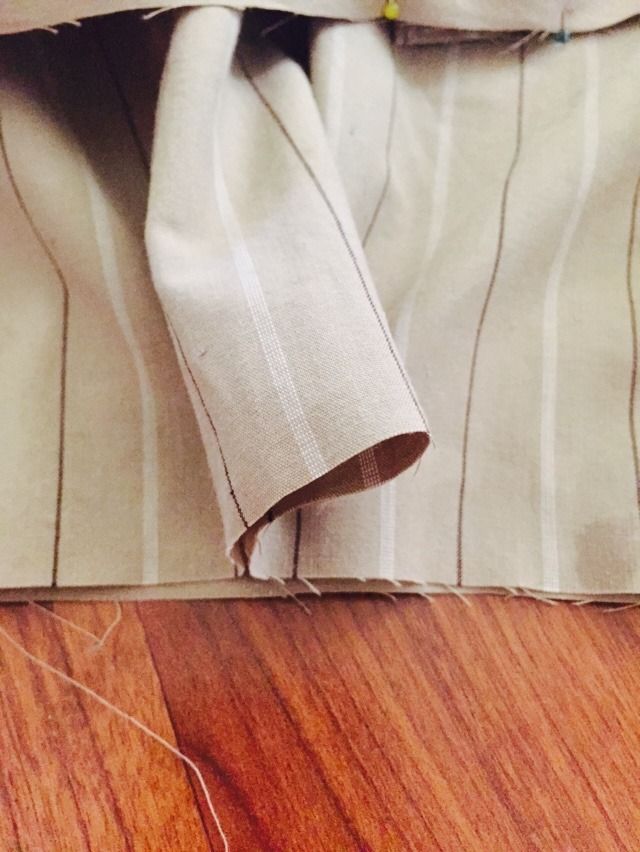
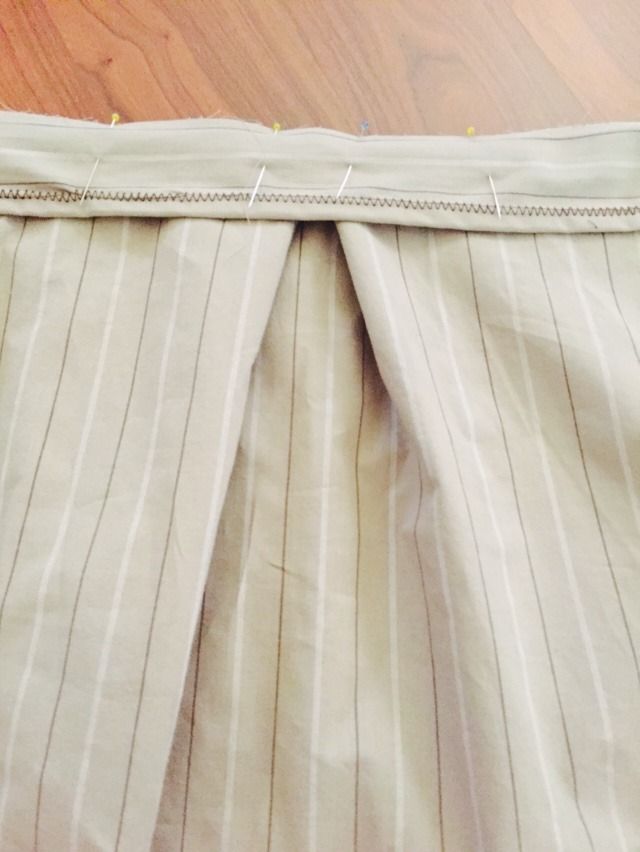
8E9024F9-4A02-440B-9296-3F22E06FE220_zps

72A8E0FE-F56E-4D37-BB7A-00C297D6D587_zps

Sew it together.

B57A8494-A179-4387-AF5B-76AC49DC9FF5_zps

83AF7E34-72EC-41B5-985B-4181076D44CE_zps


For the sleeves, I took the remaining part of the shirt's actual sleeves and trimmed them roughly into rectangles.
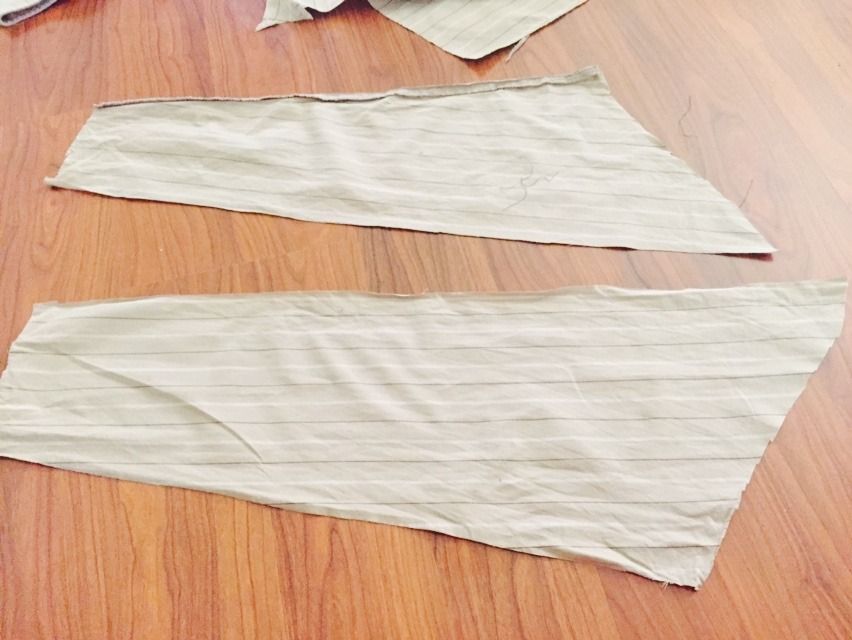
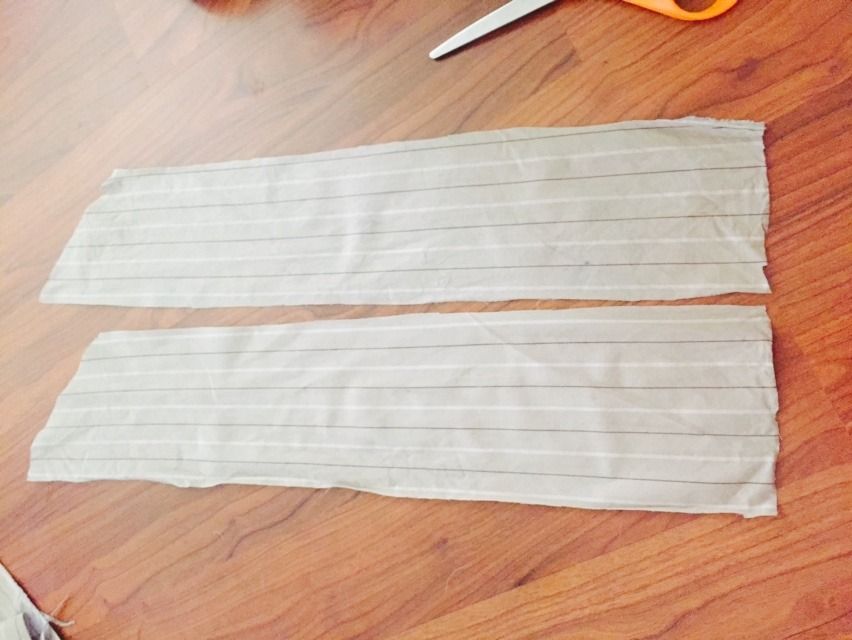
7919D394-426B-4D24-93ED-C3A7A2CF3212_zps

F3A1ABAD-39FF-4F14-B327-18CE52D78009_zps

I folded both sides up twice and ironed.
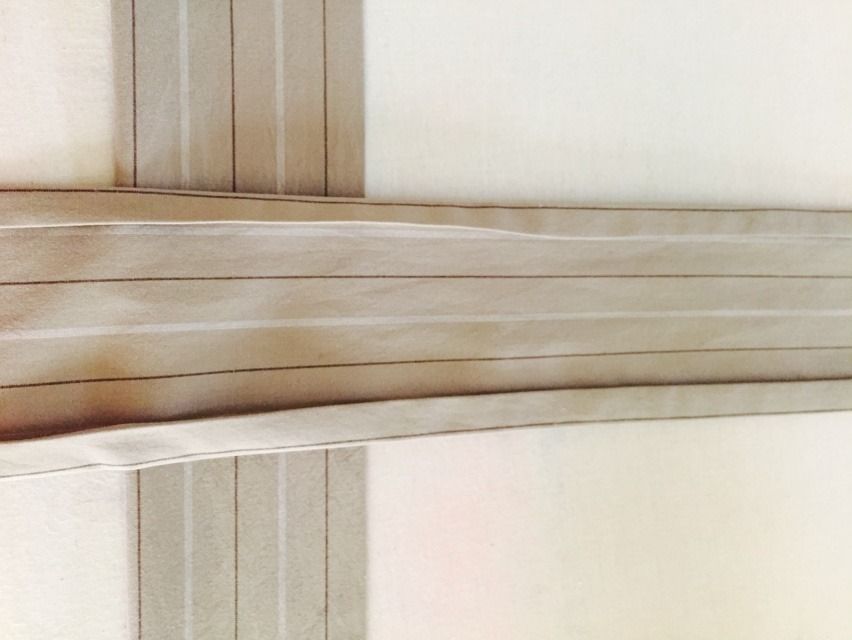
60770B13-6DCF-4540-A71B-8528A044E3A1_zps

I used the same zigzag stitch to hem the sides.
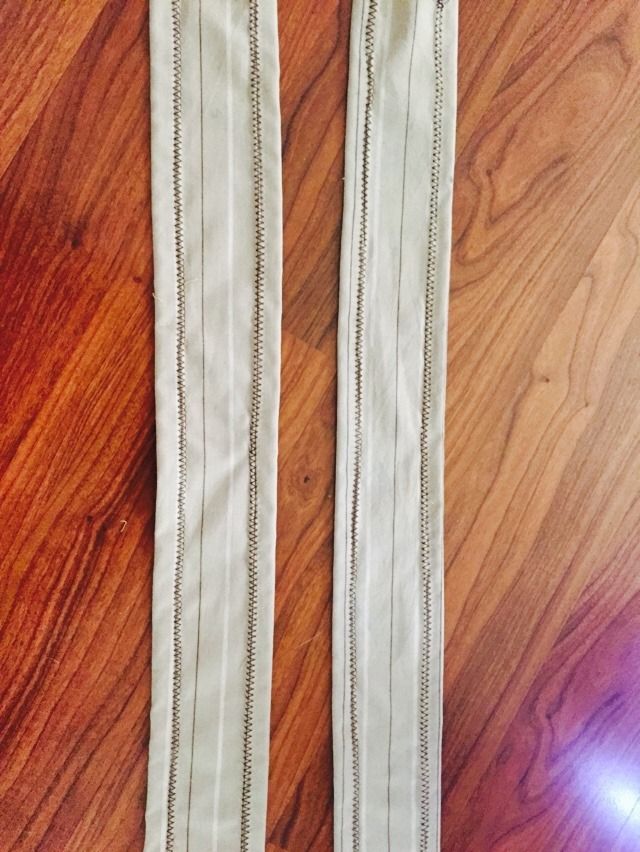
FBBC0F70-0006-4899-90E8-22778BE9589D_zps

I put the shirt on and fitted the sleeves in place with pins.  (Having someone help you makes this much easier.)
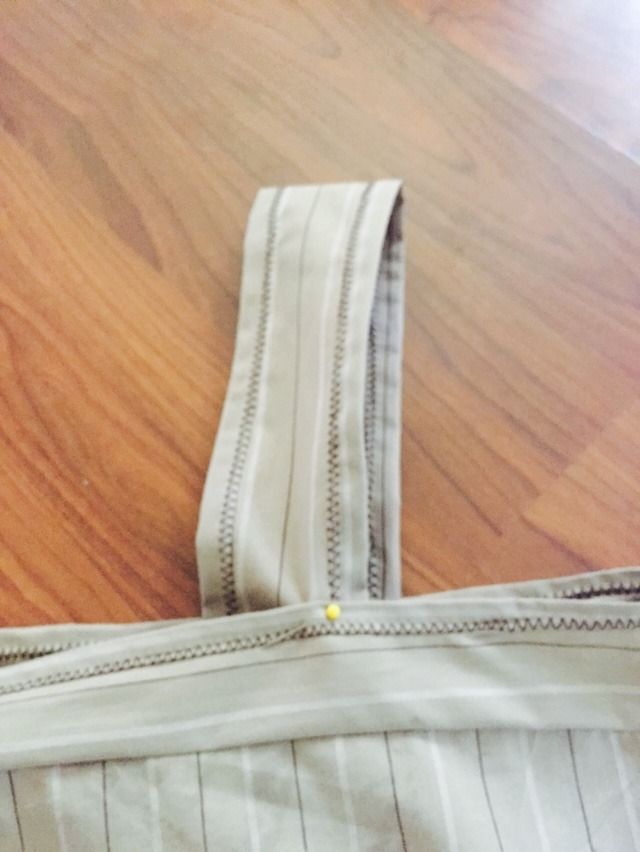
DC5DFFD4-F47C-4906-B15C-8762187CE9E2_zps

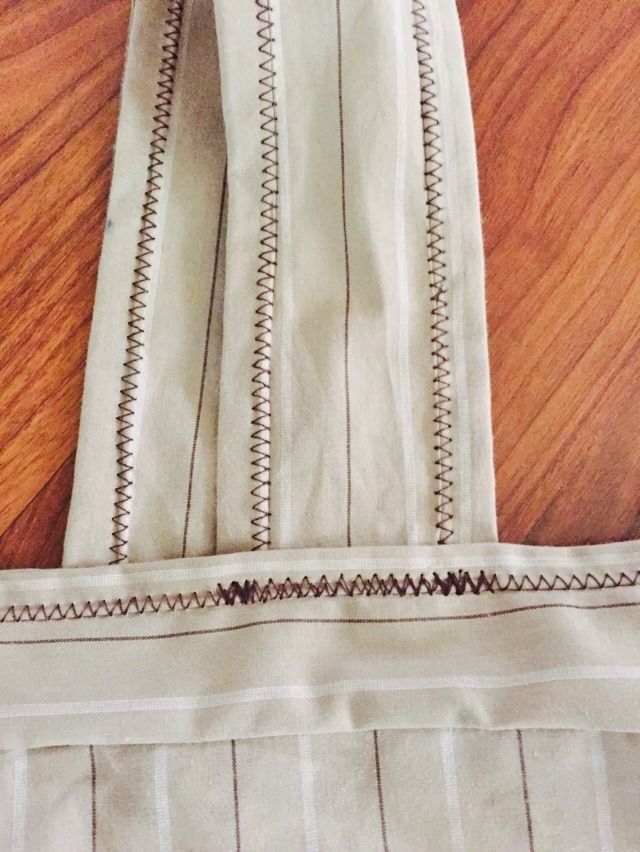
I (poorly) zigzagged the sleeve in place.
43C2615D-C1CA-4262-A30D-5B345C4A14A3_zps


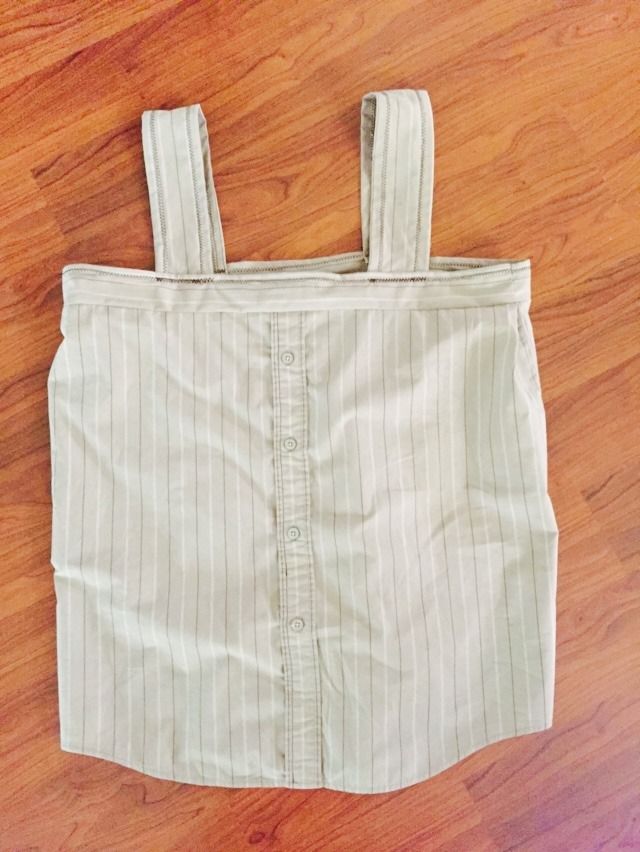
And there you have it!

4A9A738E-12EF-4A93-BA5C-C9C167EECF38_zps


And just for fun.

458BAE7F-F4FB-47CD-8293-C84CEB7840D9_zps


~Buttons

Birch Tree Painting

I found a tutorial on how to make a beautiful painting with perfect birch trees.  I've been feeling really inspired to paint recently, and this looked like a pretty easy project, so I decided to give it a try.  The original used an 18" x 24" canvas.  I used a much smaller one, because I already had it on hand.

Materials needed:
Canvas (any size works)
Black acrylic paint (for the trees)
Blue acrylic paint (or another color for the background)
Red acrylic paint (or another color for the accent)
Painter's tape/masking tape
Paint brushes of various sizes


Step 1: Decide where your trees are

With the painter's tape, mark off the space that will be the trees.  They need to be completely covered with tape.

75B2D7EC-446C-485D-85D7-8E9FF2E76D8B_zps

I liked the idea of one larger tree, and the rest smaller.  I also tried to mimic the way they were slanted slightly, instead of being completely parallel.

I also decided to paint the sides of the canvas, so I set my painting on a box to access all of the sides.

F5C24768-39D0-4B37-8DD3-EEC2B4540D63_zps


Step 2: Paint the background

I used a blue called "cobalt blue."  I think a lighter color might have been nicer, but this was the lightest I had.  Using a regular brush, I painted in all the white of the canvas.

4798A3D9-B3E8-4541-944D-4F287E3FC1F9_zps

My paint must be cheap, because it turned out very streaked. I bought a sample pack at Michael's that included a lot of different colors.  Now that I'm exploring this medium more, I might buy better paints.


Step 3: Paint the trees

The original method calls for using a credit card to line the edges of the tree and drag the color towards the center.  Since mine was much smaller, I used one of the reward cards designed for your keychain.

This was actually very easy.  I practiced a few times on a piece of wax paper.

5E540716-1BBD-4A38-B01A-F1CF36803E7D_zps

Once I was confident enough, I removed the left-most piece of tape and scraped the black paint along the edge, dragging it slightly inward.

47F412D1-38B7-4726-A19D-C66C6DF01442_zps

The more I used the reward card, the more comfortable I became with the action.  It was very simple to accomplish, if a bit nerve-wracking.  

Continue to remove the tape one at a time and repeat.

With overlapping trees, pay attention to which one is in the back and which one is in the front.

492FEBEB-1C0E-4C95-B6CE-91FA0936E0CD_zps


Step 4: Adding the embellishment

On the large tree, I added a painted heart.  The original instructions used gold leaf, which would give it a lovely finish.  But I didn't have any of that on hand, so I stuck with plain red paint.  Then I added my husband's and my initials.

9EFF3763-777E-4618-9AF3-767D3E078654_zps

A733AAB4-AE6E-4CCE-8D6B-53BD4895506B_zps


I loved this project!  It was so easy and really fun.  I would have liked the trees to be a bit thicker, but now I know for next time.


~Buttons

Wednesday, July 8, 2015

Ombre Panel Skirt

I had some old scraps from a quilt I made--probably five years ago.  I've been wanting to do something with them for awhile, but last month I finally got them out and thought about what to do.

Of course, I decided to make a skirt.  Default Buttons Project.

So, I took my strips.  I had 10 strips that were roughly 42 inches by 5 inches, in various shades of brown, blue, and green.  

C6F68A7C-EE7F-4520-92D4-DDBED65D29E1_zps

The first thing I did was cut them in half.  Then, laying them out on the floor, I decided which pattern to use for sew them together.  I toyed with a random pattern, a logical pattern (blue, green, brown, blue, green, brown, etc.), and an ombre pattern.  After some feedback from Pockets and my husband, I decided to go with ombre.  

Even with the ombre theme decided, there were still a ton of ways to order the fabrics.  It took me many hours of debating to decided on doing lighter strips on either side of a single dark strip in the middle--giving me five panels per color.  The left over panel I used as a band on the bottom.

E73277B2-E532-498C-B1D1-6828CF69EF92_zps

I sewed all the colors together, right side to right side.  Then I added the same color band to the bottom, sewing them right side to right side.

EBC9B384-B0CF-4FD5-8325-A5A05AEB438E_zps
(Here, the dark green is face down atop the other panels; it's kind of hard to tell)

Then, I sewed all three completed panels to each other.  Since there were only three, it didn't matter which order I sewed them in, as they'd all touch each other anyway.

2C2309CB-BDC7-491F-BB93-4FB61D3D61FF_zps

For the bottom hem, I folded the hem up about a half inch and ironed it.  Then folded it up another half inch, and ironed again.  I added pins to be extra safe.

28AD1E22-1272-4542-96F0-66BA617605EB_zps

I sewed the hem twice, giving me a decorative double seam.  It looks very nice.

For the top hem, I folded the edge down about an inch, wide enough for my elastic to fit through, and sewed it closed--except for a few inch gap to string the elastic through.

C4B09363-9745-4B64-AFDA-167D82CD563E_zps

Once the elastic is looped through, finish the seam and you're done!

18942D9B-2FEF-4C36-AB6C-C4368AF2C8B0_zps

I thought about adding pockets, but haven't done it yet.  Without pockets, any of the colors can be in the front, and I like having that choice.  But I may add the pockets anyway.  We'll see.

IMG_4982_zpsegkr7dch.jpg


~Buttons