Showing posts with label bias tape. Show all posts

Saturday, August 13, 2016

Teacher's Apron

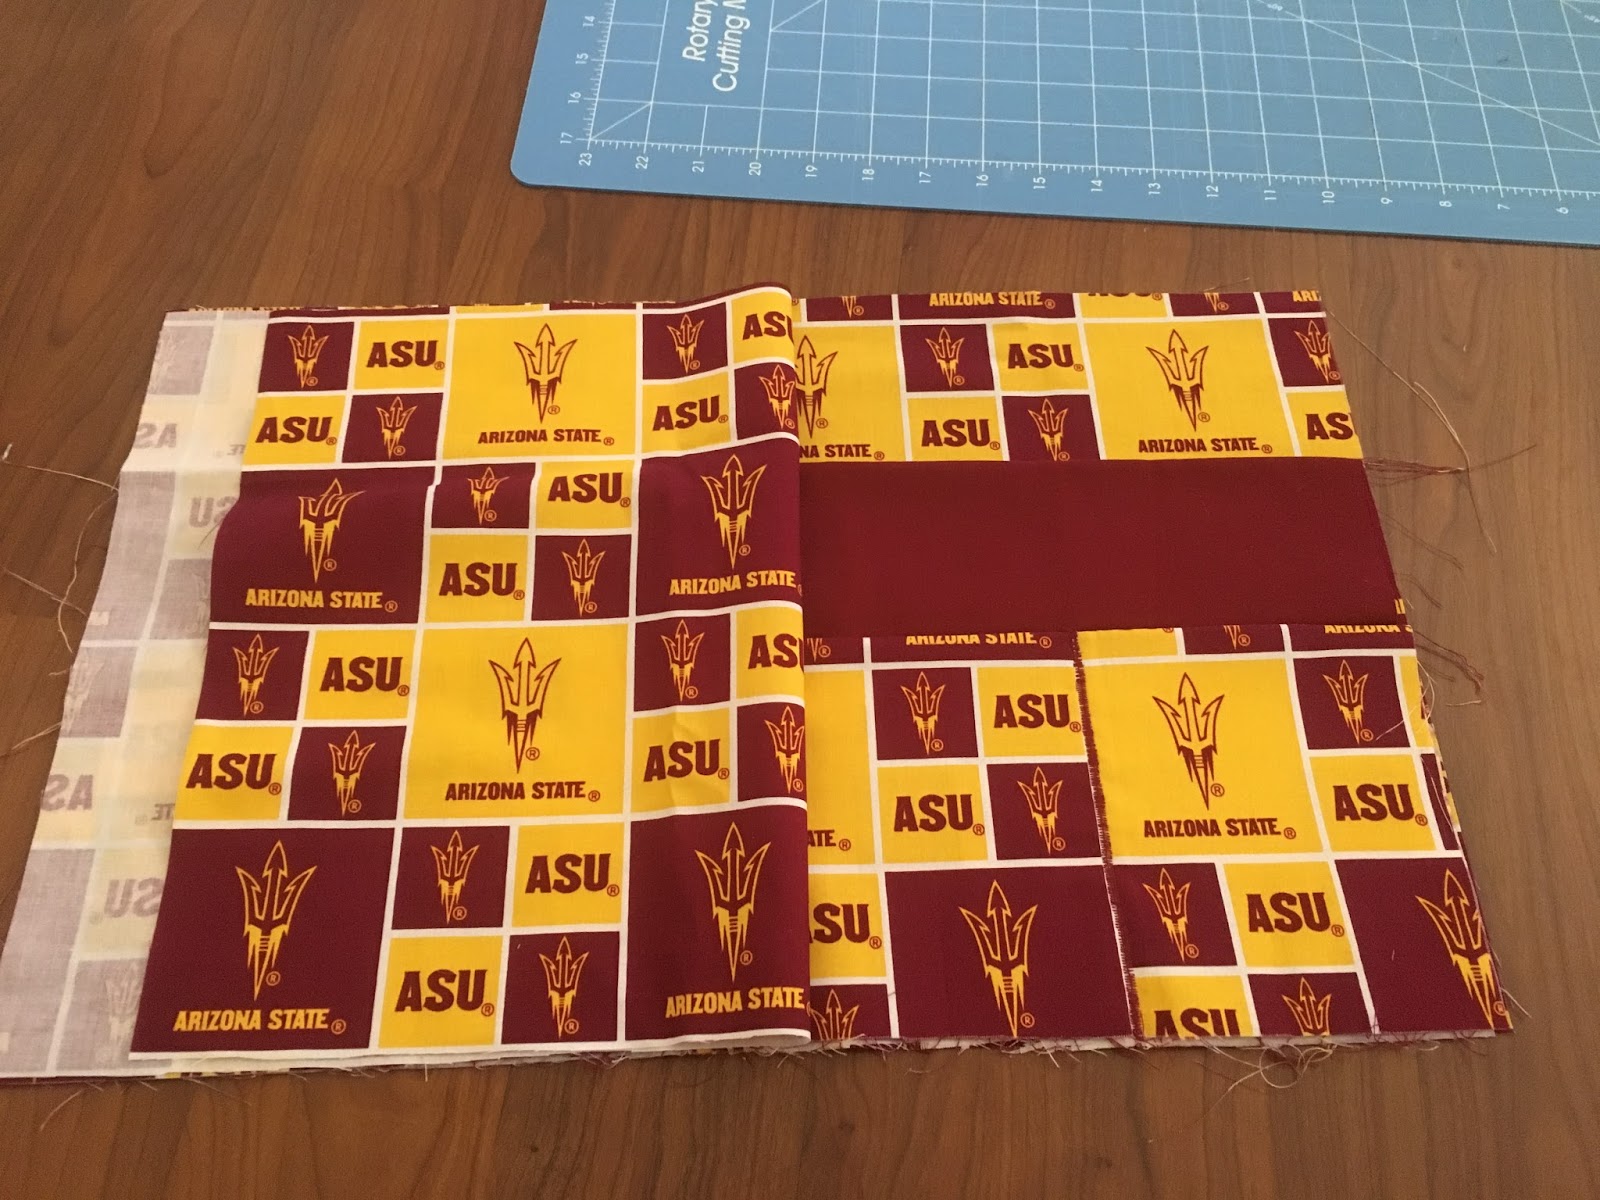
For school this year, the teacher I work with asked me to make her a teacher's apron to wear around the classroom.  This would help keep her phone, notepad, pencils, etc. all within reach at any given moment.  It's actually a great idea for teachers to have!  For the project, she provided me with a yard of ASU print cotton fabric.

I searched online until I found a tutorial that I wanted to mimic.  I found this amazing one from Sugar Bee Crafts.  Though their aprons were for working at craft booths, the style was one that could be useful for teachers as well.


I also had a small cut of a maroon fabric that matched perfectly, so I incorporated that into the design as well.

First, a list of materials:

Two 12" x 19" rectangles in the main fabric
Two 9" x 19" rectangles in the contrast color
Two 6" x 19" rectangles in the main fabric

Of course, you can have these all be the same, you can have them all be different.  It's really customizable.

Also, you'll need 3 yards of bias tape.  I found this to be the easiest way to finish the top hem and make the ties that go around the back.


First, start with the two 6" by 19" rectangles.


Sew them together, right side to right side, along the TOP hem only.


Fold it over and iron the seam flat.

Repeat this for the 9" by 19" rectangles.


I used the red on the outside to help break up the pattern, and the ASU fabric on the inside.

Next, measure your 6" x 19" pocket and mark the fabric with pins at the 1/4 point, the 1/2 point, and the 3/4 point (that is, 4 3/4 inches, 9 1/2 inches, and 14 1/4 inches).


Place the 6" x 19" rectangle atop the 9" x 19" rectangle.


Pin them together with the smaller piece on top.  Sew a zigzag stitch from the top of the 6" x 19" piece to the bottom at the 4 3/4 inch mark and the 14 1/4 inch mark.  Your stitching will secure the smallest pockets to the larger pockets in back.


Next, take only one piece of the 12" x 19" fabric.  Place the sewn part on top.  Stitch from the top of the 9" x 19" piece to the bottom at the 9 1/2 inch mark.  This will secure both of the top layers to the bottom.


This gives you two pockets on the middle row, and four on the bottom.  

Now lay the last 12" x 19" piece of fabric atop the sewn part, right side to right side.


Sew down the side, along the bottom, and up the other side.  This leaves the top hem completely open.  Flip it inside out and press the seams.


For the top, you can measure exactly how long you need the bias tape to be in order to wrap comfortably around your waist.  I wanted to make sure there was enough tape to go around the back and to the front again, so I used the whole 3 yards that came in the package.

With the center of the bias tape, pin it to the center of the apron.


Sew a straight seam along the top side the whole length of the apron only.


Fold the tape over and stitch from the center all the way along the right side of the tape until you reach the end.  This secures the other side of the tape to the apron, and also closes off the tape used as the ties.  Repeat from the center to the left side.  At the end, fold the last inch of tape under and sew it closed.


And that's it!  These aprons are cute and functional!  They have many other uses besides just being in a classroom!


~Buttons

Friday, July 29, 2016

Mermaid Tail Blanket

I've seen several articles about mermaid tail blankets, yet most of them seem to be sites that sell them, not tutorials on how to construct them.  When I first saw these adorable blankets, I knew I wanted to make one for Pockets.  She loves mermaids!

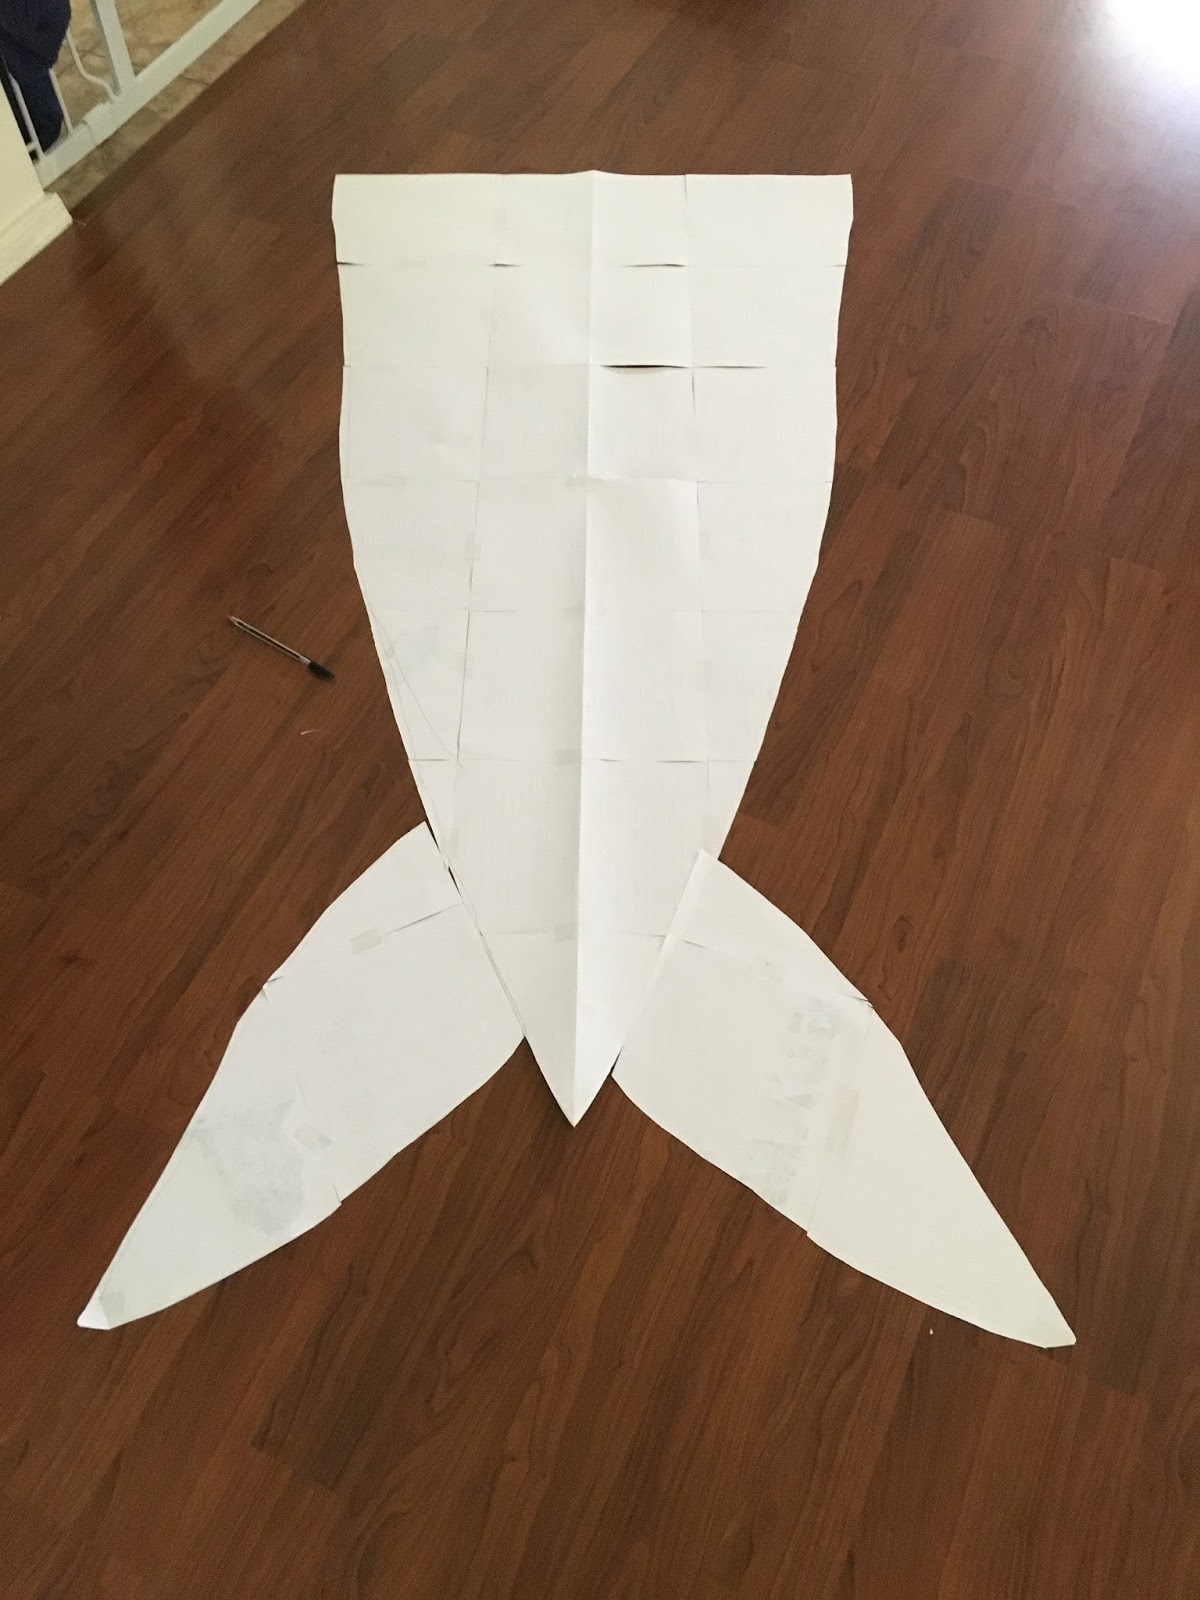
First, I had to come up with a pattern.  I taped old printed pages together and outlined how I thought it should look.


Once I got it about right, I folded the pattern in half (hot dog) and cut it out.  This ensured that both my side slopes were even.


With the left over pages, I made a pattern for the fins.


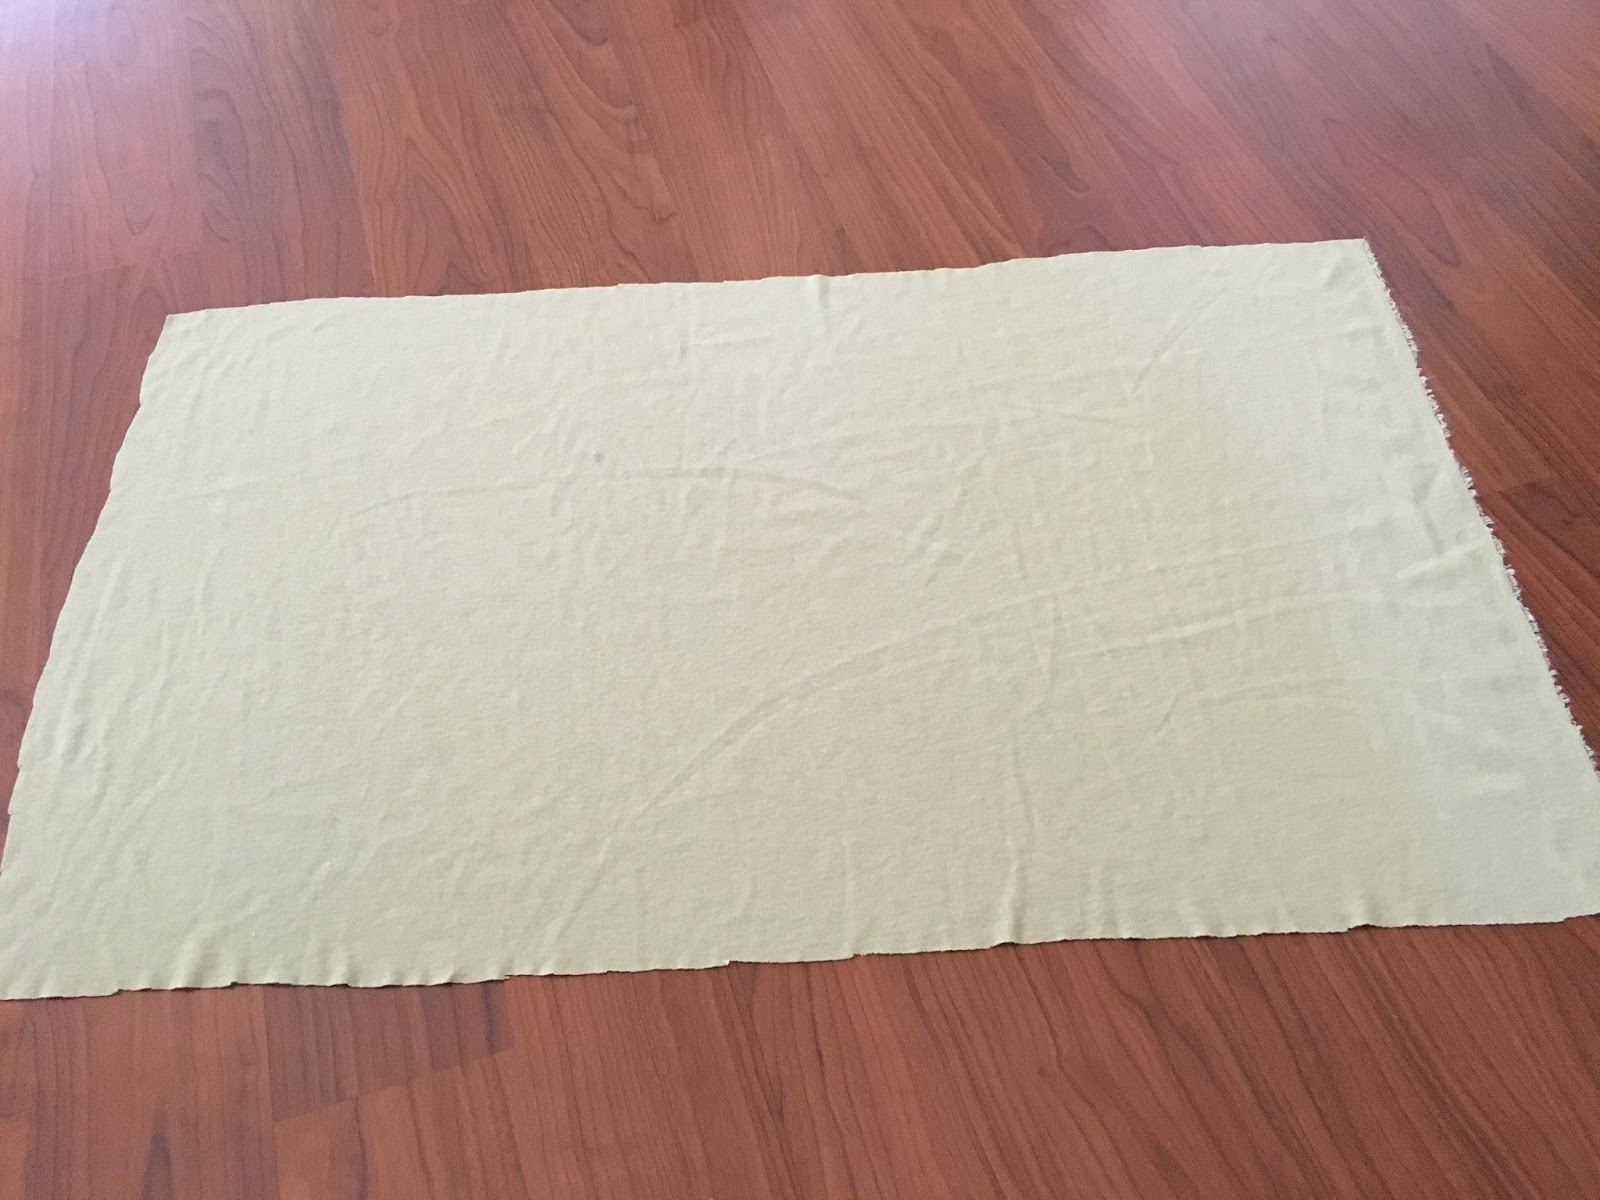
Next, it was time to start cutting out my fabrics.  I found this soft, light, jersey knit that reminded me of scales.  I used this for the tail.


For the fins, I used a solid green knit.


With my pattern atop the fabric, I cut it out, making sure it was aligned as straight as possible.


Then, I flipped the pattern upside down and cut out another piece.  This allowed me to get both pieces out of only a yard of fabric.


After that, I assembled my fin patterns atop the green knit.  I cut out two of each fin at the same time.


After they were cut out, I kept them together to ensure that I could make sure they wound up mirroring each other on the final product (more on that in a bit).


I set up the fins where I wanted them to go (about three inches from the bottom).  Now, I had one piece that was the "front" of the blanket, and the other piece that was the "back."  The front and back need to be mirror images of each other since they will be sewn right side to right side.  To ensure that this happened, I took the right fin on the right tail and flipped it to the left fin on the left tail.  That would mean when these two pieces line up on top of each other, they fit perfectly.  (Even thought both fins were traced from the same pattern, I figured there would still be little inconsistencies.)

Next, I pinned the fins in place, laying them right side to right side with the tail fabric.


Once all the fins were sewn down, it should look like this.


Next, lay the two pieces together, right side to right side.


Starting at the bottom, sew up the right side, around the fin to the top.  Repeat on the left side.  Leave the top open.


To finish the top seam, I used a thin, black bias tape.


And since I had the pattern, I made another one!  The second was flannel.


~Buttons

Sunday, February 28, 2016

Pleated Cherry Skirt

I bought these two printed cotton fabrics at Walmart in the remnant bin ages ago. I liked the way they looked together and I envisioned a cherry skirt!


I started by cutting panels, since I thought it would look cute to alternate between the red and the blue fabrics.


I measured from my waist to about mid-thigh to get the length. For the width, I think I just guesstimated and cut. With a plethora of panels, I wasn't concerned about the width.

I sewed them together (five panels of each color).

And. I. Hated. It.

It's been sitting on my craft table for about six months. Then yesterday, I saw it and thought about finishing it. That was when inspiration struck! Since I hated the way it looked side-by-side, I thought it would a great alternative to turn the red panels into mostly-hidden pleats!


What a prefect idea! I loved the way it looked!

Unfortunalty, my width became a factor when I took away half of it. Because of this, I had to rip my seam and sew in two additional panels (one blue and one red). With this addition, I figured it would be a better idea to just add in a zipper, since the width was nearly exact with my waist.

First, I pinned the pleats in place and sewed along the top seam.


Then I cut a long strip--a little bit longer than my waist measurement.


I folded it in half and sewed it to itself, wrong side to wrong side, to create a wasitband for the top of the skirt.


I sewed it down, beginning in the front and circling to the back left. I stopped an inch from the exact back. Then I repeated on the right, stitching from the front to the back, again, stopping before I got to the end. This was to ensure I had a slit for adding in the zipper.


(This is the back of the strip, neither side being sewn down at the moment)


Adding in the zipper was tricky. I slit an opening down the middle back blue panel. I sewed (very poorly) the zipper into that opening.


Next, I thought it would look cute and fruity to add a green bias tape edge along the bottom hem.


I sewed it down, ironed, and viola!


(This shirt doesn't match very well, and I was having a bad hair day.)

I love the way it turned out! It's super cute!


~Buttons

Saturday, May 9, 2015

Apron Skirt

Posted Today, 04:16 PM
d.JPG

I found a tutorial on Pinterest for this skirt.  I loved it the moment I saw it.  And it's pretty simple to complete.  I had a couple of hiccups, but that was due to my backwards thinking--or maybe lack of backwards thinking. 

First, I found two fabrics that looked okay together.

2C2AF5CC-5FDA-4F09-B60E-2CE21369FCB9_zps

I had bought the pink polka dot fabric from the remnants bin at Hobby Lobby last week.  I didn't have anything in mind for it; I just liked it.  Plus, it was only about $2.50.  How could I pass that up?  The blue buttons fabric Pockets bought for me quite a while ago.  I had planned on turning it into pajamas, because it's flannel.  

First, measure your waist.  The top of each piece of fabric will be this length.  I added 1 inch to mine, just to ensure it would fit.

For the bottom length, my fabric was only about 50 inches because it was a remnant.  But you can make it as wide as you want.  I believe the original tutorial just doubled the waist measurement.  It's totally up to you!

I cut out my polka dot fabric, then placed it on top of my button fabric and traced, giving me two equal-sized pieces.

After that, I sewed bias tape on the TOP hem of the button fabric.

9574BD8D-4F0B-493B-BD7D-04FF4944C6FF_zps

Then, I sewed the bias tape to the TOP hem of the polka dot fabric, including about 8 inches extra bias tape on each side to use as strings.

276EEAD2-5F8C-4135-A516-D59E40428FA9_zps

Since the pink fabric was a bit see-through, I added in a small white cotton panel for modesty.

16A35C5E-819A-4306-ACEE-FFCA48AB2CAC_zps

With both fabrics on top of each other, right side to right side, sew up the angled side seams.

FAFE9452-D6B2-4857-9AC7-0A00B6EB9CB9_zps

Note: Do not sew all the way up to the bias tape because the skirt will be flipped inside out, and you need the strings on the outside.  So, stop at the top bias tape; it will be finished later.

9143647E-7D02-42A5-BCA8-1B3AECCD8E3A_zps

9FE9763F-761D-406A-9443-CEE0A8E61893_zps

Some of the readers of the original tutorial pointed out that the skirt will slip open and suggested extra reinforcement.  I decided to sew the top seam, leaving just enough room open for my waist.  I used pins to mark the sides of my waist.

1197585B-5CEA-424B-A07A-D2764AD7CBD7_zps

Before sewing, flip the skirt so it's wrong side to wrong side.  I accidentally sewed it right side to right side, and trapped my strings inside.  Also, once it's wrong side to wrong side, you can complete the side hem, tucking the other fabric under the fabric with strings.

But this is what it will look like if you leave the opening.

8A30FB20-6AB2-410F-A870-7D9FCFBA20F4_zps

I also added a small strip of Velcro (and I may have to change it to a snap or a button and button hole) to keep the skirt secure around my waist.  

FEFFBE3E-9E01-4BC9-8124-DC1873E4F78C_zps

Then, sew your bias tape to the bottom hem.  And you're all done!  Here it is after I fixed all the mistakes on the top seam.

7B6978AB-C6CE-4935-B0D1-4424C84BAF42_zps

FF96048F-D457-4B88-8EA8-EE759BFAE920_zps

I love that it's reversible!  It's so adorably cute!

16E293CD-A208-485D-8FF6-774B89C4CE46_zps

E93253A4-B516-41D7-A9CB-D000178658CB_zps

CA40EC28-1FD8-4D27-8502-3BD11DB32444_zps

2CC45C94-6354-4134-B6BC-3FE8085636B5_zps

I think I like the buttons on the outside best.  


And just for fun... my doggie thinks fabrics are his bed...

BD06736E-E6DA-47E9-B5F7-9B3BEBF2E833_zps


~Buttons