I saw a tutorial on how to do this on Pinterest. And since I've started playing Animal Crossing: New Leaf, I've been taking my DS with me everywhere just in hopes of getting new houses in my HHA gallery. It's been banged up pretty bad just hanging out in my purse, so I thought having a padded case would be a good idea.
Needed materials:
19 inch x 8 inch piece of fabric + ~5 inch x 7 inch scrap
19 inch x 8 inch piece of fabric in a contrasting/complimenting color
19 inch x 8 inch piece of batting
An elastic hair tie
A button
Thread
Sewing machine
First what I did was figure out the measurements I'd need. My 3DS is 5.5 inches by 3 inches. So, I made the width 8 (adding on an extra inch for seam allowance, then the extra half inch for the thickness of the DS). For the height, I just put my DS down on the fabric and rolled it up three times, with a little extra for the flap on top.
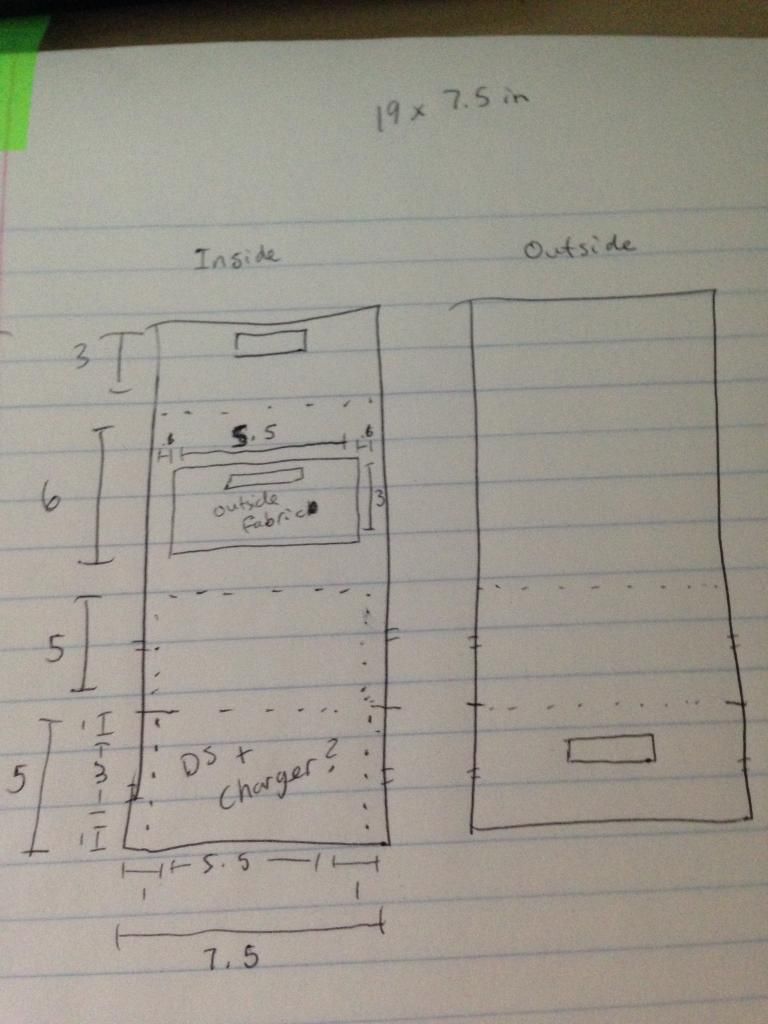
In the diagram, I have spaces for velcro, but decided against it as I worked. Instead, I used a button and a hair tie. But, velcro at the places indicated would also work.
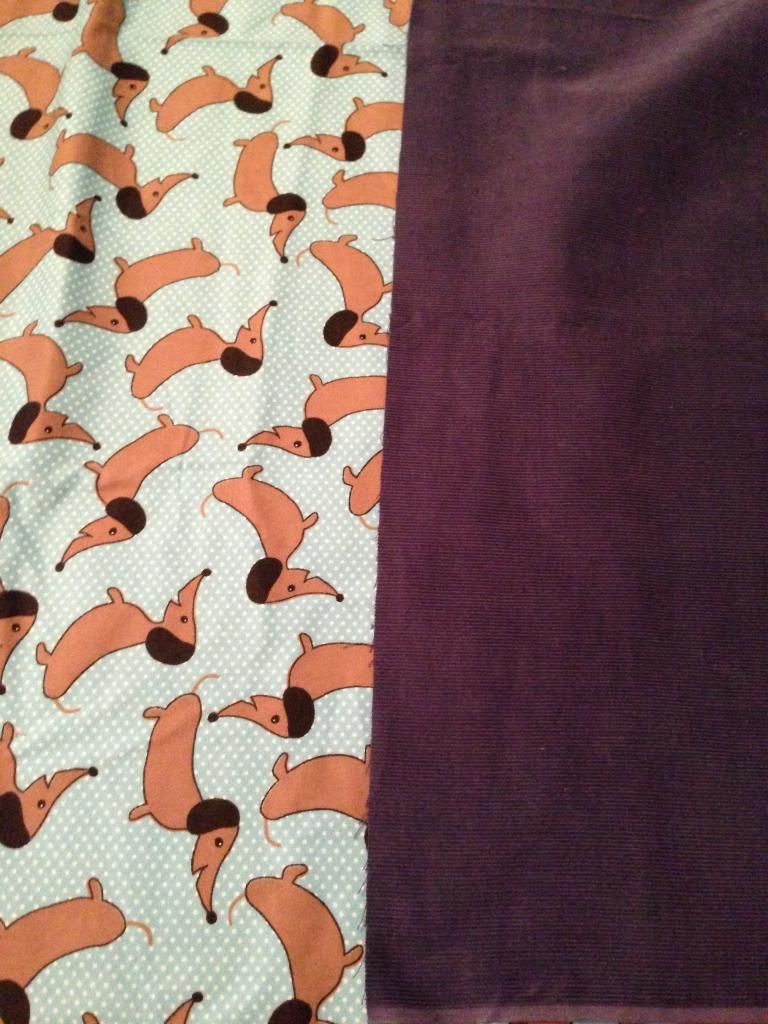
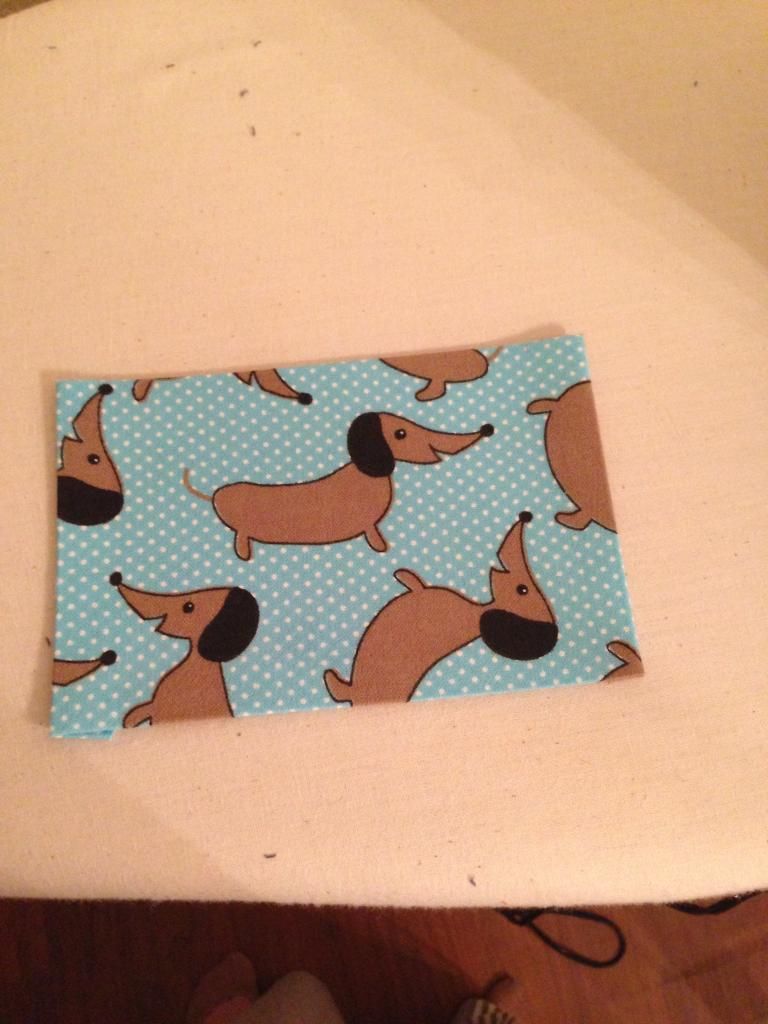
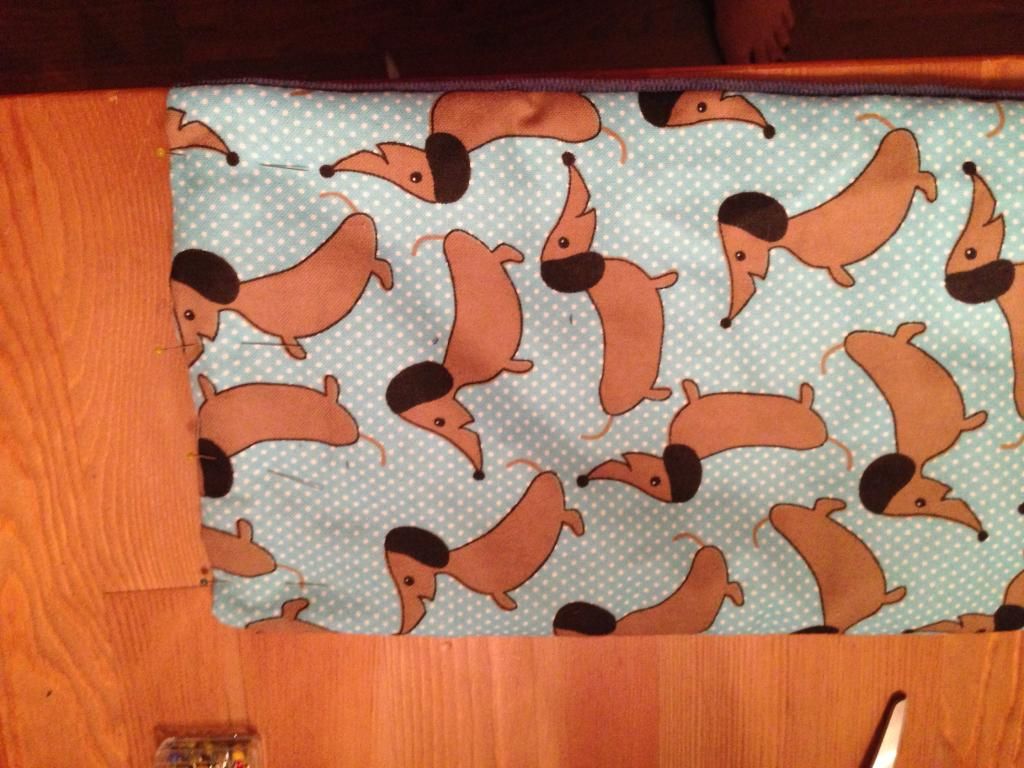
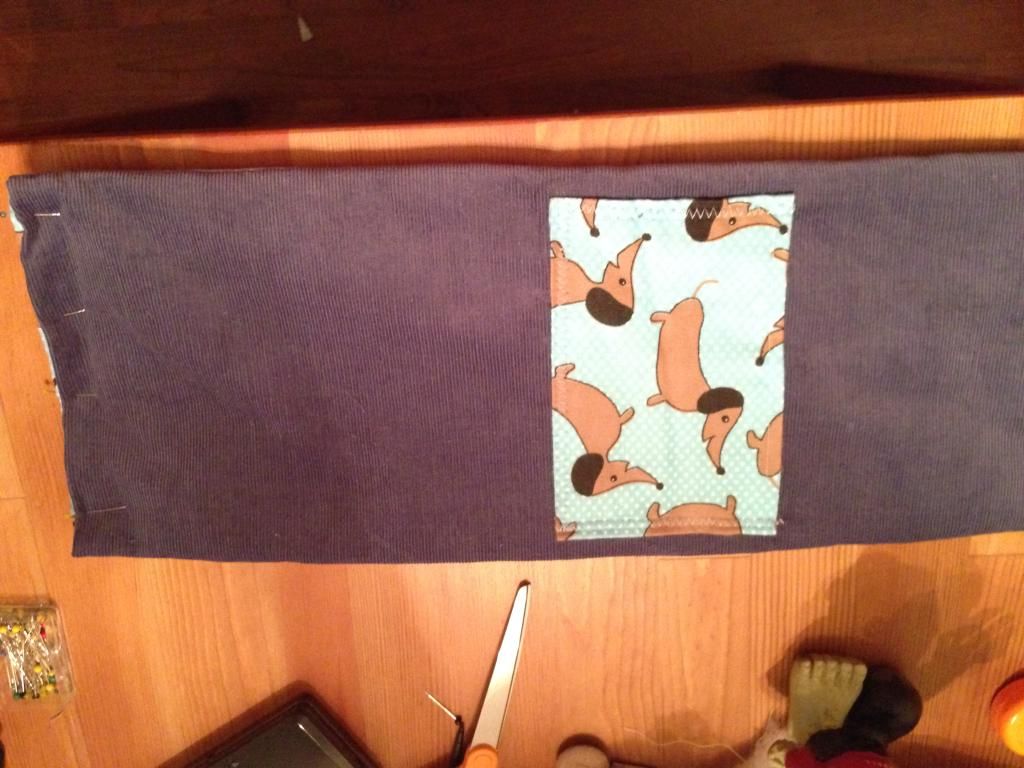
For my fabric choices, I had a cute print of dachshunds that I chose for my outside. For the inside, I used a dark blue corduroy.
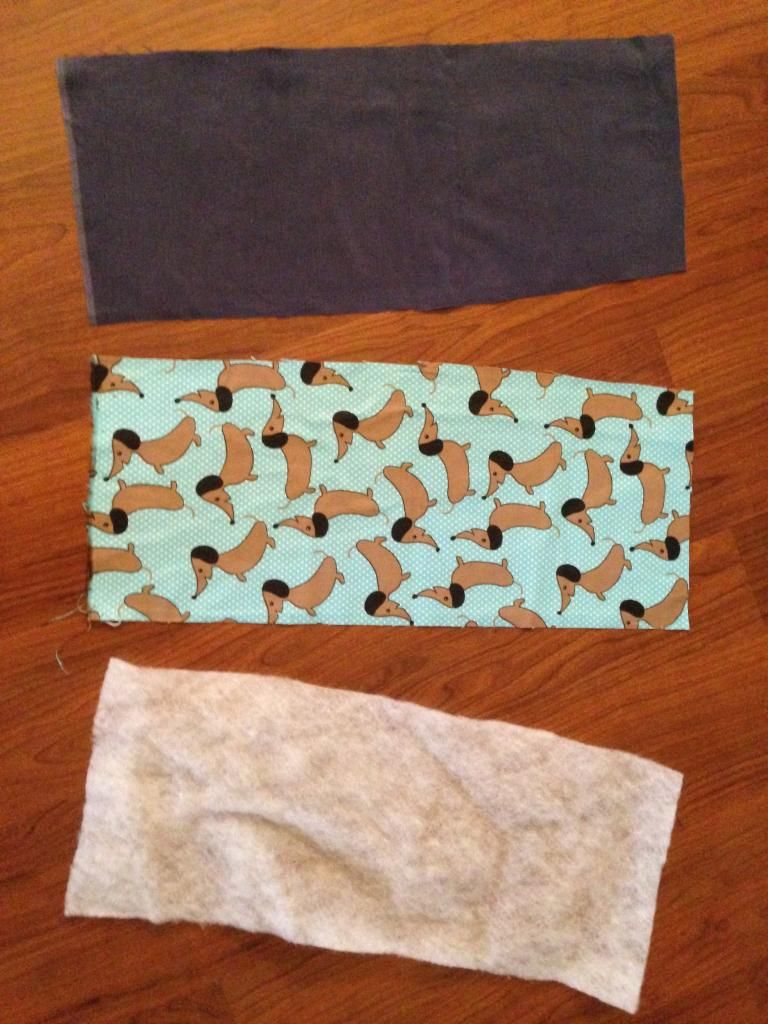
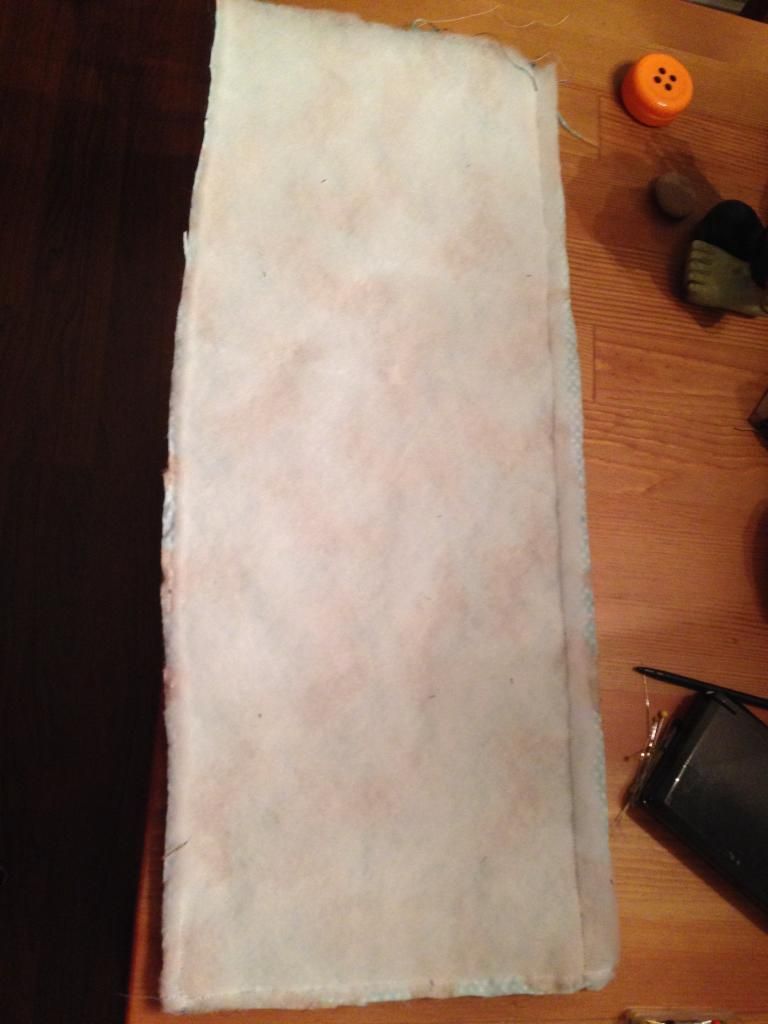
I cut out a 19 inch by 8 inch piece of each of my fabrics, and the batting.
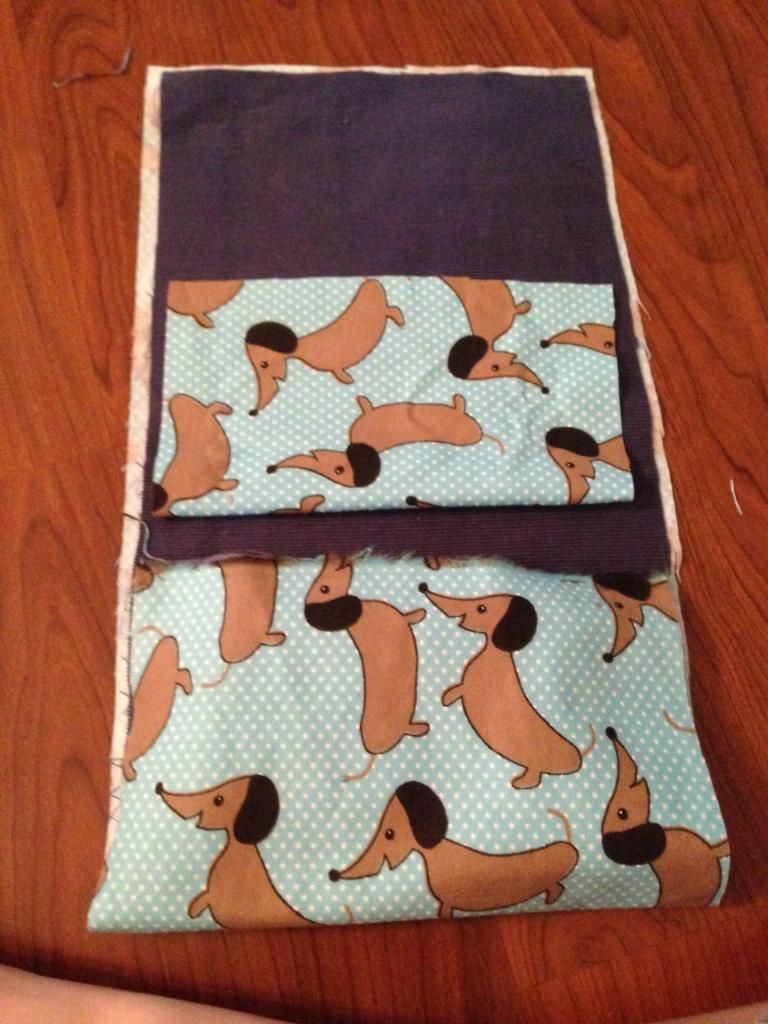
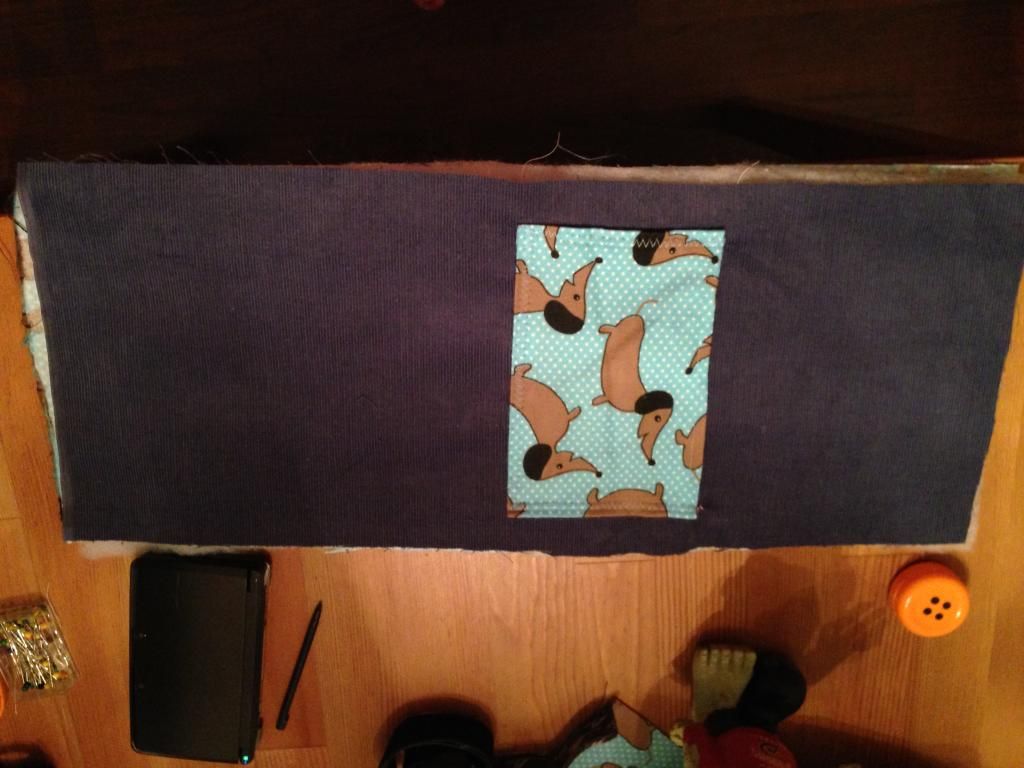
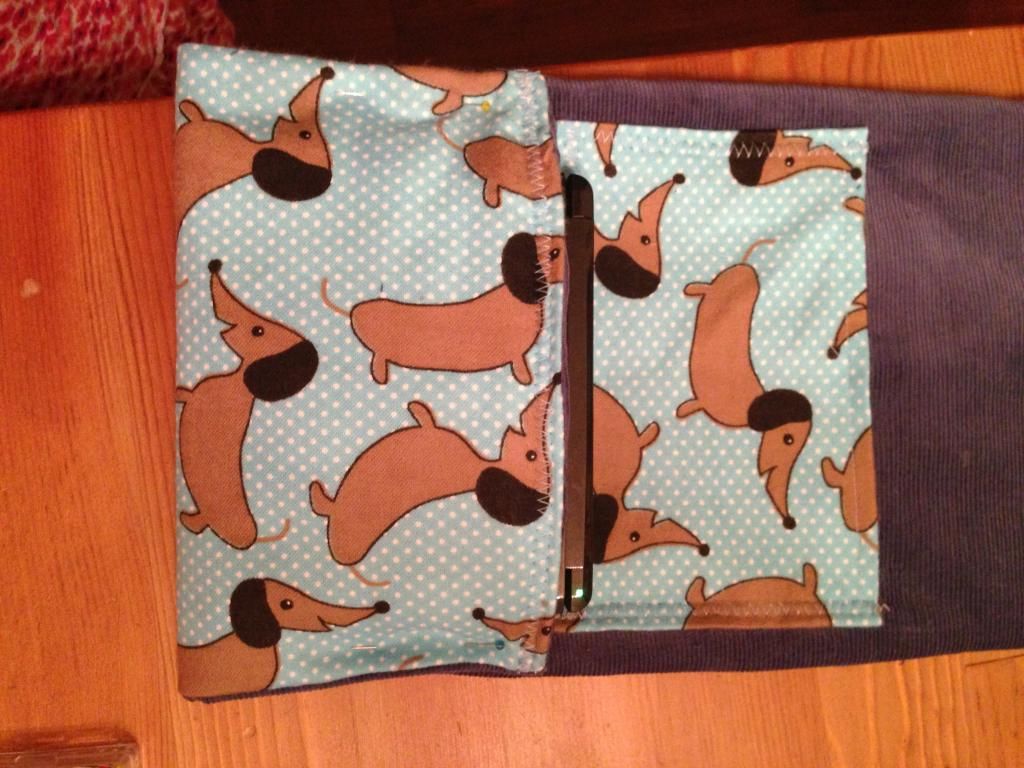
To find out where the pouch would go, I pinned all my layers together (to be sure the fabric laid right) and put my DS inside. I folded up the bottom part, which will be the DS pocket, and positioned my scrap fabric above it.
I ironed my scrap, folding all the edged in about 1/2 inch to an inch.
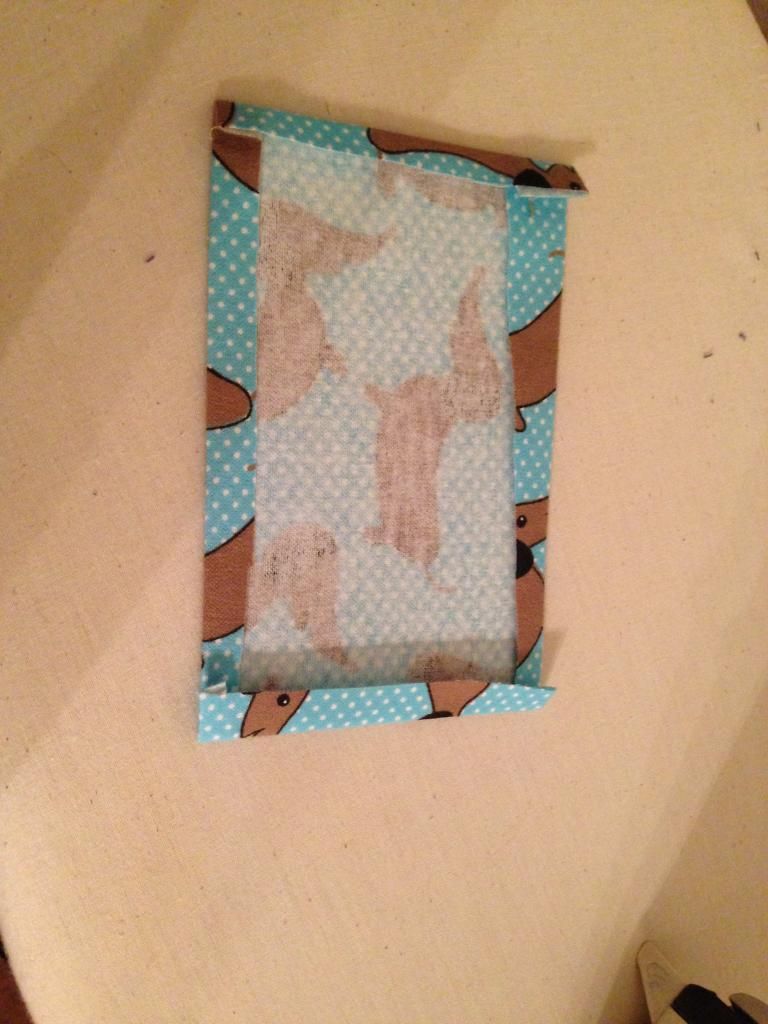
Pin the pocket in place.

Then I folded it up to make sure all the pieces were in the right place.
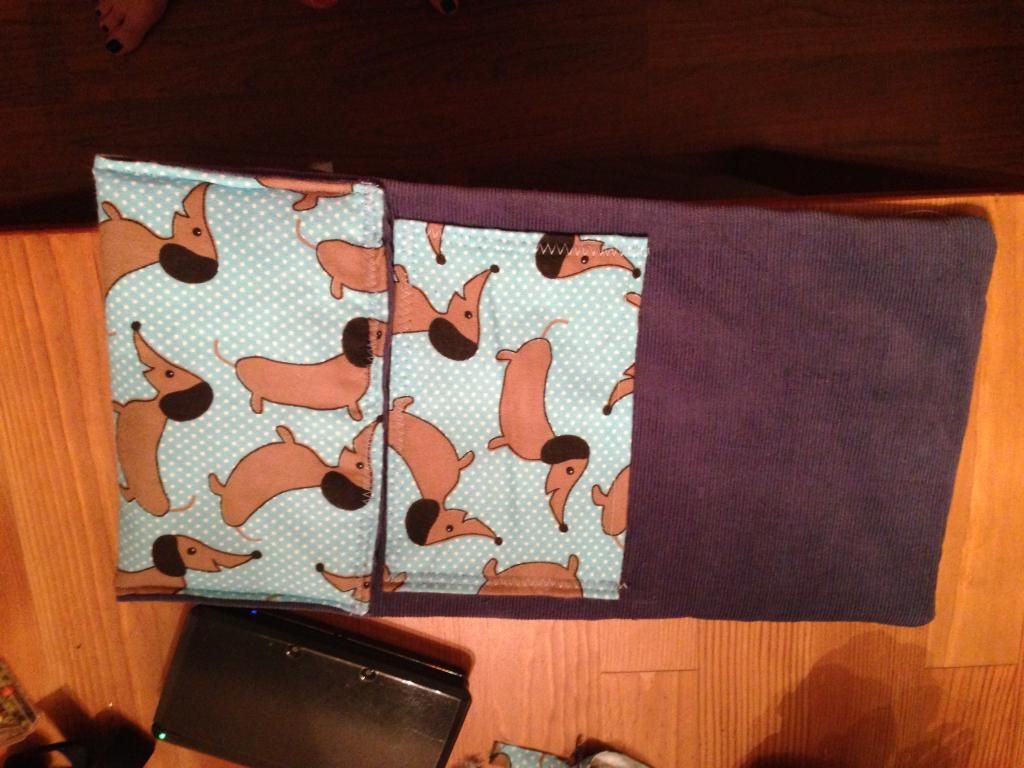
Perfect! So I took off the corduroy layer and sewed the fabric scrap down (leaving the top open for the pocket). I used a zigzag stitch for more decoration and a stronger hold.
NOTE: I forgot to straight stitch the seam of the scrap before sewing it on--I had to do it later. To make it easier, sew the TOP SEAM ONLY of the pocket onto itself. This will give you a nice clean seam on top.
Here it is in place on the corduroy.
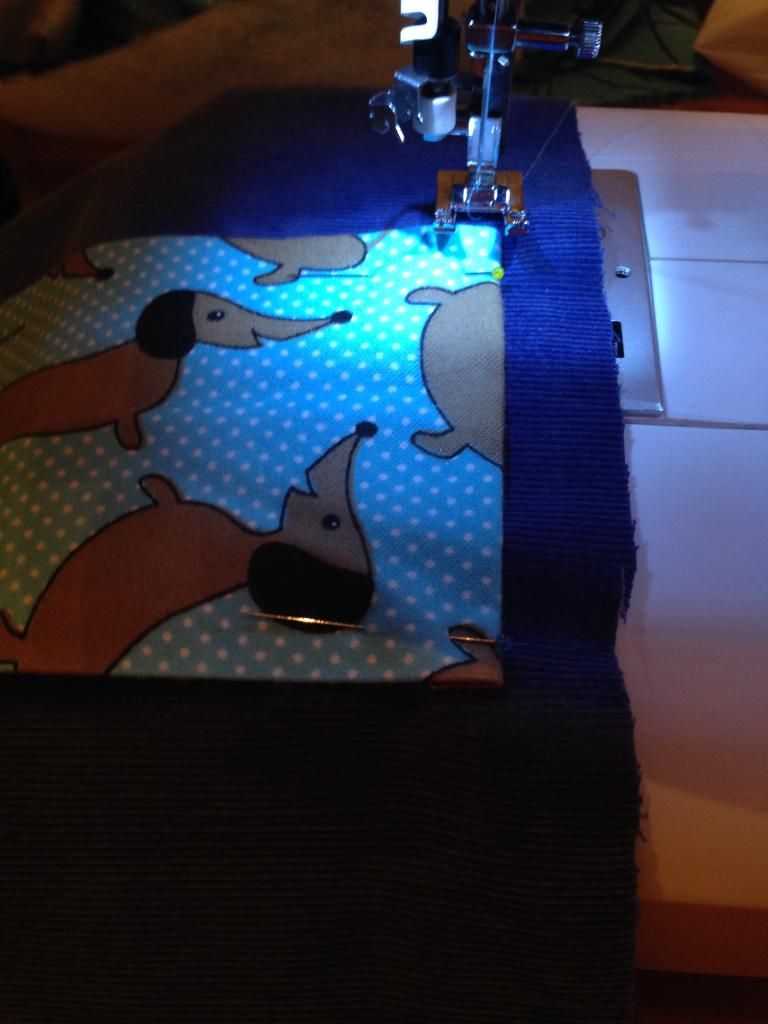
Now, we need to stack our layers. Put the fabrics face to face (right side to right side), and put the layer of batting on top.
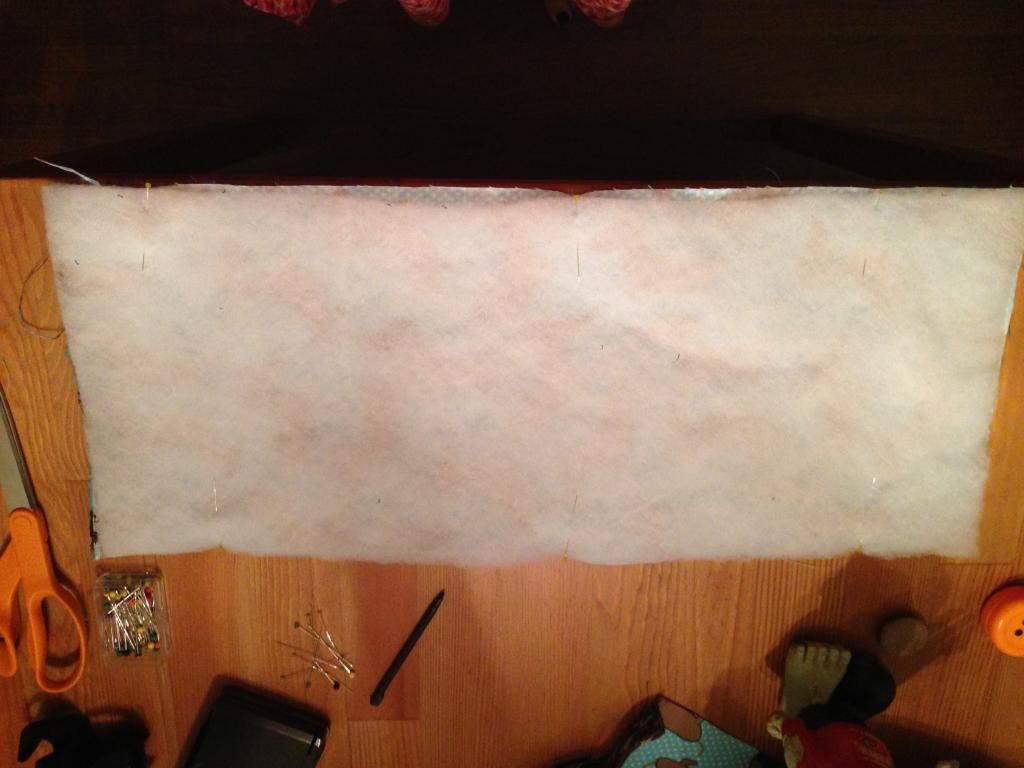
I have never sewn batting on the outside before, and I was a bit worried that it would get pulled into my machine. But, the tutorial I was following did it this way, so I gave it a try. I put the batting on the bottom, just to make sure I got all the edges of the fabric sewn properly.
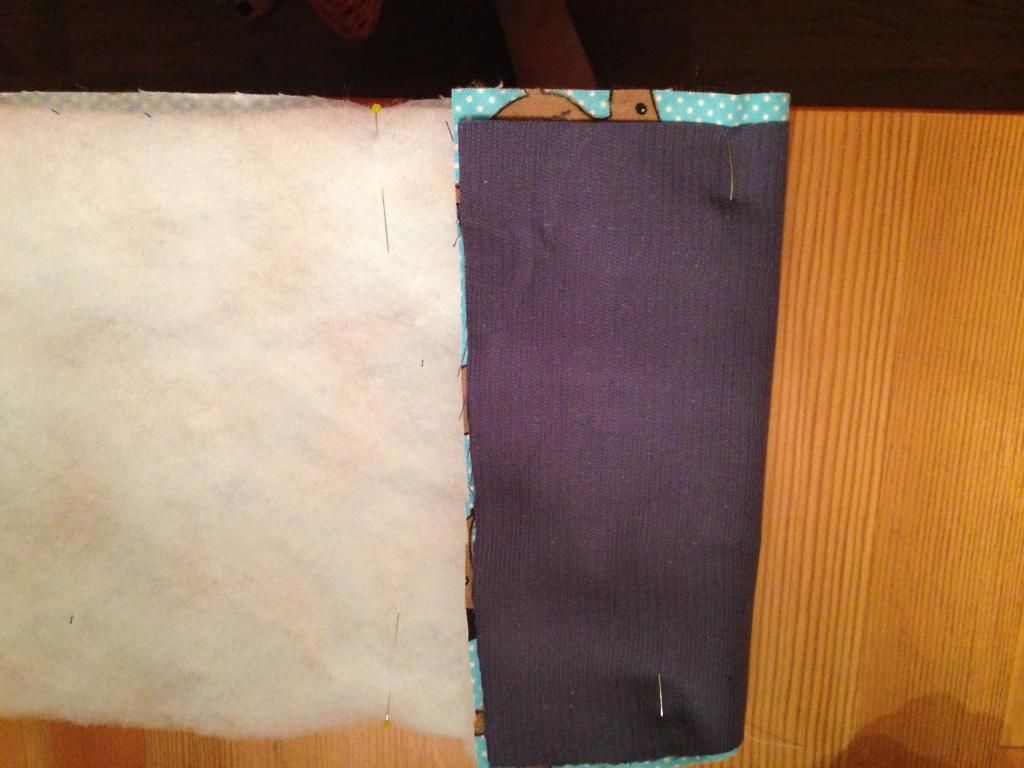
Stitch a straight seam around all the edges EXCEPT one (the top). I accidently left the bottom open, so this messed up my attachment of the hair tie a bit. It was fixable, but would have been easier if I'd left the top open. The top is the side closest to the sewn on pocket.
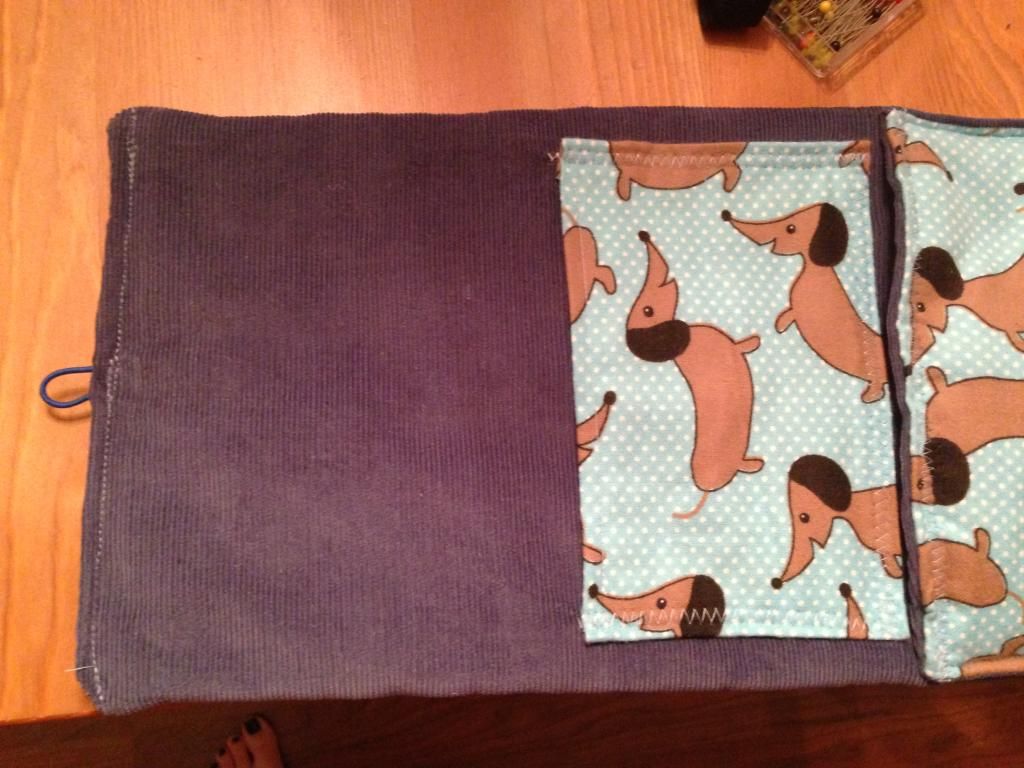
Now, flip it inside out (like a pillowcase), and pin the unsewn edge under.
If you left the top open, insert the hair tie now. (Look for the directions on that a little lower).
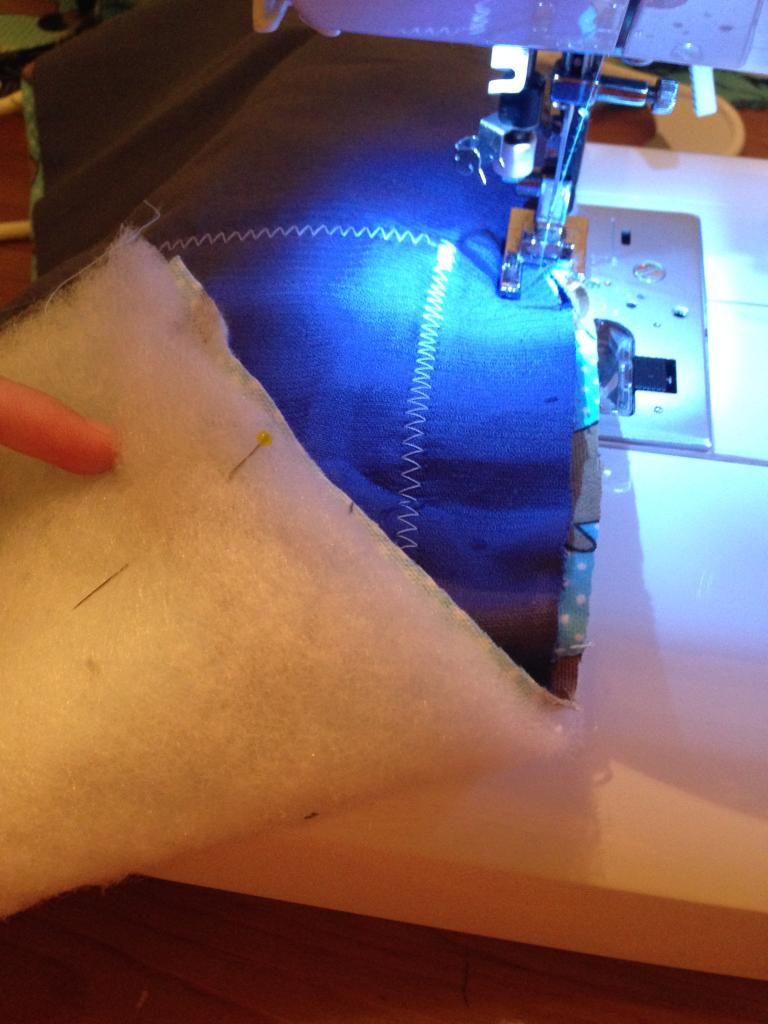
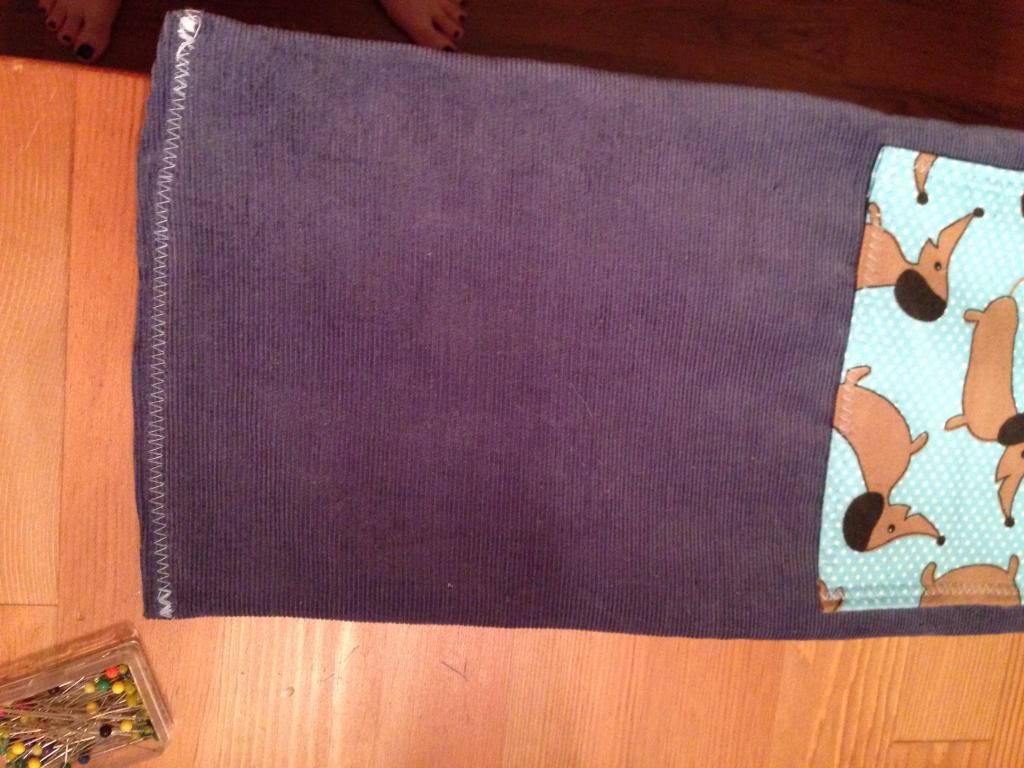
Sew the opening shut. I used a zigzag stitch because it will match the zigzag on the edges of the pocket. (If I had left the top open, I would have just done a straight stitch.)
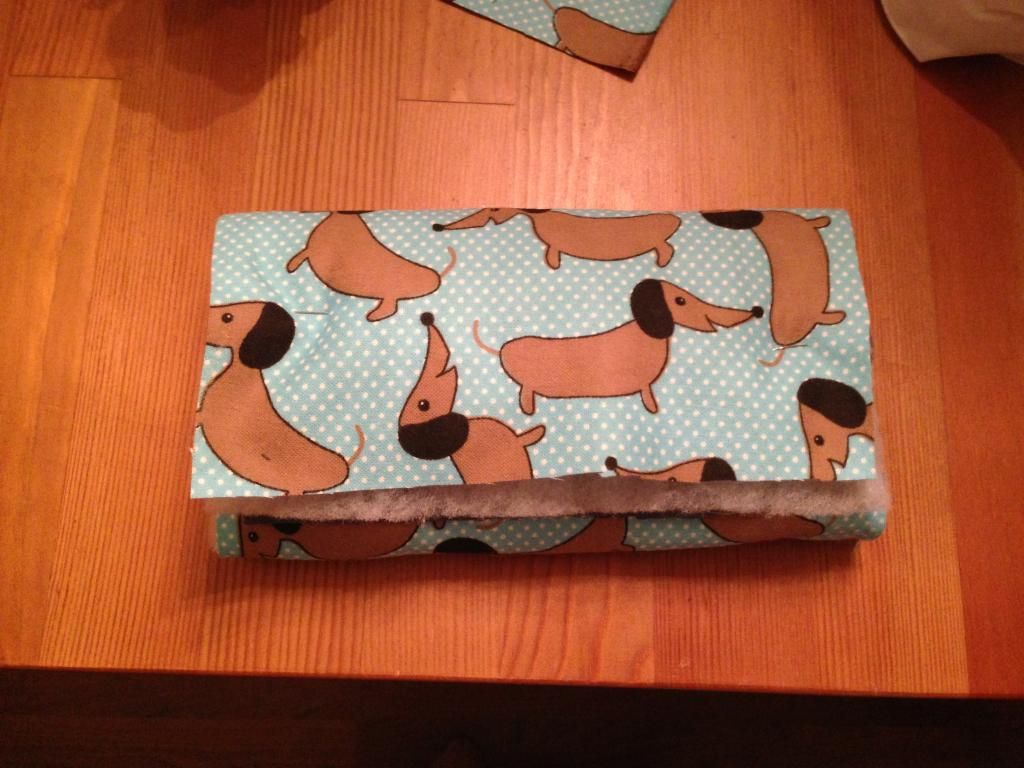
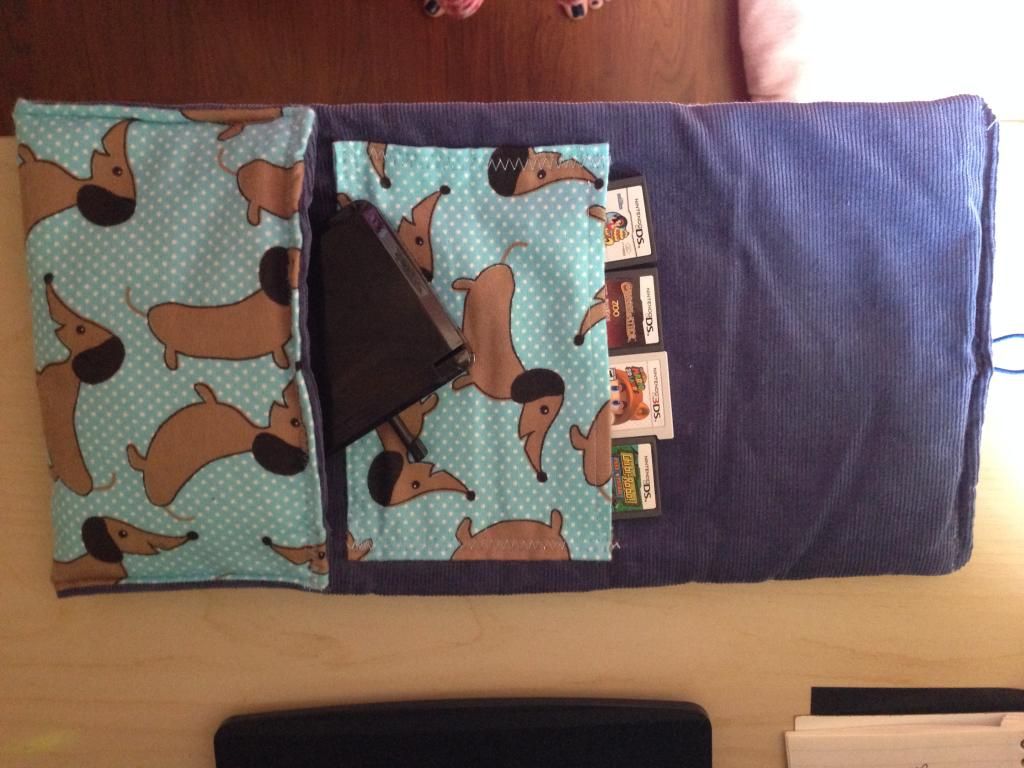
Now for the DS pocket. I put my DS inside and folded it up as high as I needed. That extra few inches really helps with the DS's thickness.
Pin it, then sew with a straight stitch.
Now for the fastening. I had to seam rip the center of my top stitch. Then, placing the hair tie inside, I restitched the hole close.
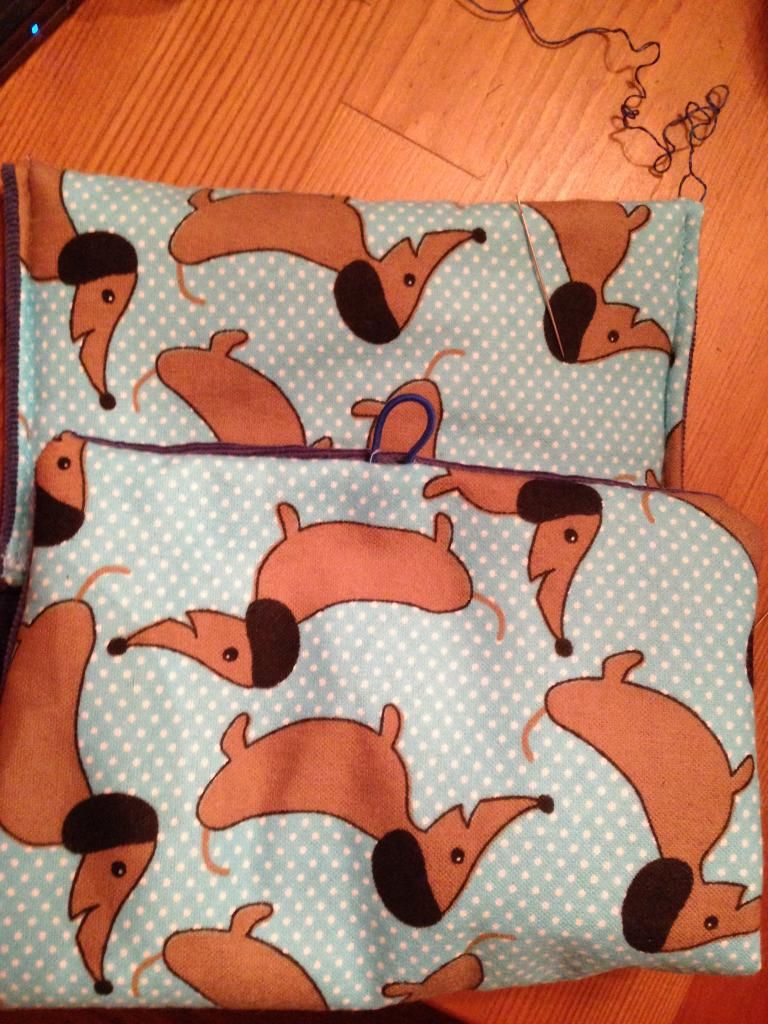
Then I hand stitched a button onto the place the flap met the outside.
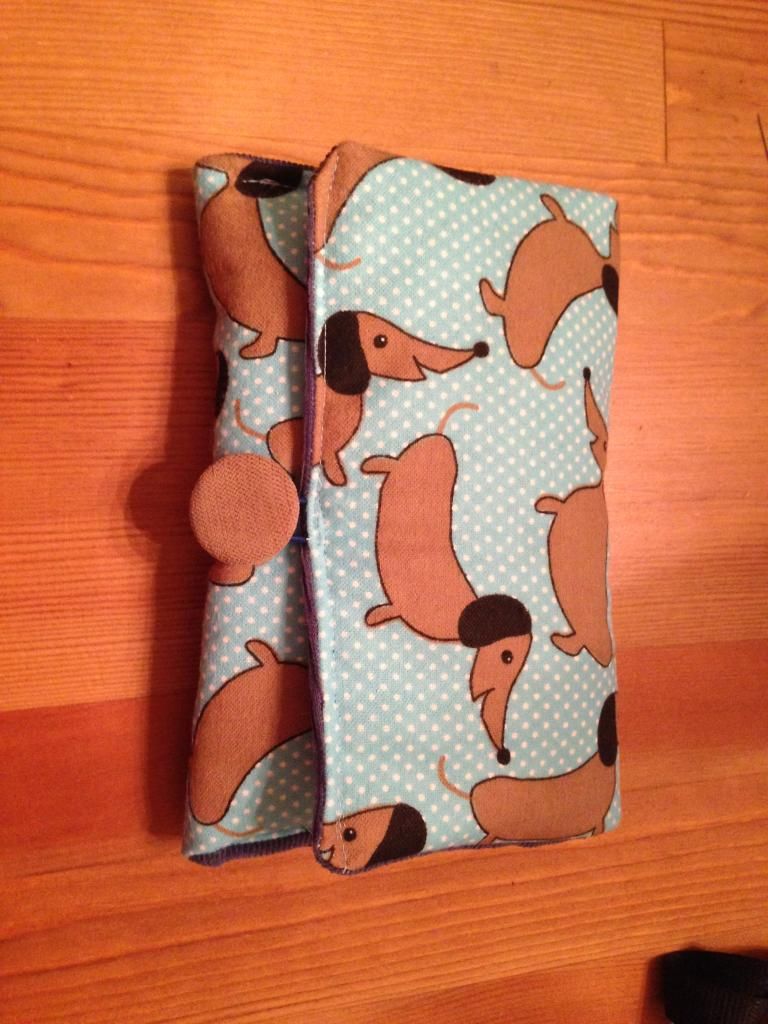
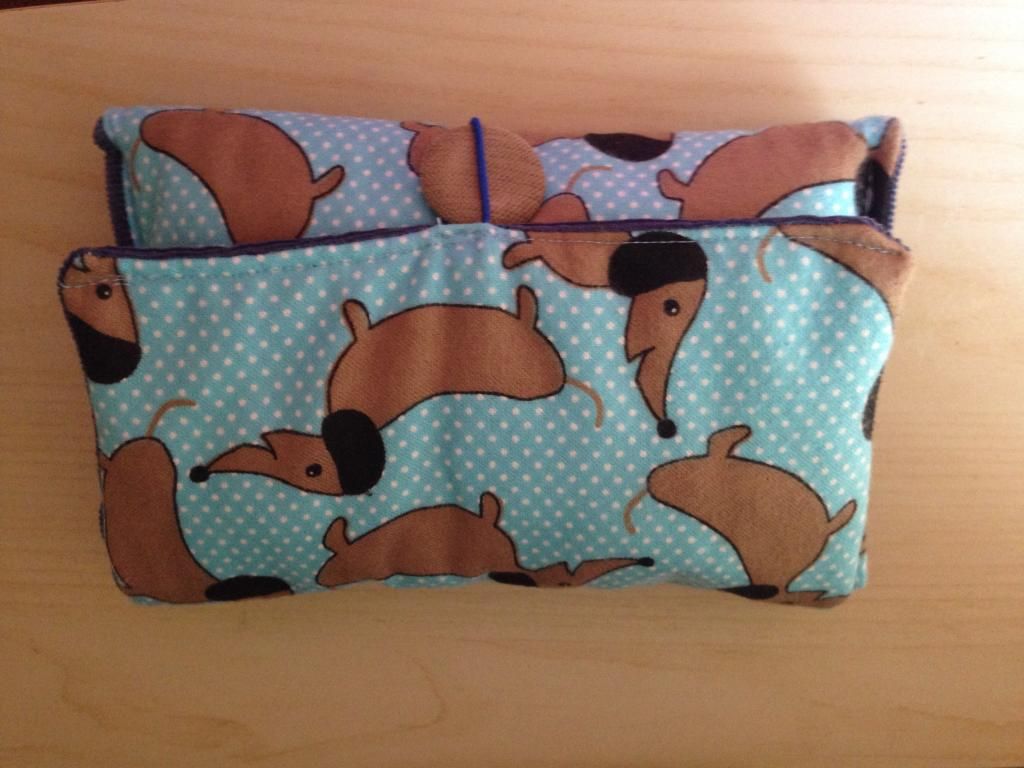
And you're done! I may have to end up putting a snap or something on the inside pocket. But, I think the case is wrapped tightly enough that the games won't fall out the way it is. We'll see.
~Buttons


