My favorite book series is The Wheel of Time, written by Robert Jordan, and finished by Brandon Sanderson. The world, the characters, the magic, all are amazingly well-developed and fascinating. It's truly epic in scope, as well as its themes.
The main character is Rand al'Thor, who begins as a shepherd, but in true fantasy fashion, winds up as a king. I've been wanting to do a casual cosplay outfit for Rand since I saw this awesome red shirt at Goodwill.
I had recently done an iron-on (and as I go to link to it, I realize I haven't posted it yet.... it'll be coming soon) and I was surprised how easy it was to work with an iron-on sheet. I thought it would be the best way to get some regal looking designs and dragons onto this shirt. So I went to Joann and bought the Tulip gold Metallics sheet for less than $5.
The first thing I did was print out the dragon chapter icon used in The Wheel of Time onto cardstock.
I painstakingly cut it out.
Then I traced it onto the back of the gold sheet.
And painstakingly cut it out.
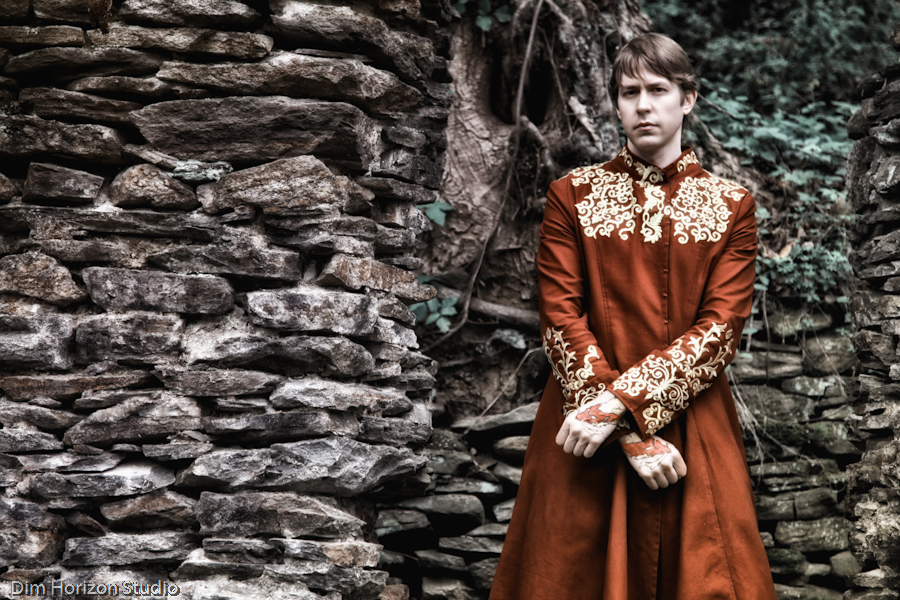
I actually did this twice, with a dragon facing left and a dragon facing right. Next, I needed the kingly embellishment. I looked at an official source for that:
Paul's costume has a bunch of swirls that decorate the top and sleeves. Well, I had to put the dragons on my sleeves, so I wanted to add the swirls just to the neckline. I copied the top part of one of Paul's swirls, then made a smaller, less fancy swirl for filler.
I cut them out on cardstock and traced them onto the back of the gold sheet.
After I got them all cut out, I toyed with the layout. Eventually, I decided on this.
This iron-on stuff is SO simple! Place face up on the fabric,
Cover with a cotton cloth (or other piece of fabric),
And iron for 40 seconds.
Repeat with all the remaining pieces and you get this:
Next, I ironed on the dragons, making sure they faced the front.
I paired the finished shirt with this adorable gold crown (once again, he's a king!) that I bought at Charlotte Russe for $6.
Then I wore it to school the next day!
I am so in love with it!
~Buttons