So, for the first JordanCon I attended (in 2013), I didn't dress up in anything but my White Ajah shirt.

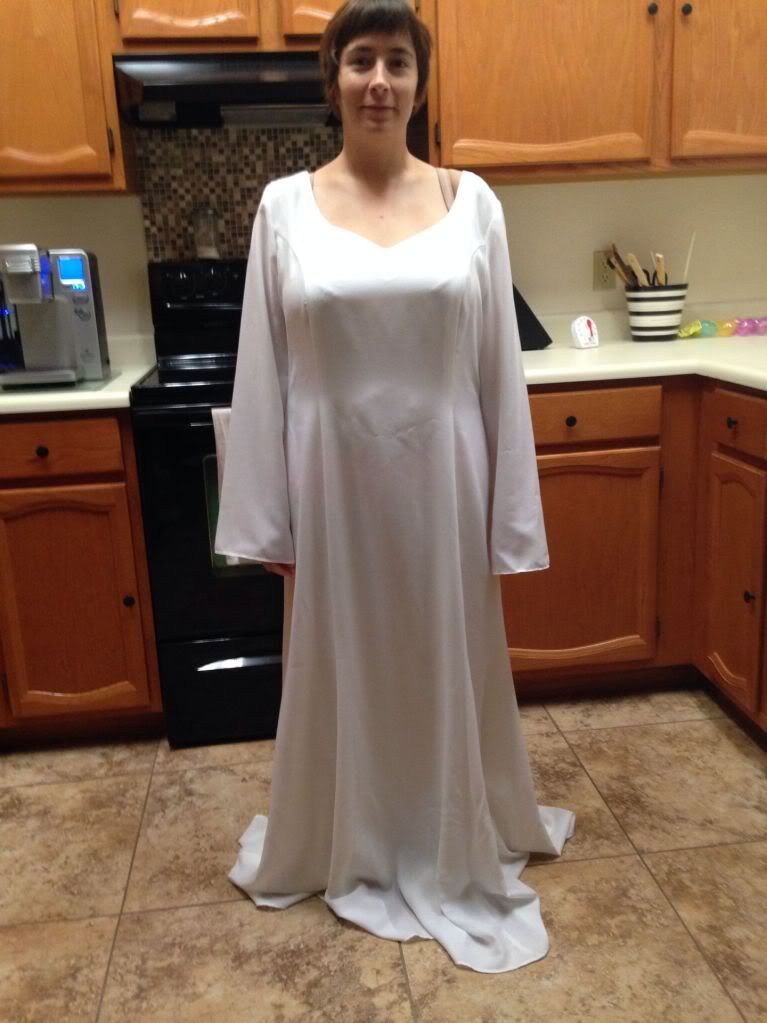
So, for the next one I attended (2014), I knew I had to have an Aes Sedai outfit. Since my Ajah is White, I wanted a white dress. As luck would have it, I found a white dress for about $20 at an antique store. I decided to alter it into a dress I could wear.
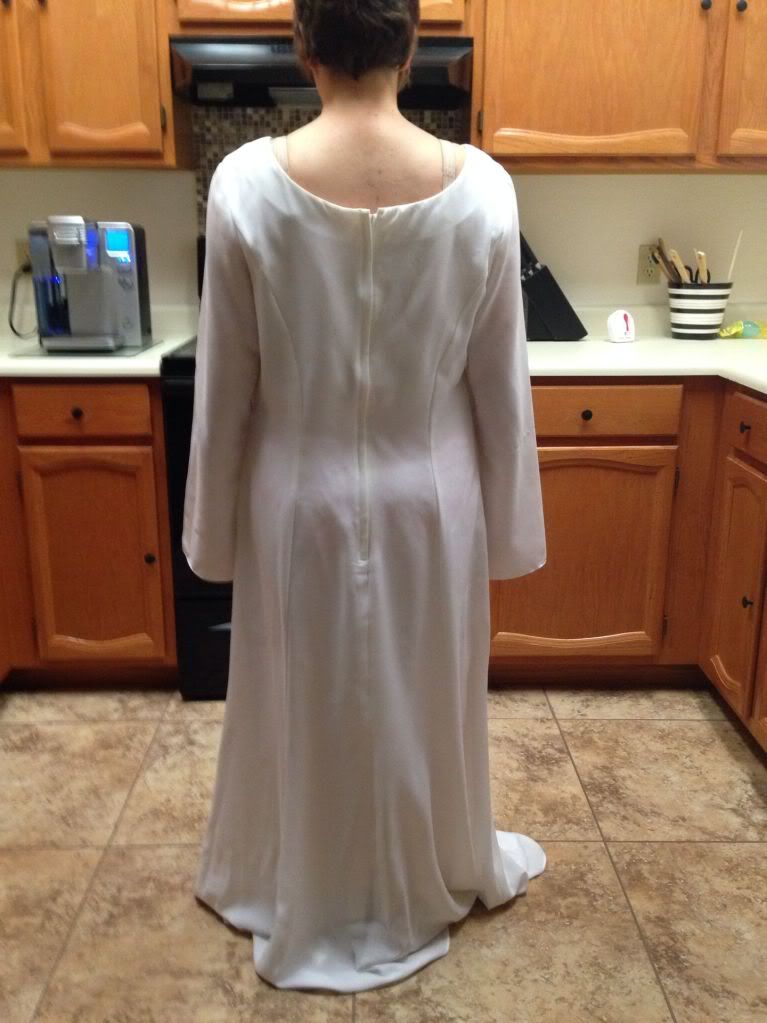
Here it is before I did anything to it. It was huge!
The first thing I did was take the sleeves off with a seam ripper. Pain in the ass, but necessary.
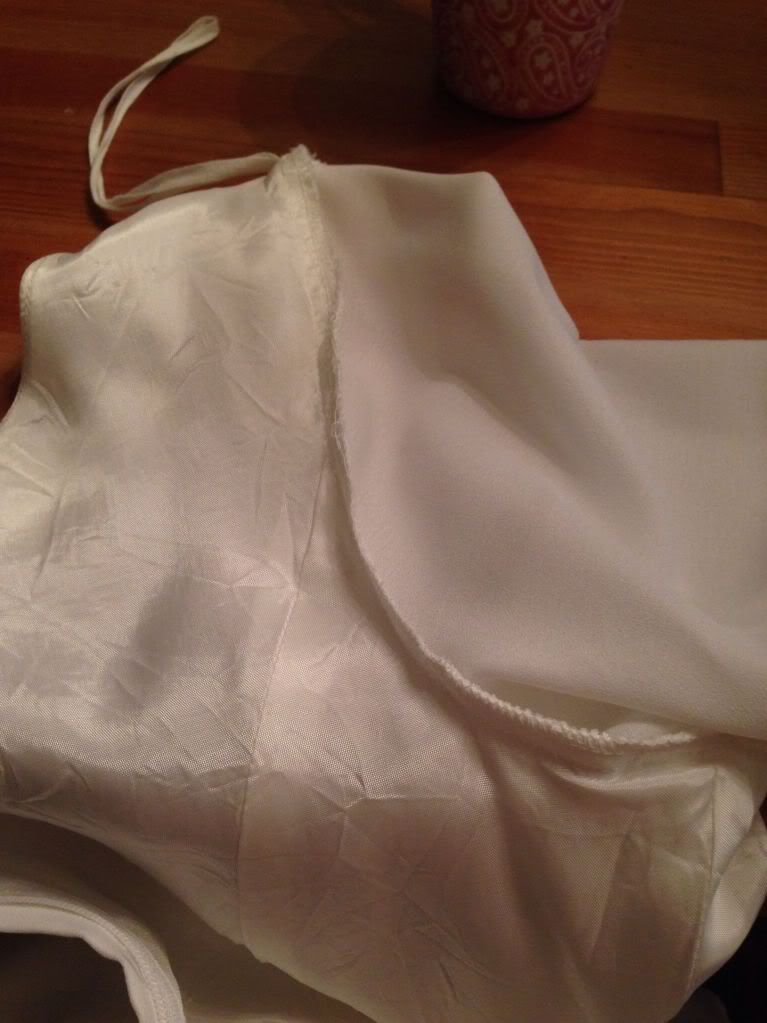
The dress has a top layer and a bottom layer, so I had to work hard at getting through both layers. I've never taken on any projects of this magnitude, and I was very overwhelmed!

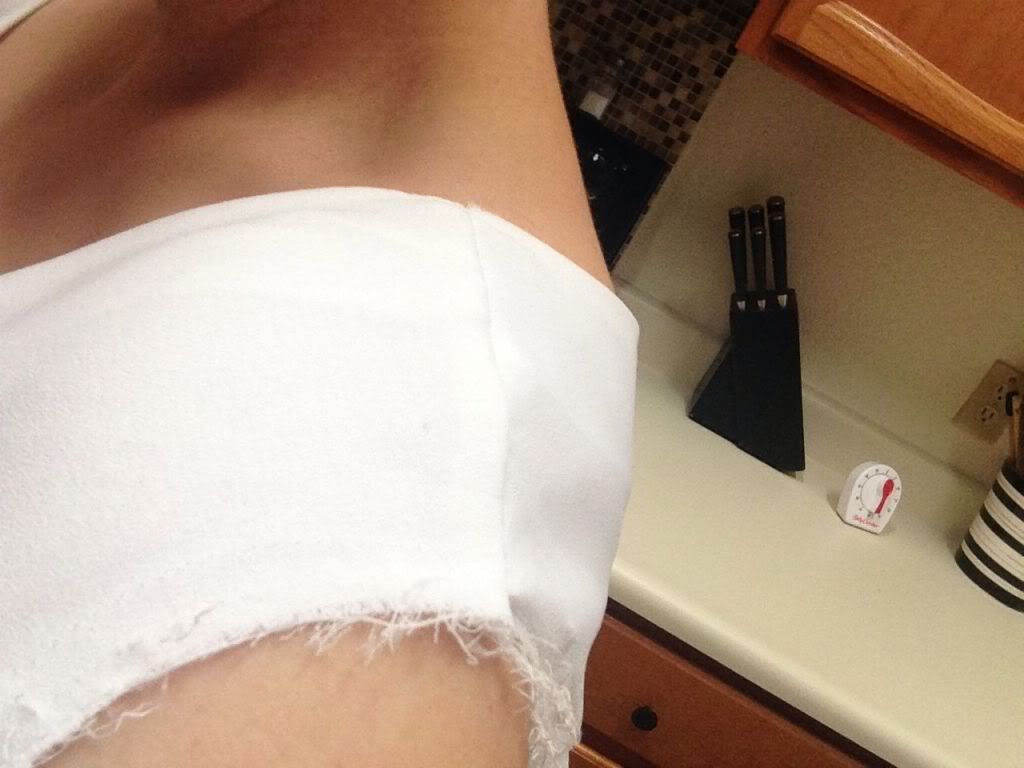
And here's the top without the sleeve. Then I had to take the neckline up 2 or 3 inches, so I had to undo the top seam as well.
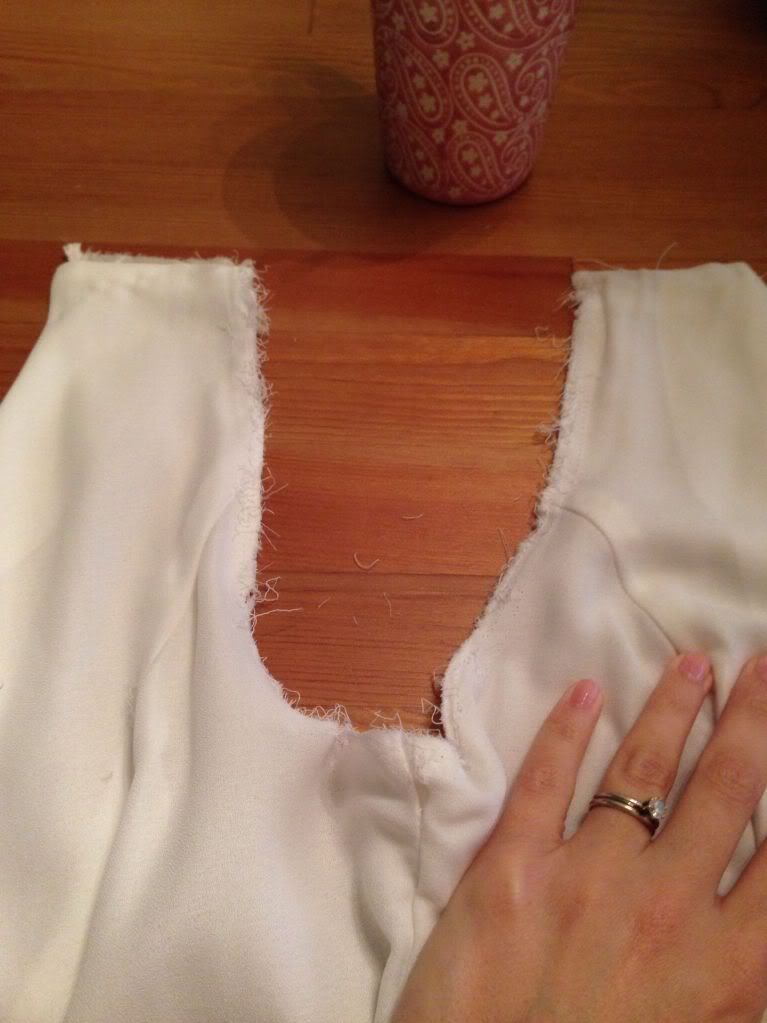
And here it is! The arm is completely cut and has no sleeve. Now, all I had to do was put it back together.
Here it is taken in about 2 inches. Fits much better!
Sewing the sleeves back on was the hardest thing I've ever done. I had to take breaks to think about the best way to line them up. It was crazy and very taxing on my brain.
Here it is with the higher neckline and the shorter sleeves. Hard to tell since I'm still swimming in it, but it is a very big improvement. Here they are side by side, just so you can see.
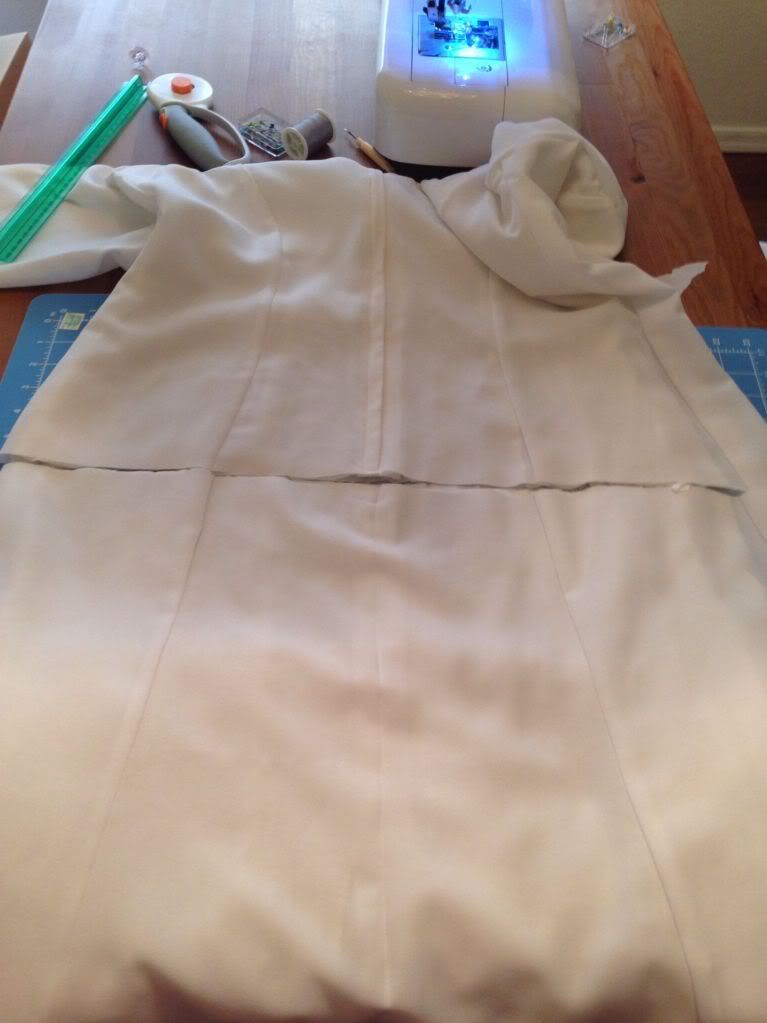
Next, I decided to get a little crazy. I thought it would be cutest if I split the dress in half and did a bodice and a skirt. This would work out best since I wanted to get rid of the zipper (since I had to take it in a few inches in the back as well). So, I sliced it right along the hip line (right below the zipper).
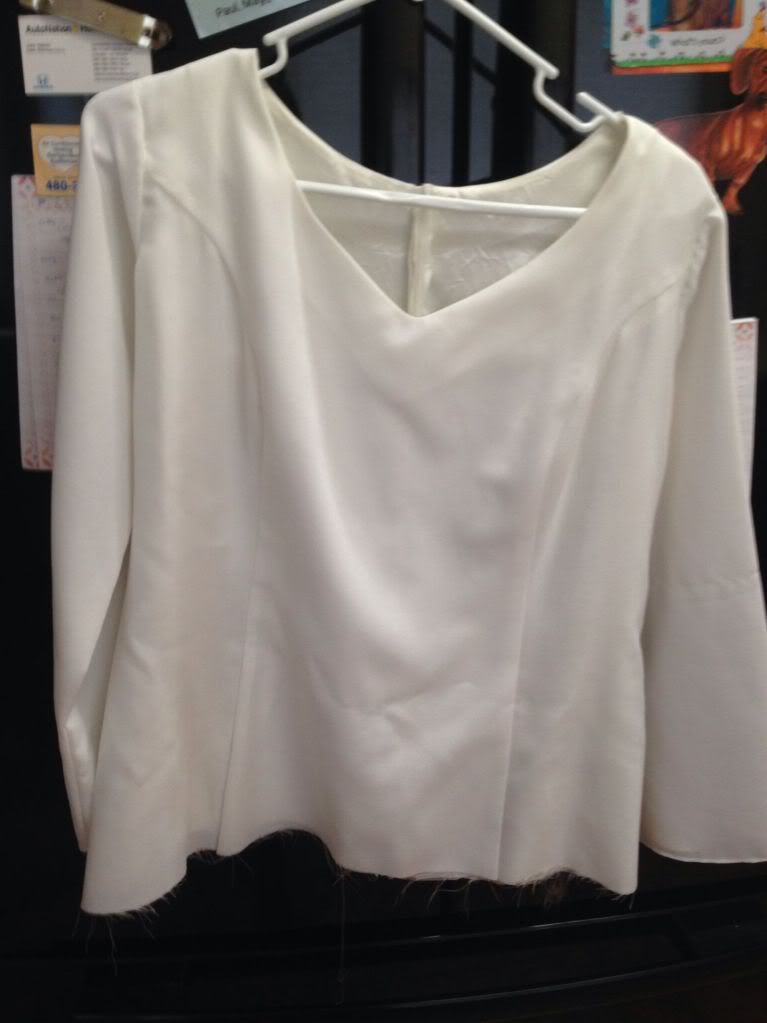
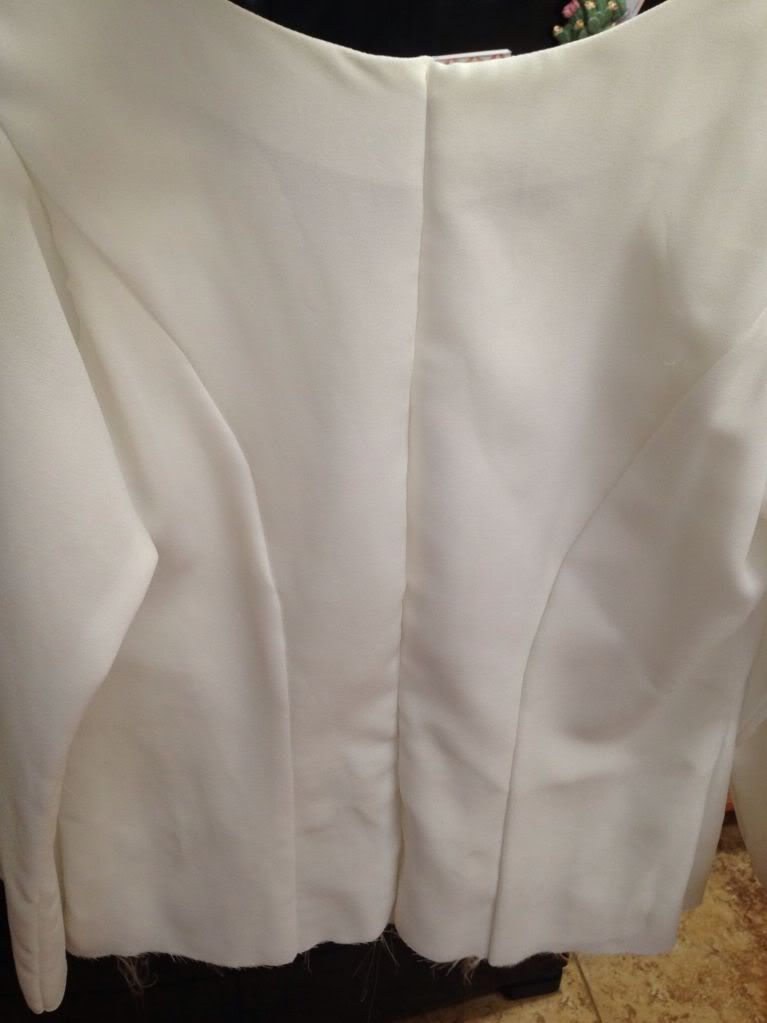
So here's the top, front and back (notice no zipper?). I'm leaving it alone for right now and focusing on the skirt.
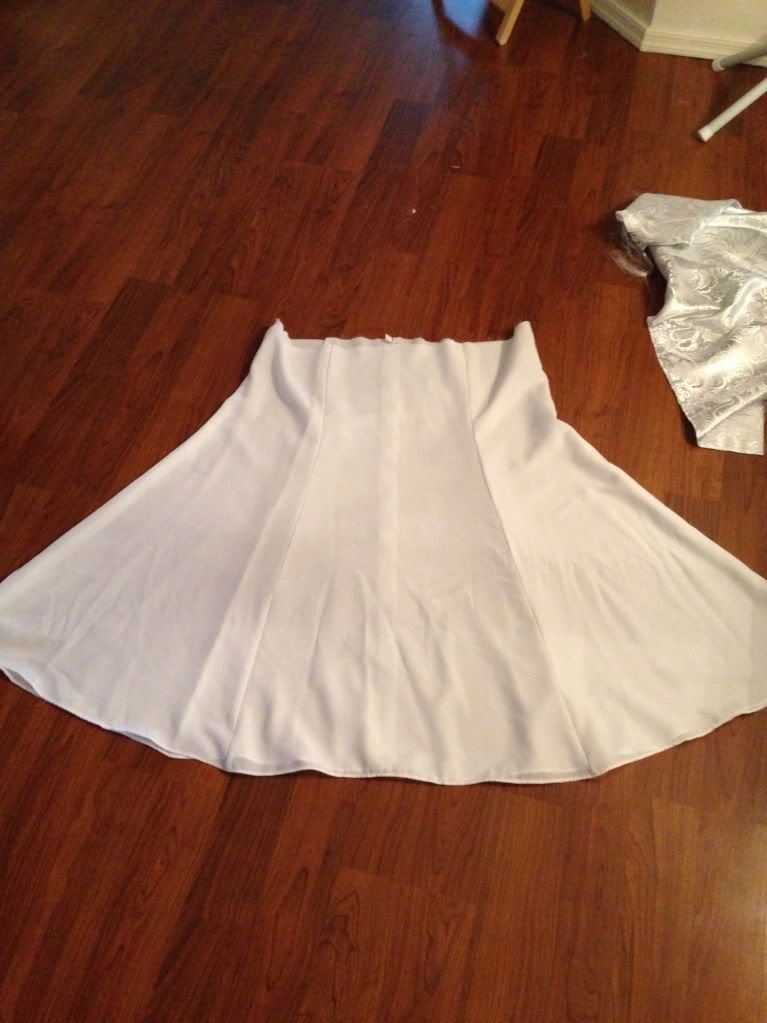
Okay, here's the skirt.
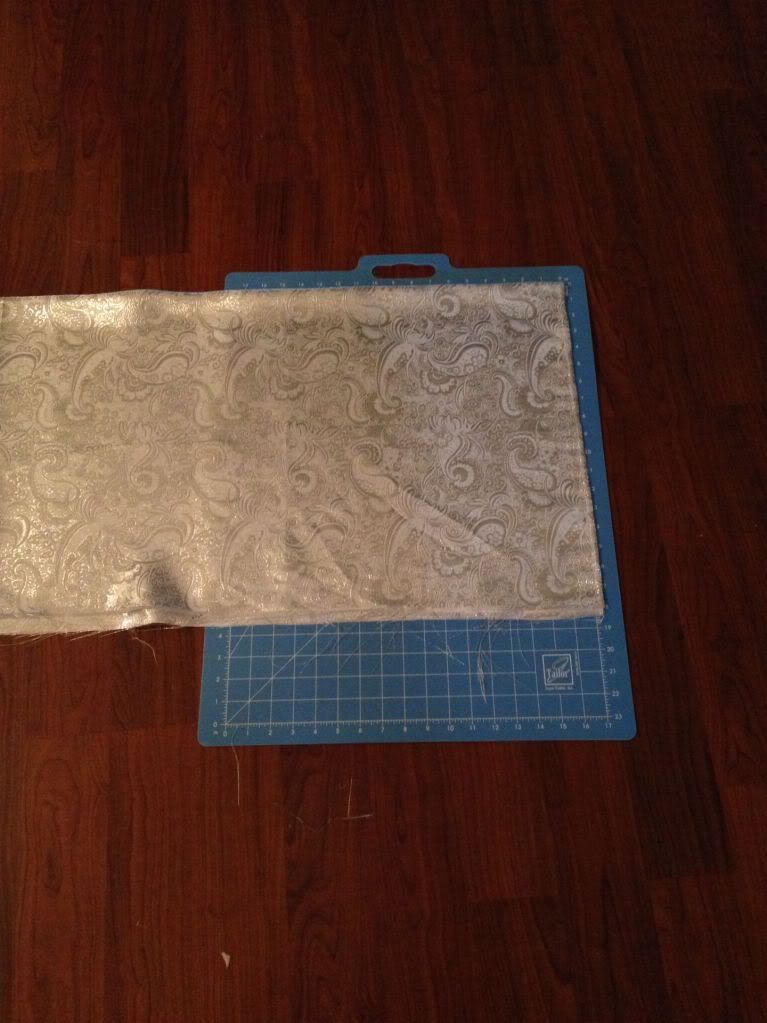
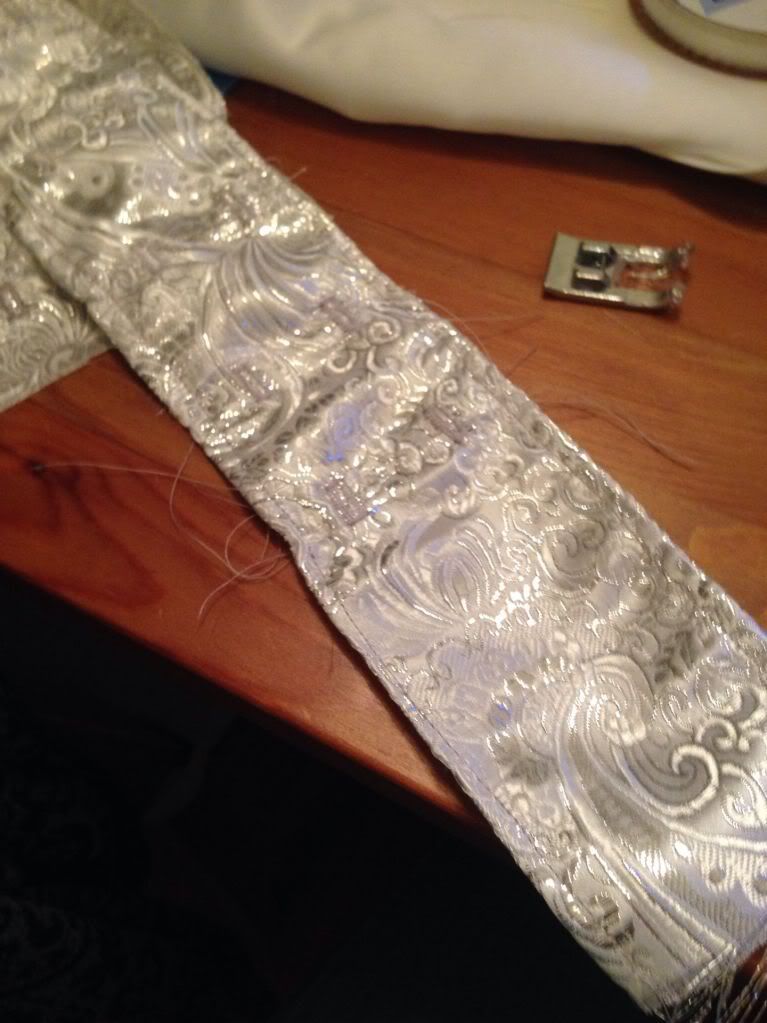
I thought it would be less plain if I added a peekaboo box pleat into the skirt. I bought a silver, paisley contrast fabric to go in the back. It's hard to tell the color because the house was so dark, but the paisley design reminds me of the Flame of Tar Valon. Fitting, I think.
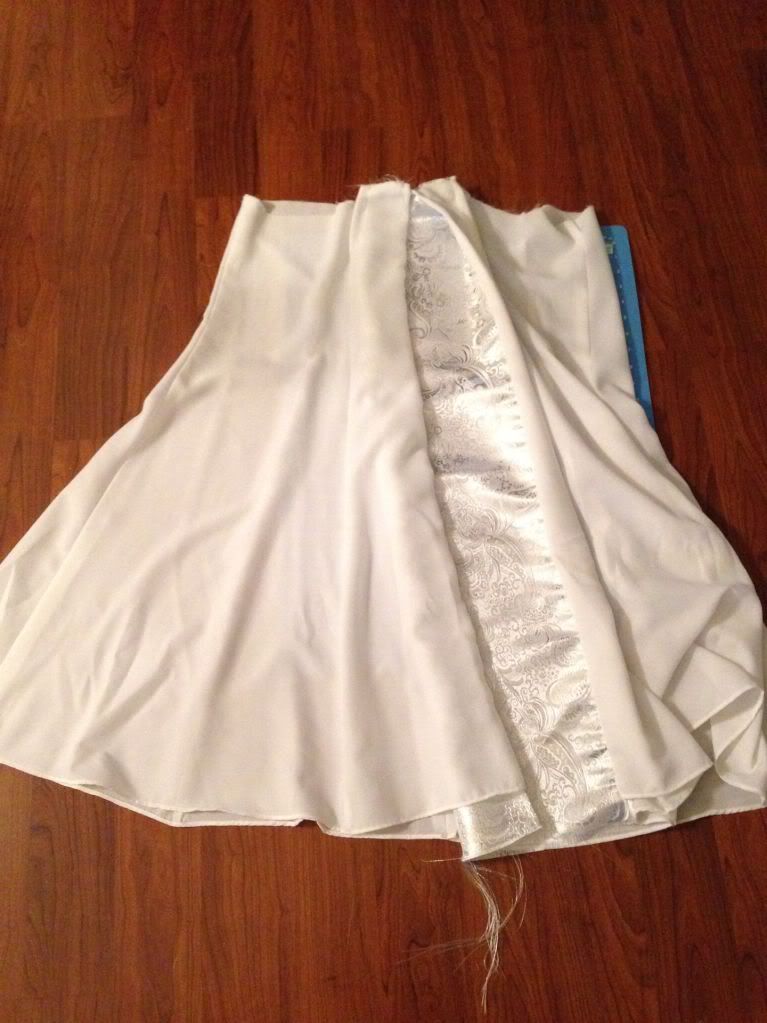
After some discussion and thought, I decided to do a three panel pleat. The first (and middle) panel would be 6 inches wide, with two smaller (3 inches wide) panels to either side. Here's the first panel, with the top layer only folded to give the impression of what it will look like when finished.
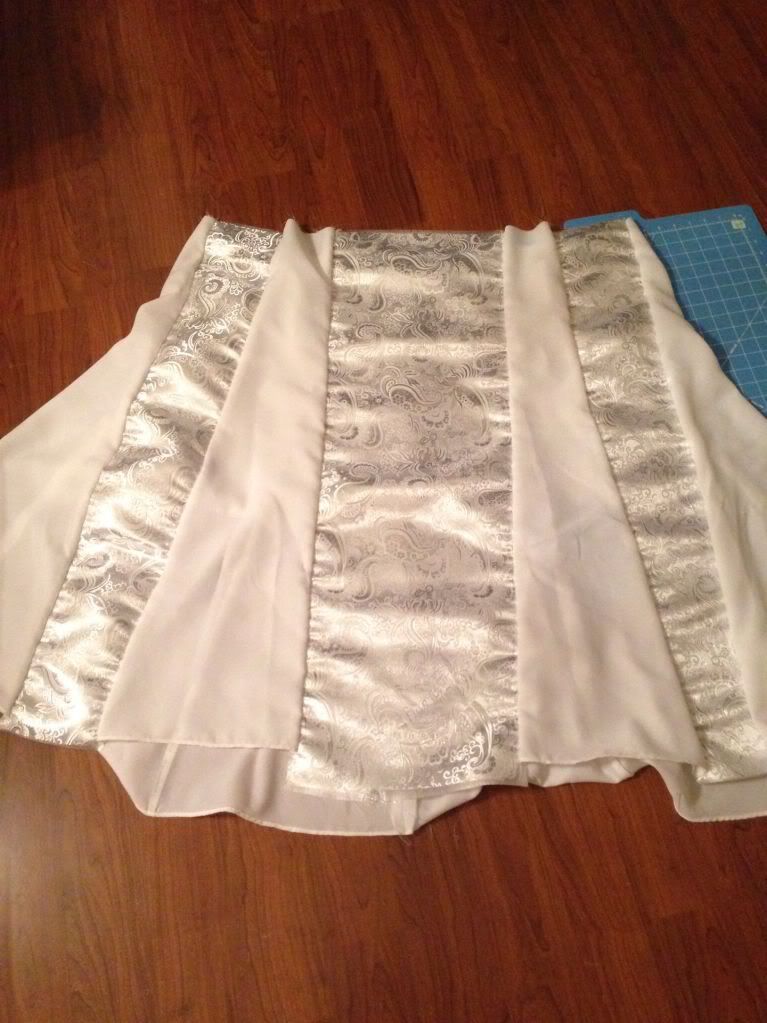
Here it is with all three panels.
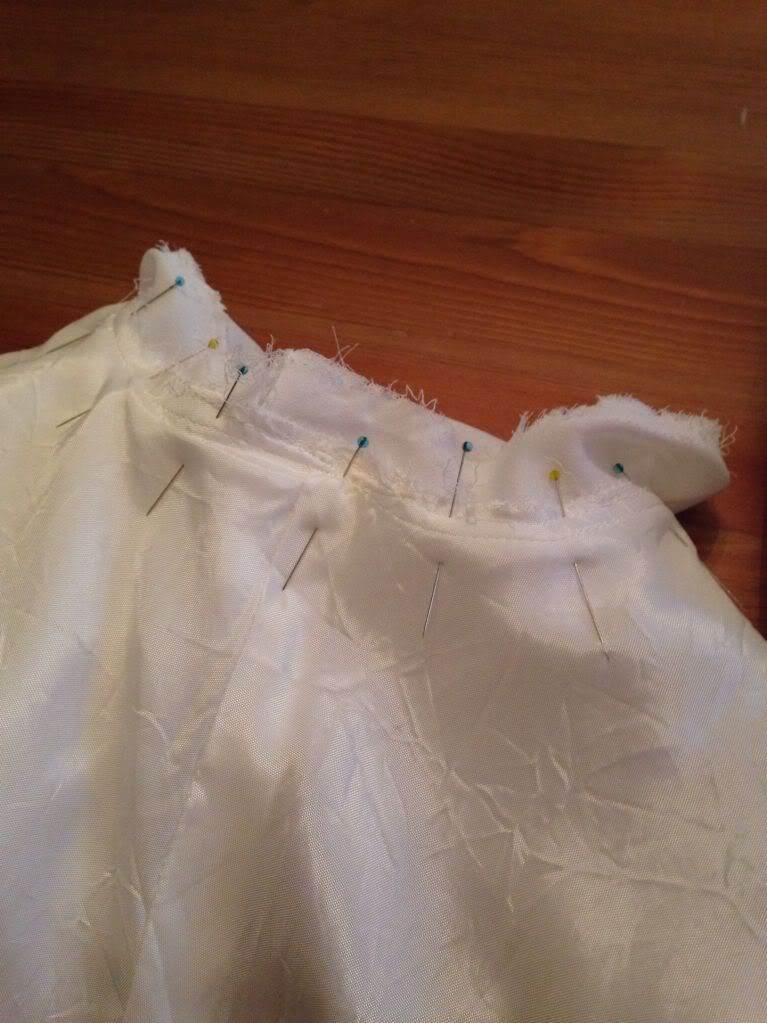
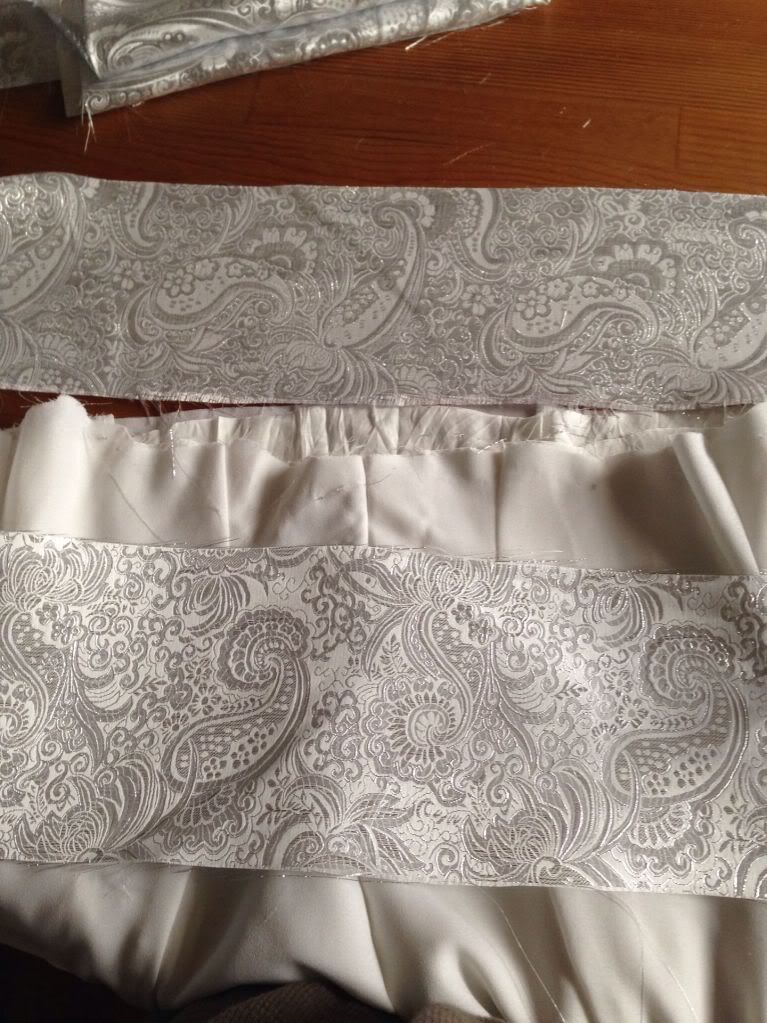
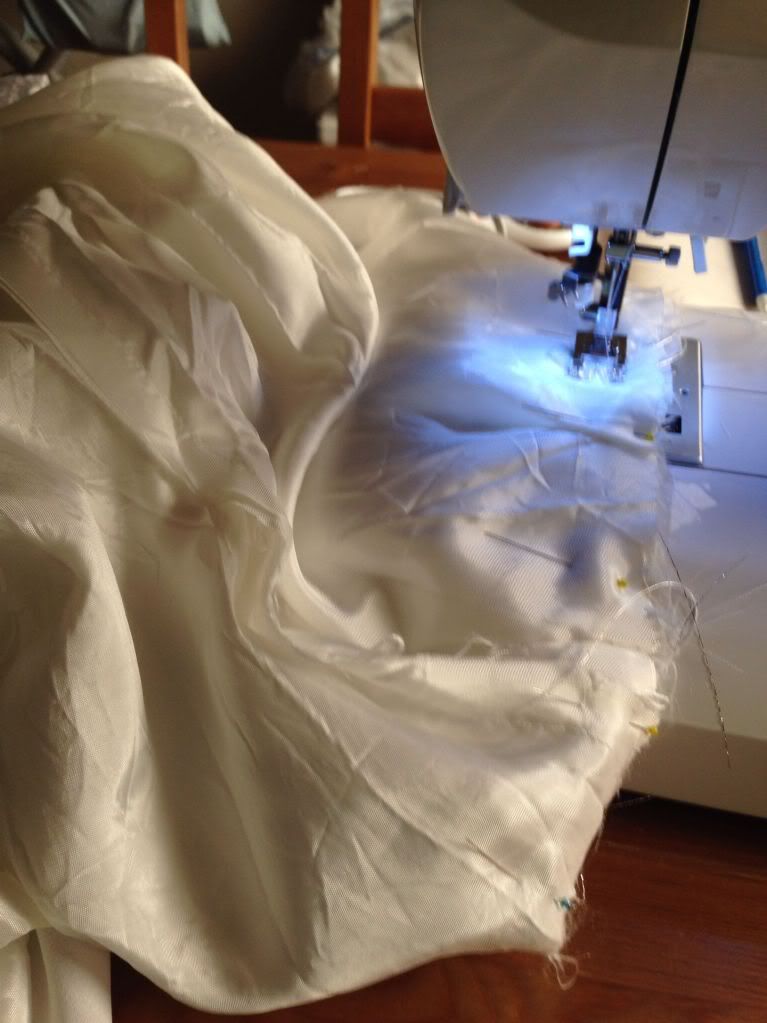
I pinned the pleats, and then did the hem. Then, I had to gather the back (the skirt was wider than the bodice since I took it in), and then sewed the bodice to the skirt.
Next, I decided to add in a fabric belt along the waistline.
It was tricky to do this. And I'm sure I did it the wrong way. There are quite a few bunched up areas around the belt, but I'm satisfied with the way it turned out. I sewed the belt to the bodice, then I had to sew the belt onto the skirt.
And here it is with the belt.
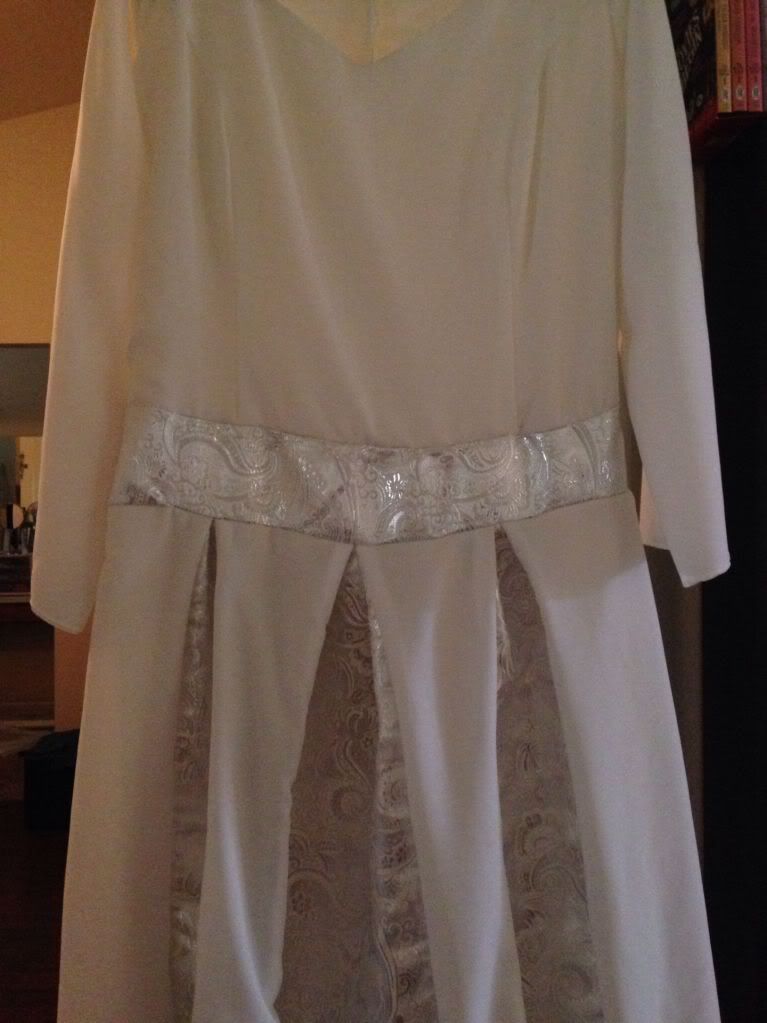
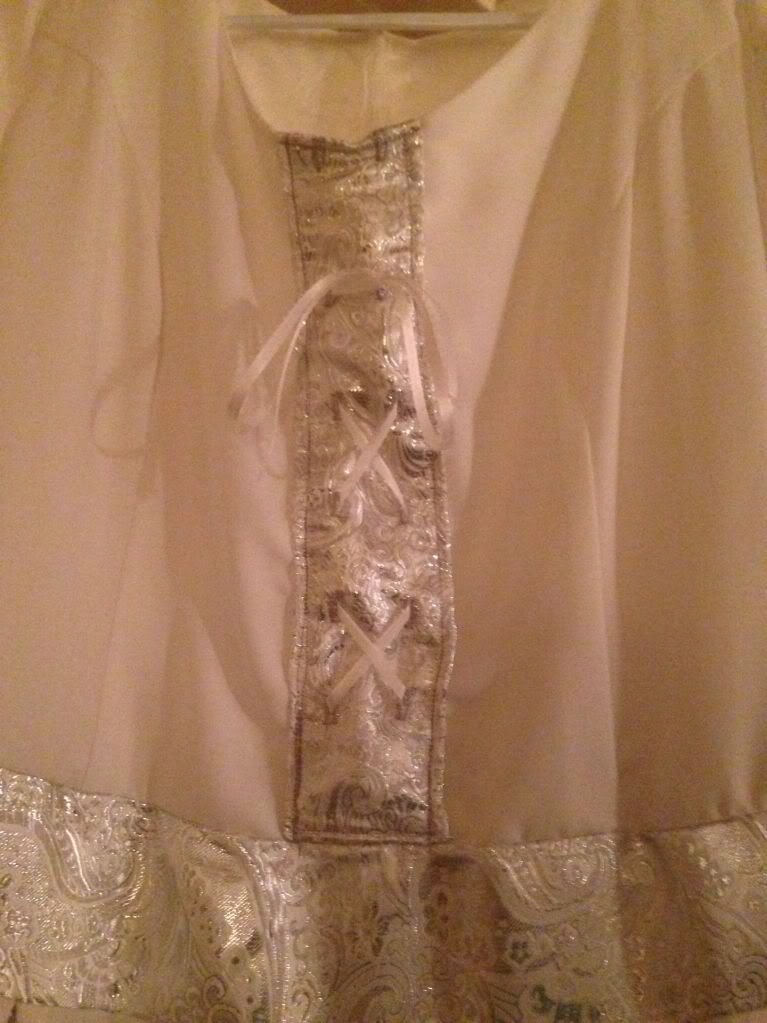
But I wasn't done there. I wanted to add something to the bodice to make it look less... weird. (It looked really weird on me.) So, I decided to do a strip of the silver material down the center of the bodice with some lace to tie it.
I took a thin strip and sewed up the edges.
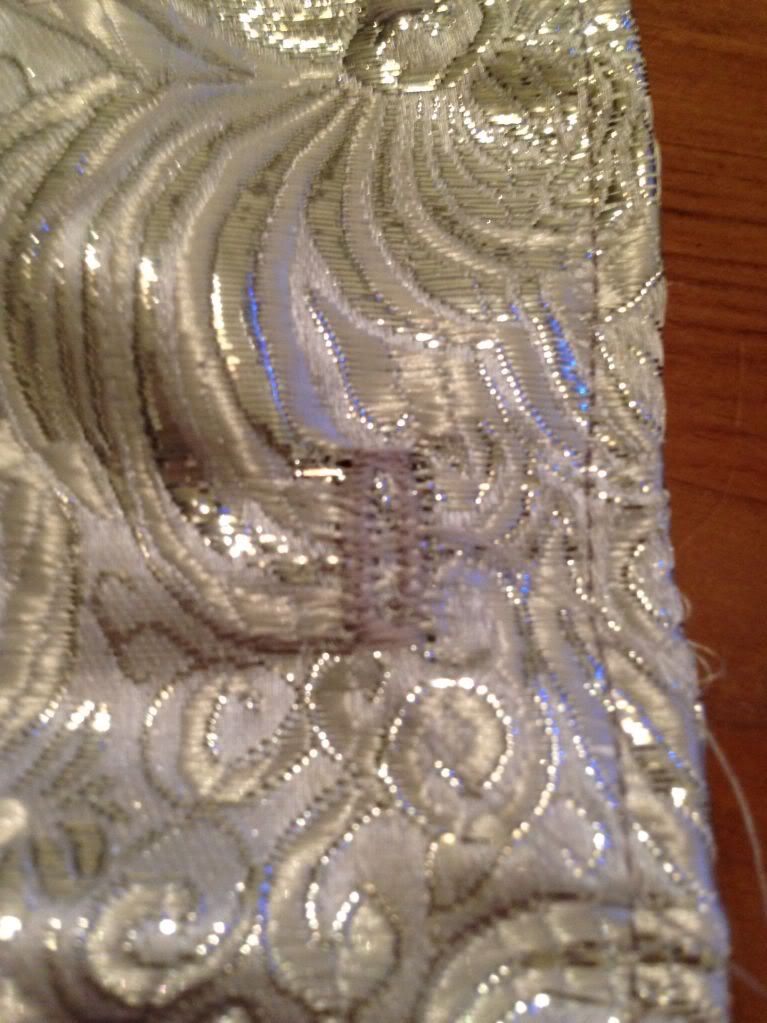
Then I added small button holes to put the lace through. This material is one of the hardest I've ever dealt with. It SHED so many lose ends and strings. It was very, very annoying (and it got all over my house). That was the reason for the button holes. Without them, the slits for the lace would have been all stringy and gross.
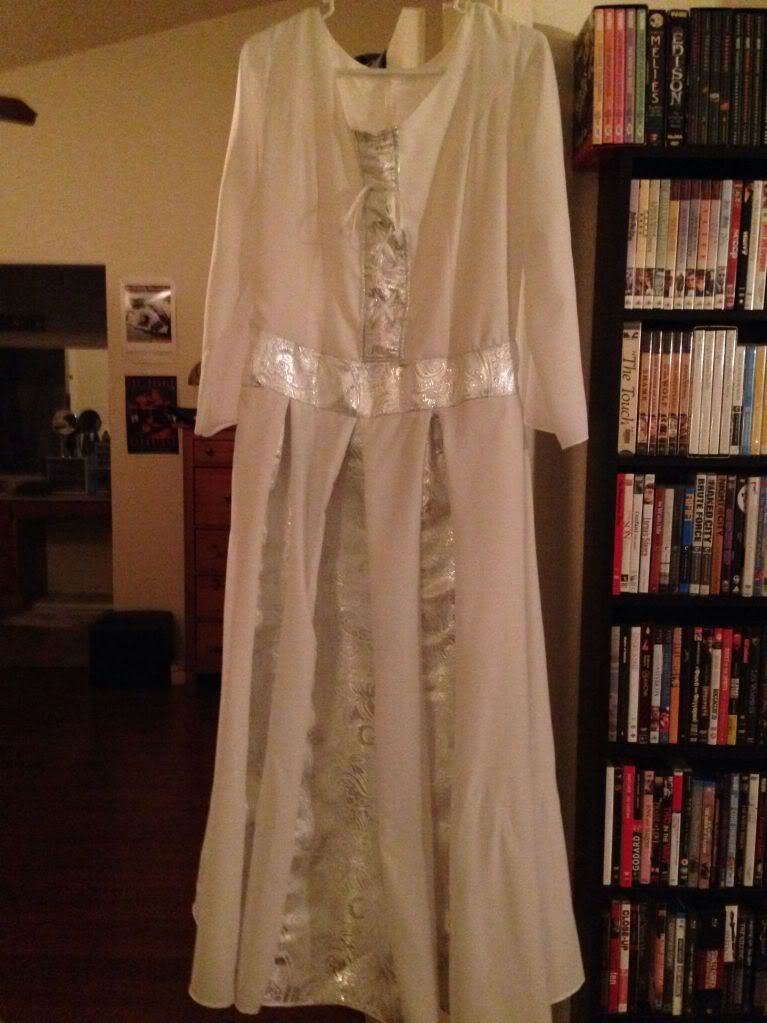
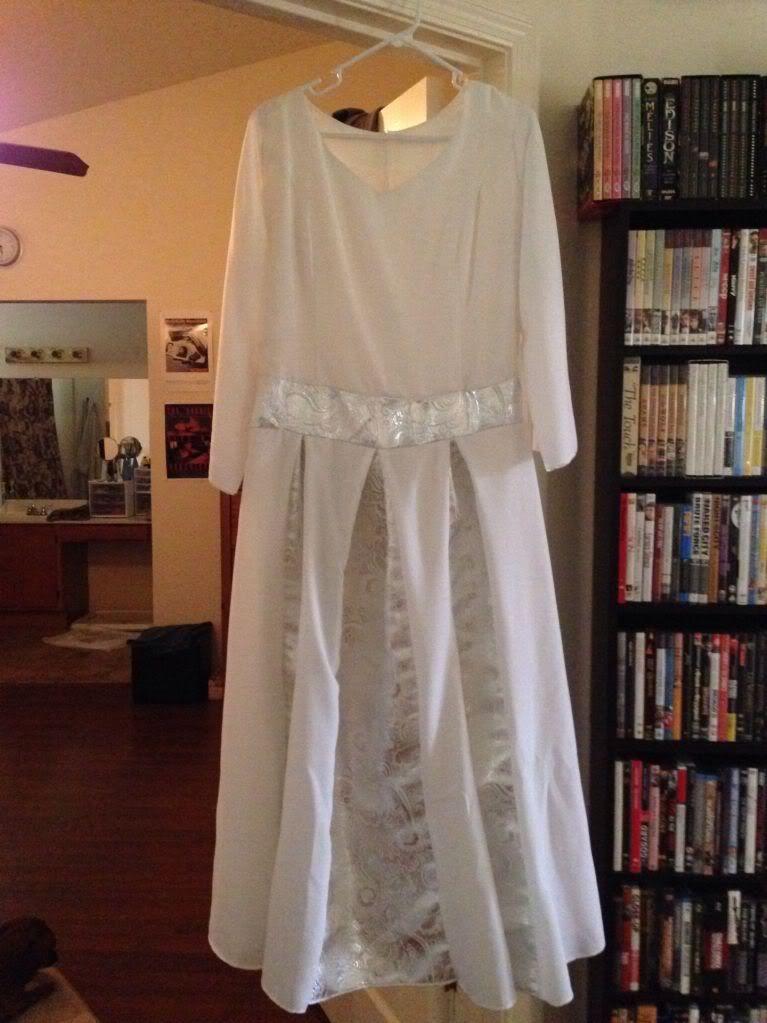
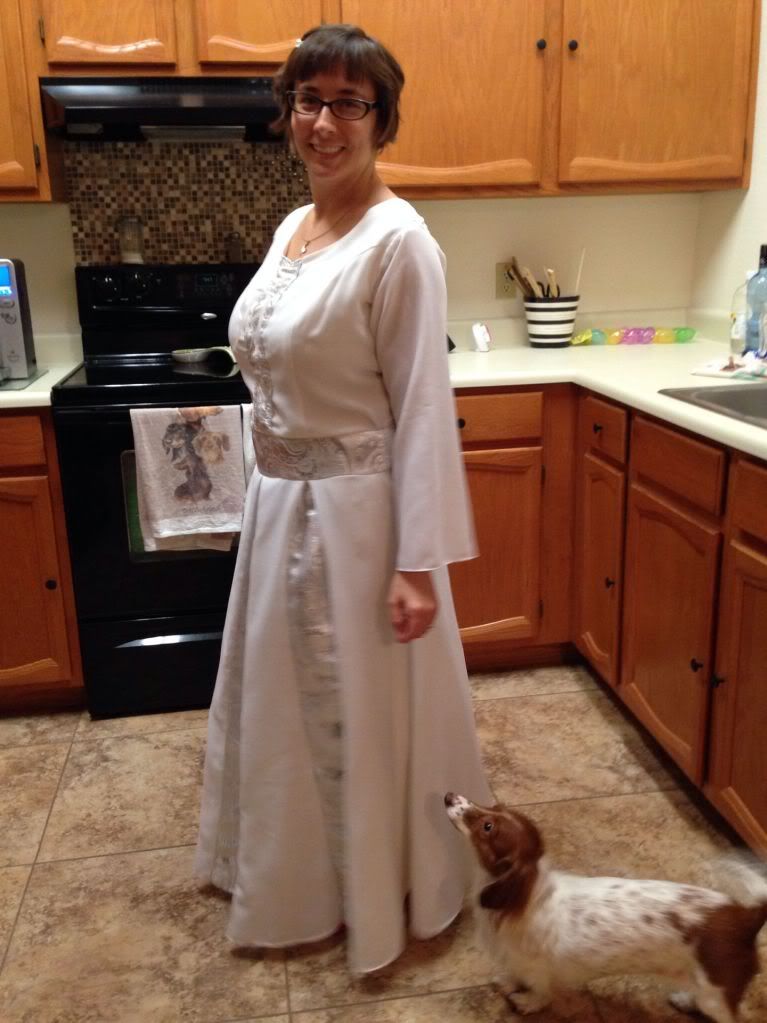
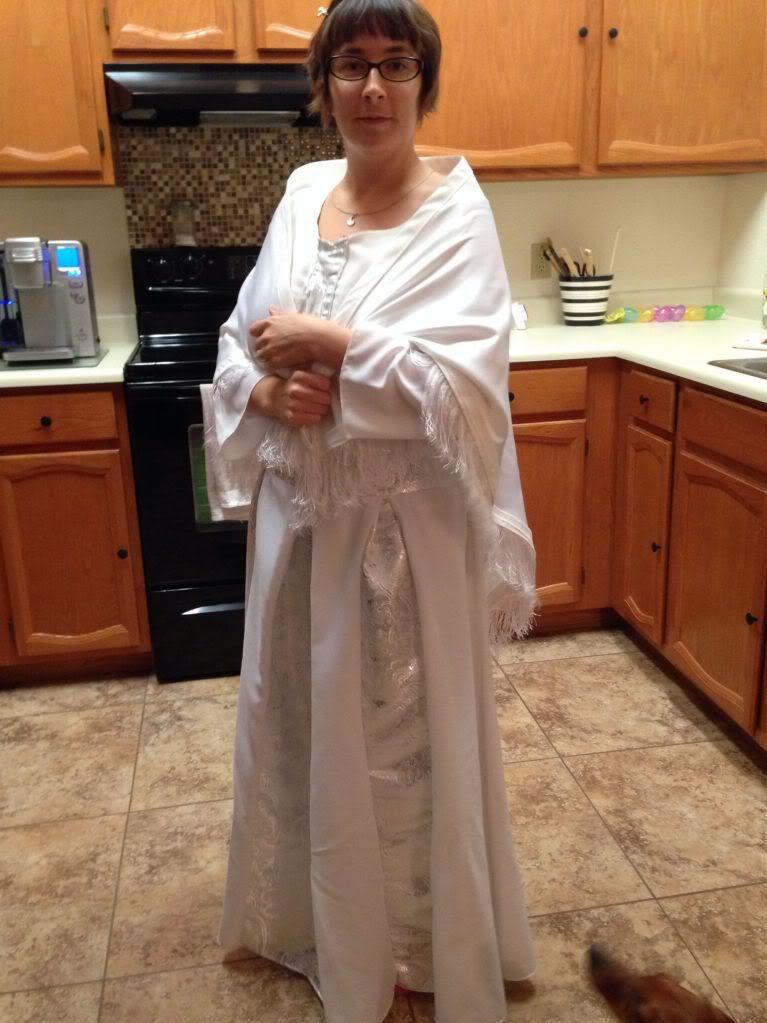
So here's the final product!

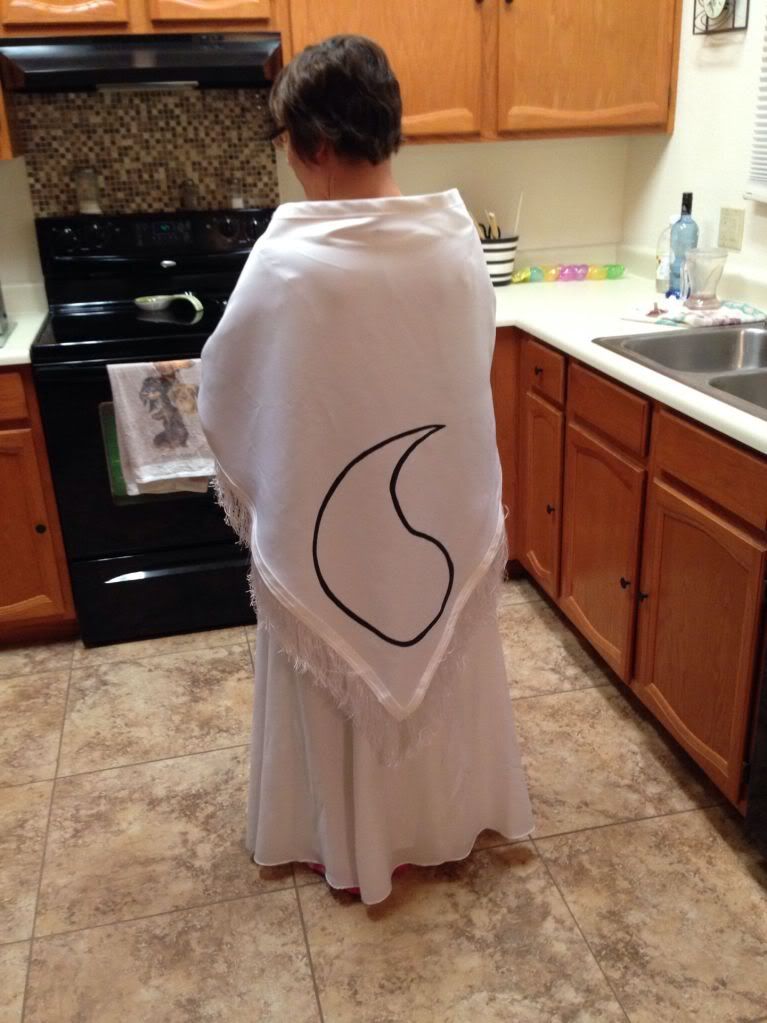
And with my very first Aes Sedai shawl (crafted by Pockets):
And now one last before and after:
So I got to wear that to the JordanCon in 2014. And I had a really fun time! (Actually, Pockets went with me that year and that made it so much more memorable!)

For the next year, 2015, I wanted a new dress! And I was feeling confident enough to make one from scratch; Pockets had made her own the previous year and I had to prove I could do it too!
I started with a crushed velvet fabric in white.

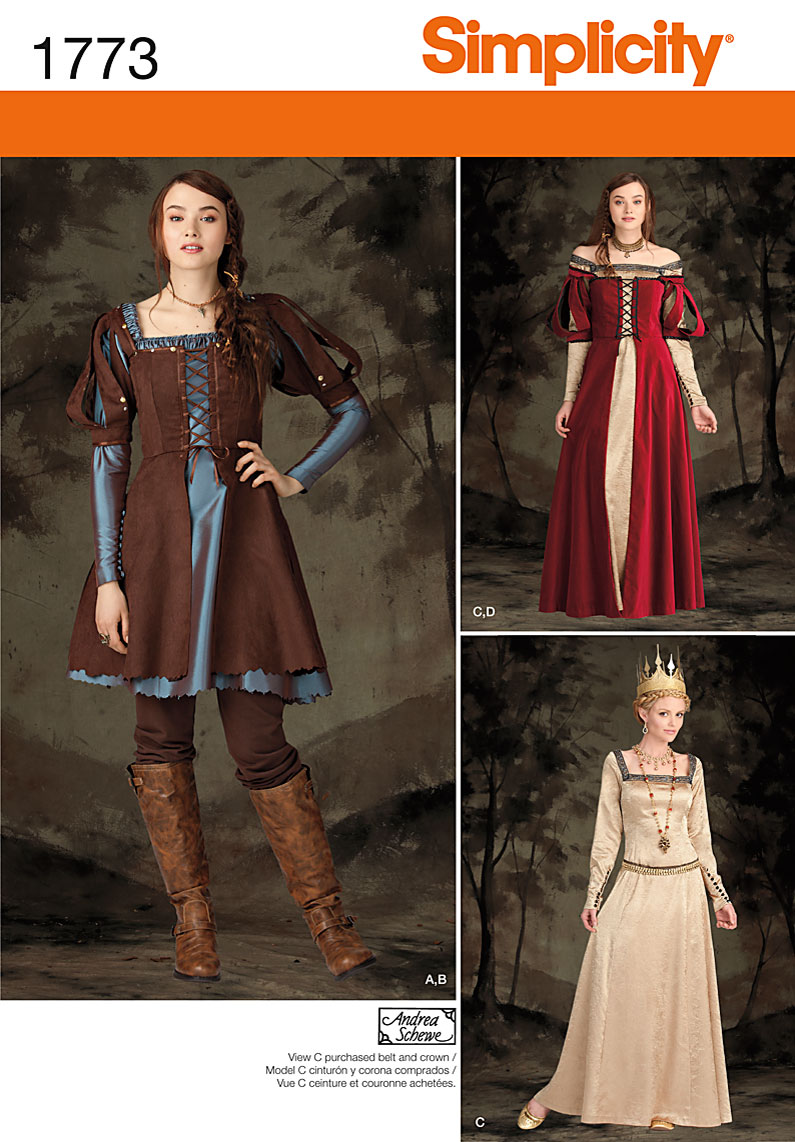
I used Simplicity 1773, the C pattern.
I cut out all my pieces, probably the hardest part of the project.


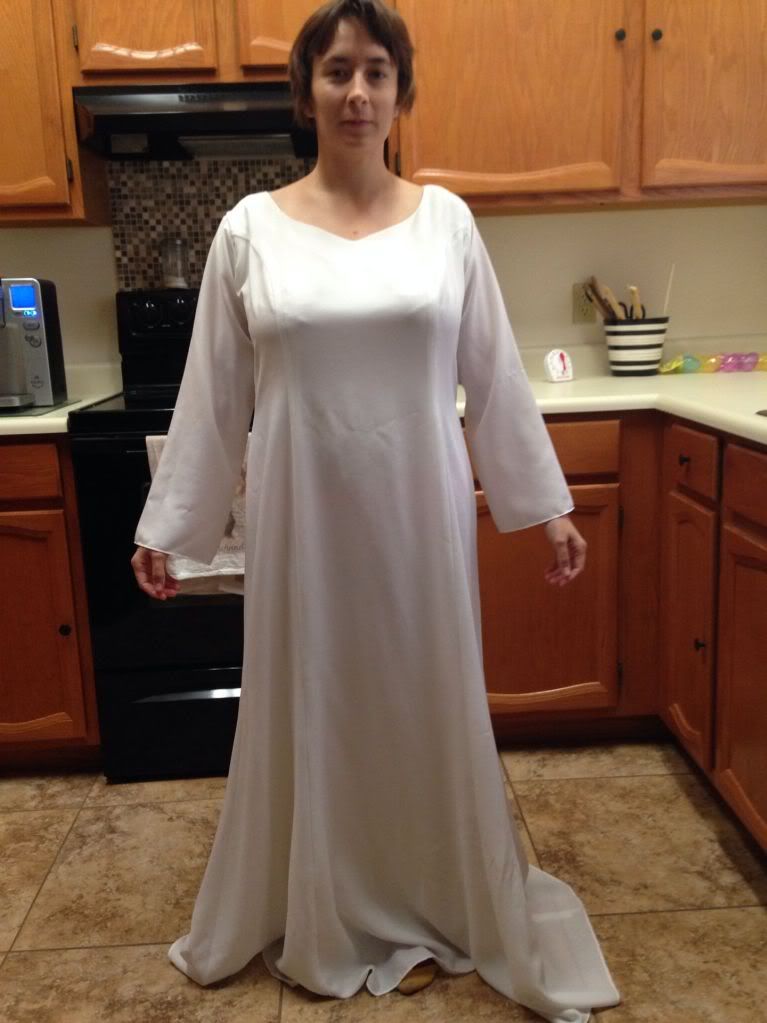
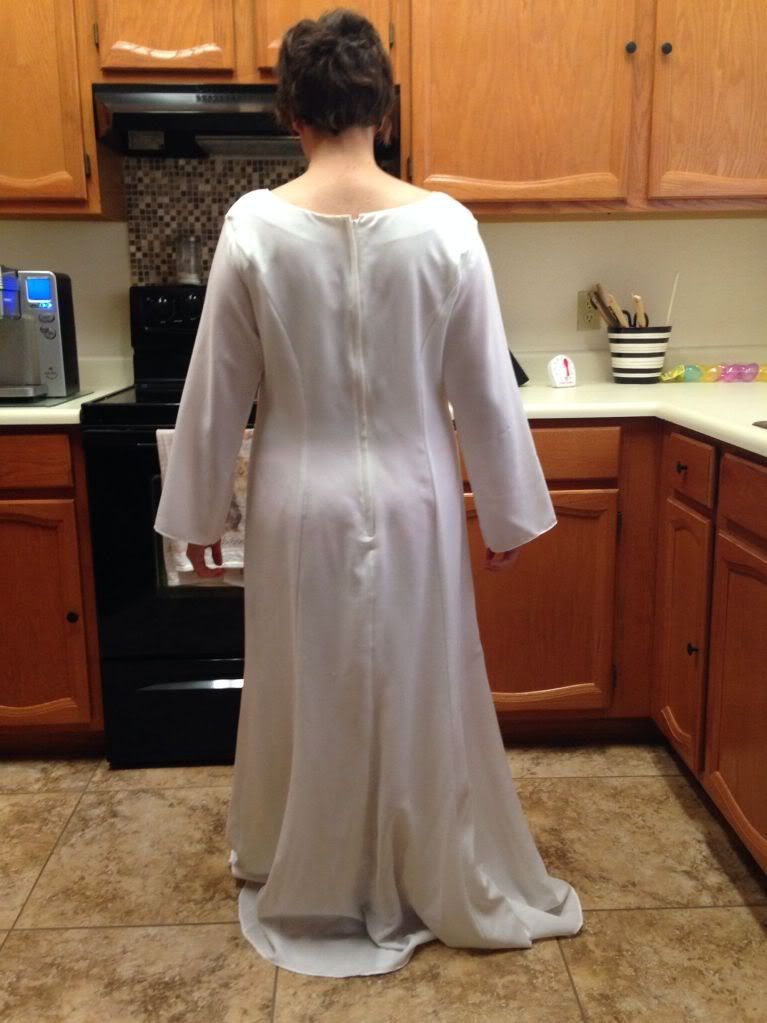
Sew them together as the instructions say, and voila!


The pattern calls for adding ribbon to the neckline, so I wanted to try that as well. But, what I used was strips of a purple fabric covered with lace.

It still looked pretty plain, so I decided to add two strips of fabric going down the front to cover the seams. I sewed thin lace to the edges of the fabric.


And here I am at JordanCon, with my trusty White Ajah shawl.


Pockets didn't go with me, so I brought along my husband!

JordanCon 2016 is quickly approaching and I'm wondering if I should make a new dress for the occasion. I'll give it some very serious thought!
~Buttons


