
There is a very clear, easy tutorial on how to do this here. I used it for the basis of my own skirt.
Step 1: Calculations
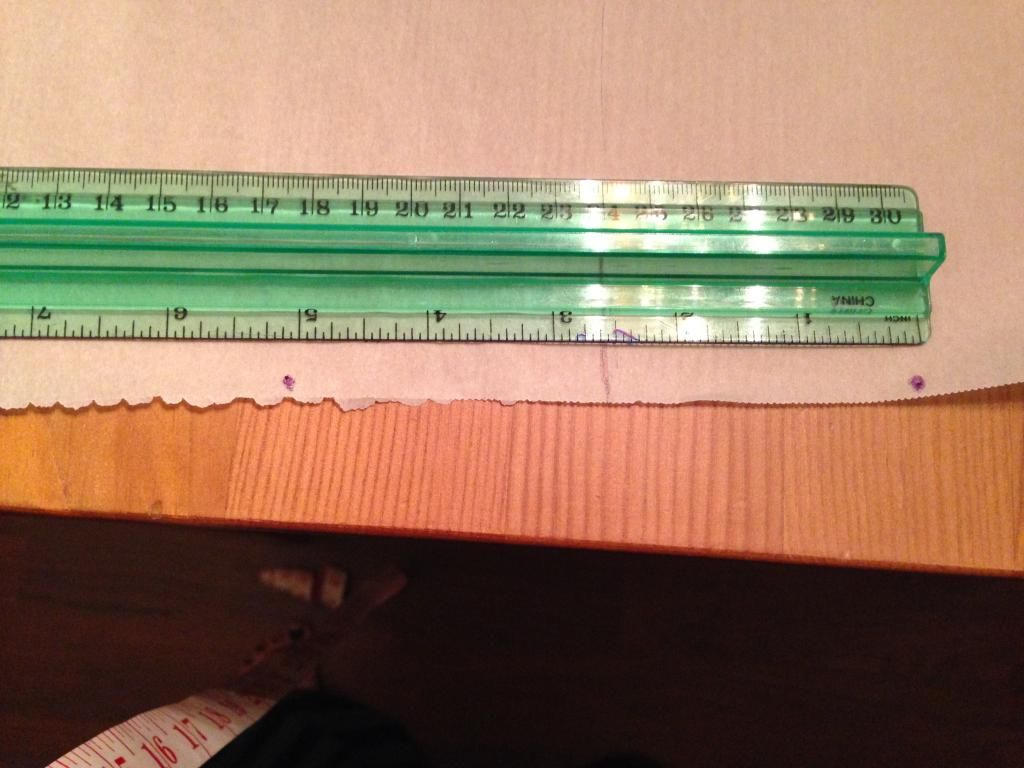
To find the dimensions of the panels, first take the measurement of your waist. Here's mine.
Measurement of waist: 38
Divide that by 10= 3.8
Add an inch for seam allowance (and round up)= 5 inches
This will give us 10 panels that are 5 inches across on the top.
To determine the bottom width, we need to think about how full we want the skirt. I want a lot of fluff, so I'm thinking I'll add 2 inches to each side.
Our bottom length= 9
That gives us our top and bottom measurements, but now we need our length. This is really up to you. You can make it short, or long, or in the middle. I'm thinking I want mine to be mid-calf.
Now measure length: 27
Add an extra 2 inches for top and 1 inch for bottom seams= 30
So our length will be 30 inches—but we will lose about 2-3 inches of that in seams.
Now we can copy these measurements onto parchment paper or newspaper for a pattern. It should look something like this.

When you go to trace your pattern onto your fabric, because the angle should be the same on both sides, you can stager your pieces facing up and down—as long as your pattern is reversable. Like this:

Step 2: Pattern
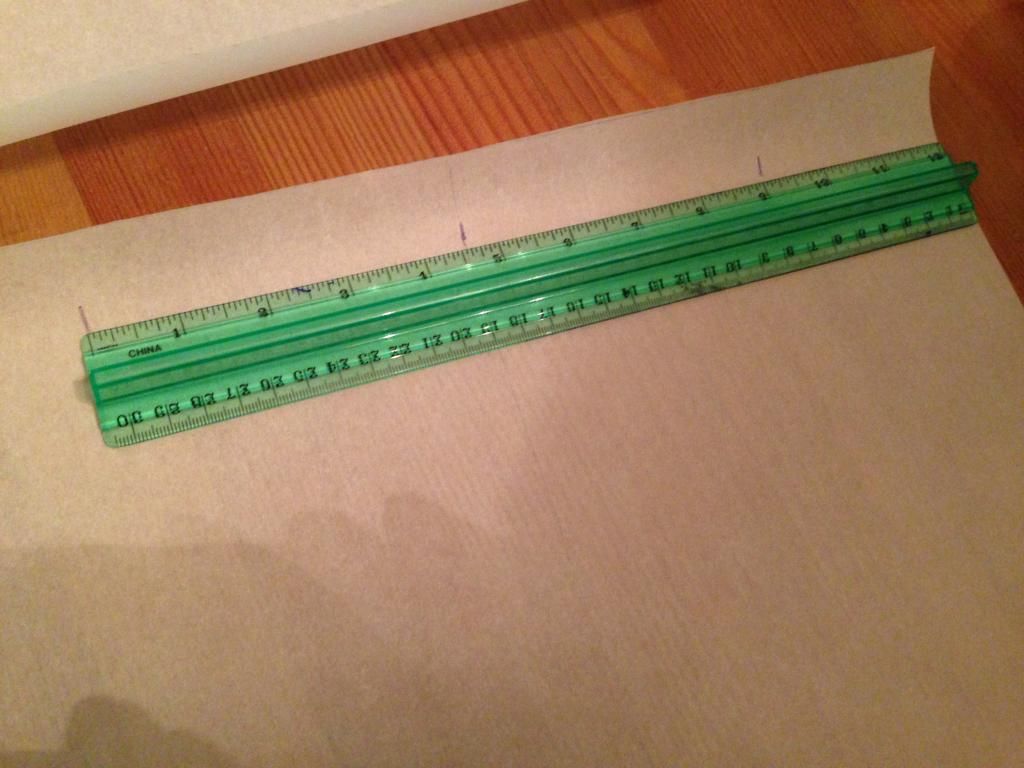
I used parchment paper to trace my pattern. I used a ruler to measure 5 inches at the top, marking the center (2.5) to draw a vertical line down to the bottom measurement.
I did the same for the bottom measurement; marking (from my center line), 9 inches total.
Using a straight edge (which was my cutting mat) I connected the center lines from my top and bottom. Then, using the mat again, I connected the outside edge of my top line with my bottom line.
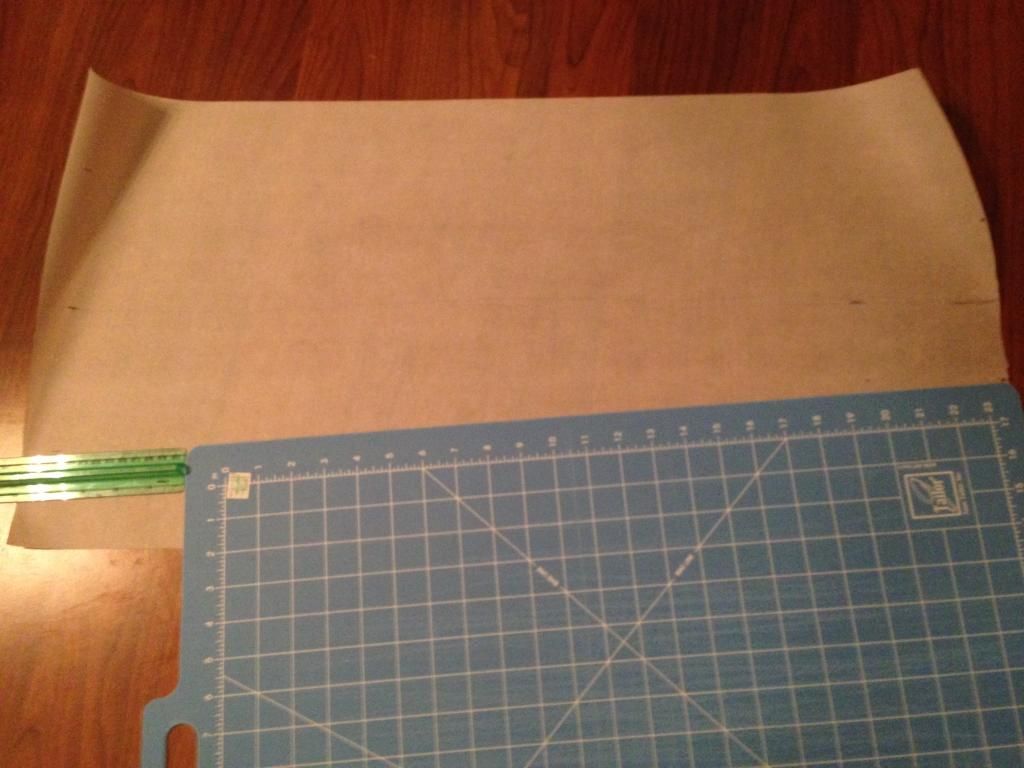
Then, I cut out the pattern.
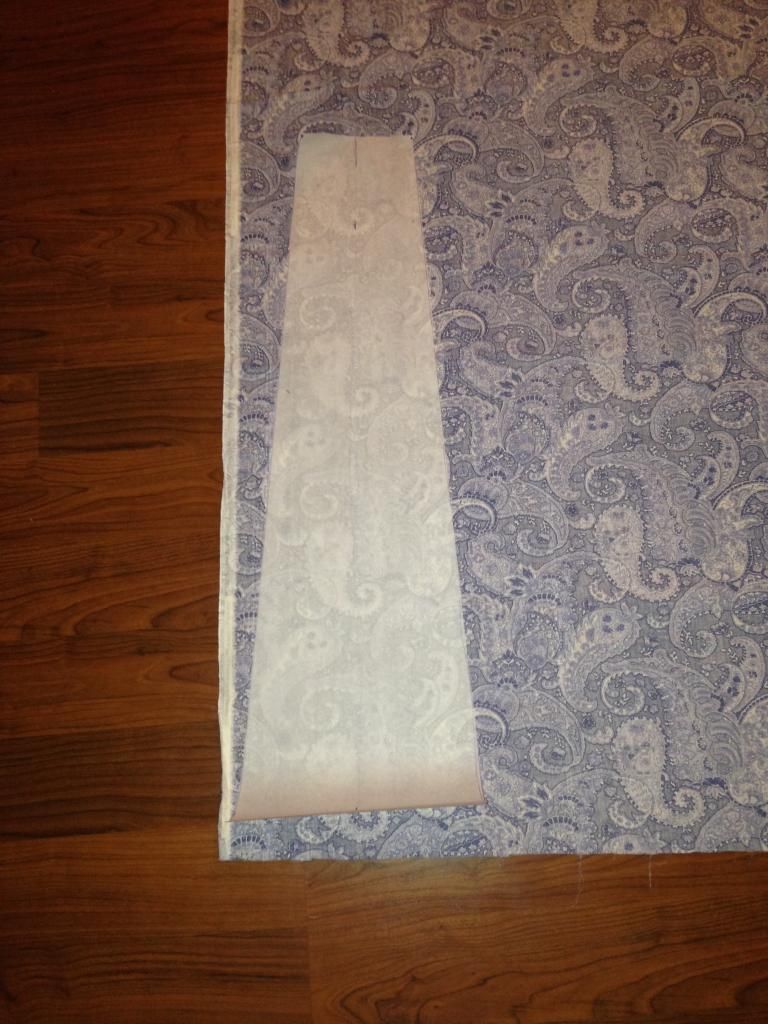
Step 3: Trace the pattern
I traced the pattern on 10 times, flipping the direction of the pattern each time. This made it easier to cut out. (Note: I used a sharpie to do this, so you can see the dark purple lines. Typically you shouldn't do this, but since I knew the seams would cover the marker, I used this method. You could also use fabric chalk, which would wash out easily.)
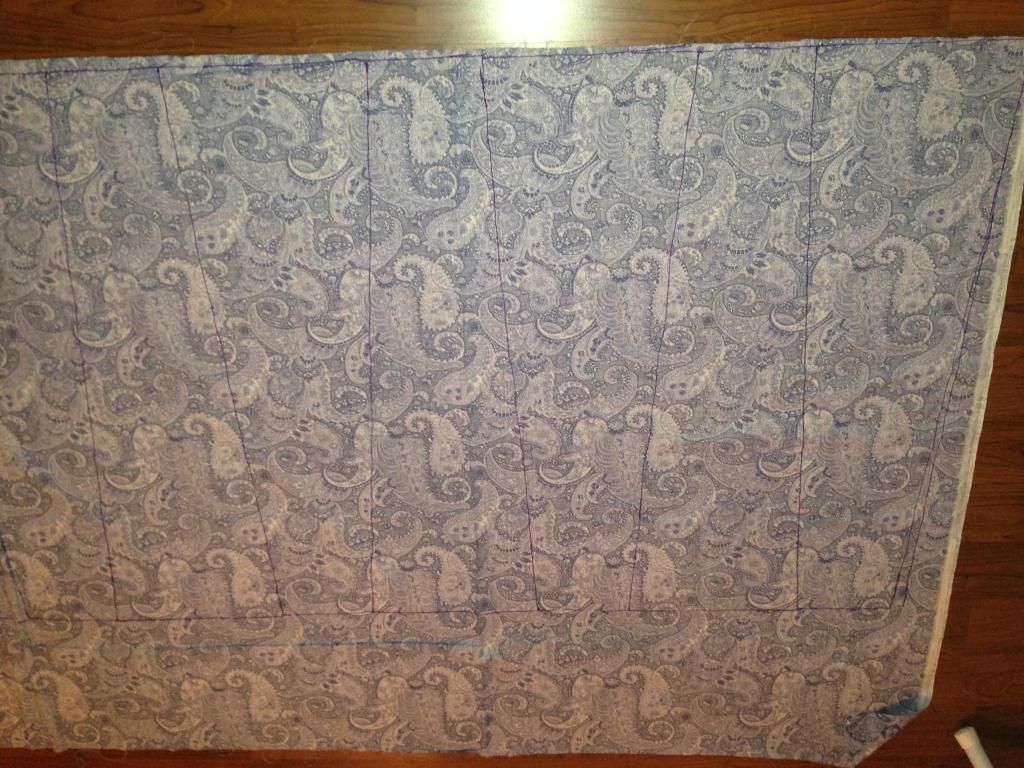
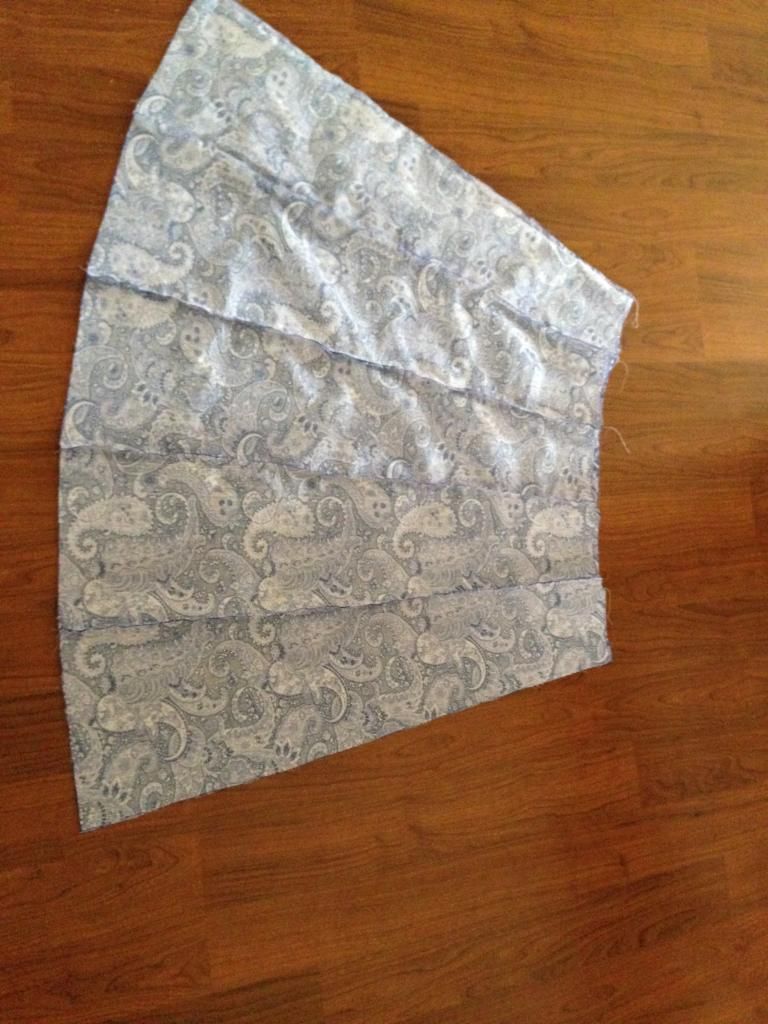
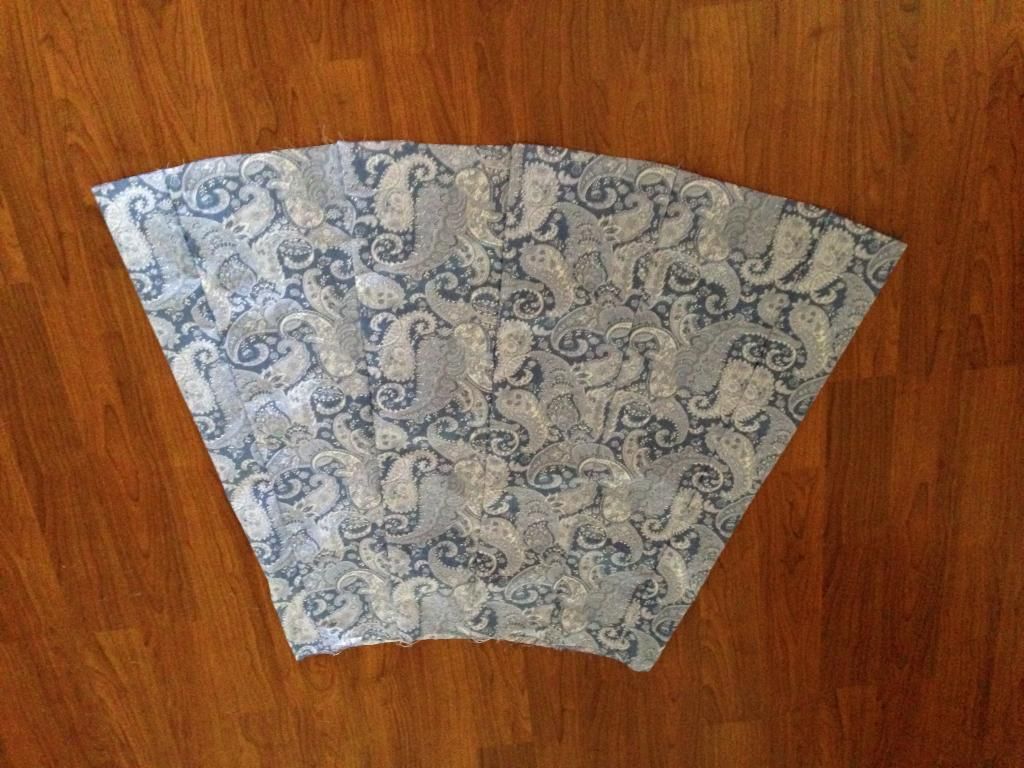
Lay them out side by side and they look like this:
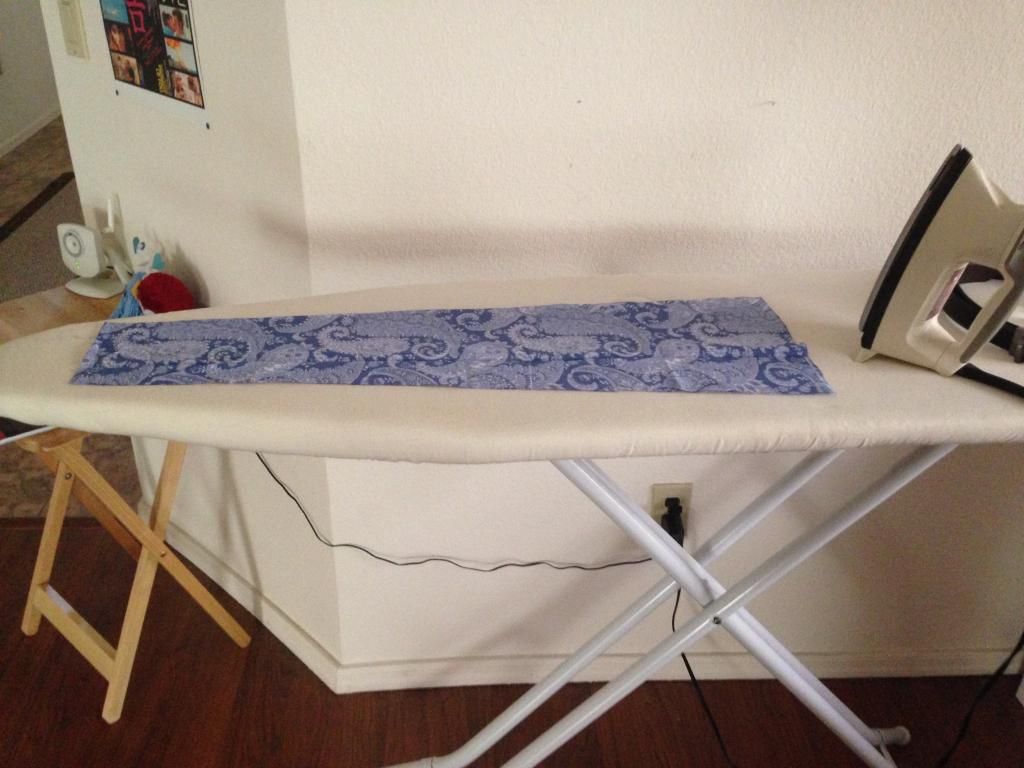
The next step it to iron all the panels.
Step 4: Sew the panels
Then, start sewing. You'll be straight stitching each panel to the one before it--right side to right side.
Place your first panel on your sewing machine, face up, and the next panel face down on top. Stitch, and repeat. You'll sew all 10 panels together in this way.
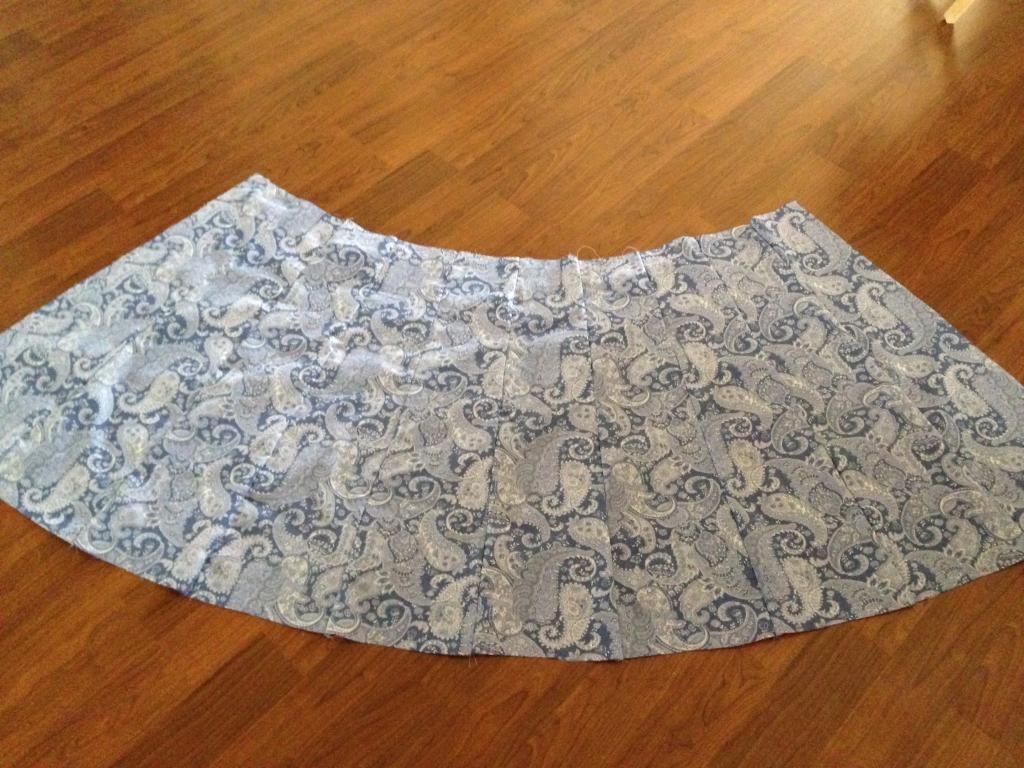
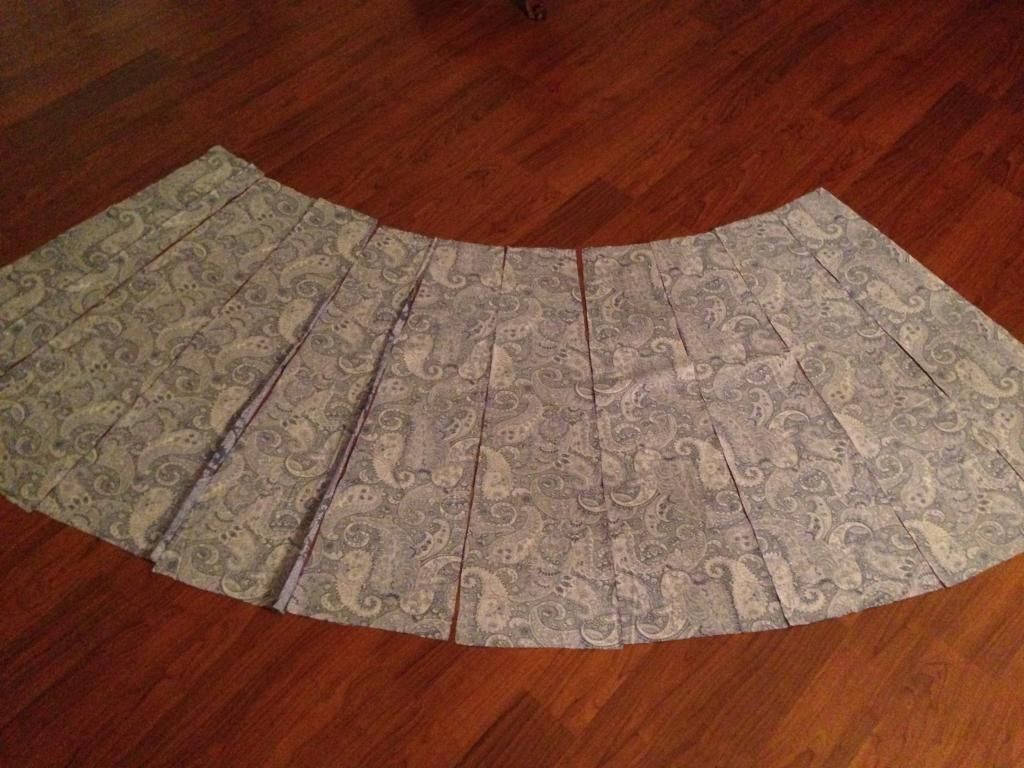
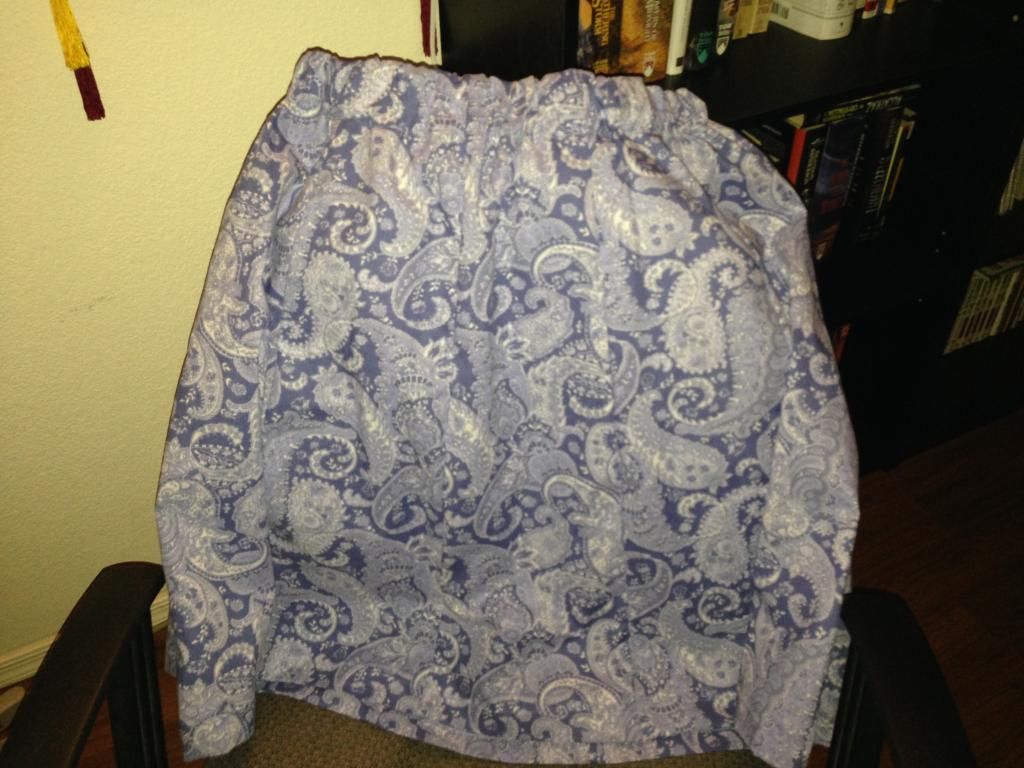
At this point, I tried it on to make sure it would be the correct width, length, etc. Here, it's too big by 2 panels. If I had left off 2 of them, the skirt would have fit perfectly. But the point of this kind of skirt is having the extra fabric. But it fit over my hips okay--which was what I was worried about--and the length looked good. So you take the first panel and the last panel and sew them together, right side to right side. It'll look like this when done.
Step 5: The hems
Put your skirt on the iron board and fold the bottom hem up 1/2 inch or so.
Iron it down. Then fold that up onto itself, giving you a double folded edge. Iron it again. I put pins in as well, just in case.
This next part, I was so excited about. While shopping with Pockets the
other weekend, I bought a new set of needles for my sewing machine--I
broke at
least three of mine while making those Pikmin hats. While there, I saw
that they had a double needle, for doing professional-type hems. I
bought one, with this project in mind. I've never used a double needle
before, and I was so anxious to try it out.
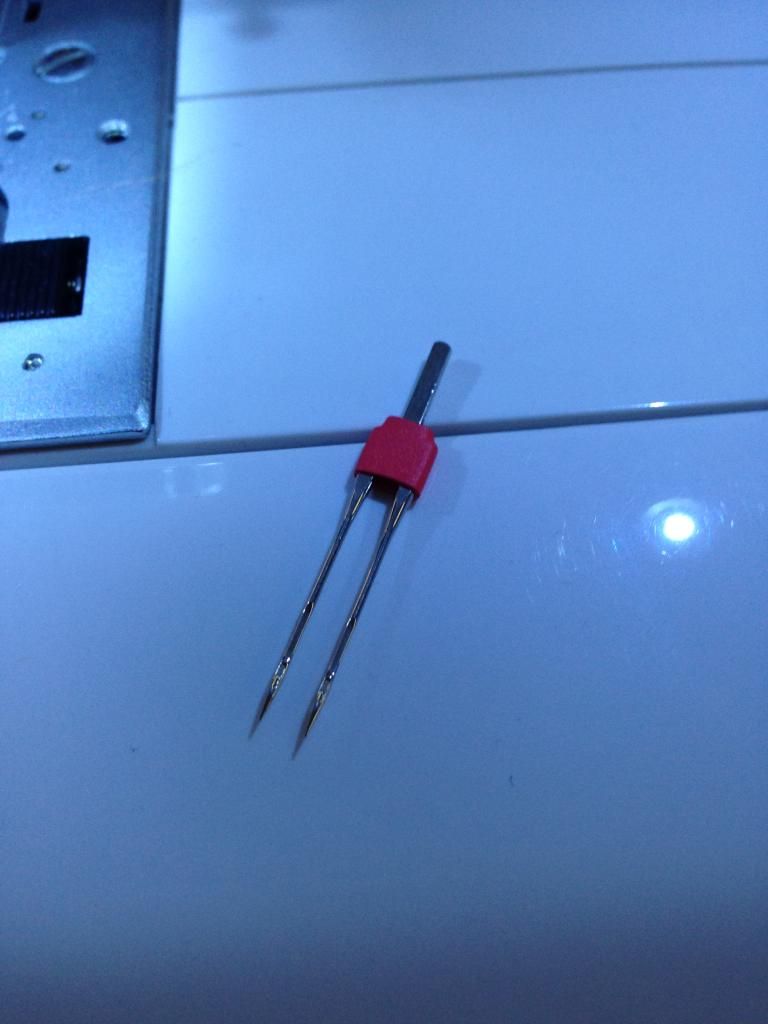
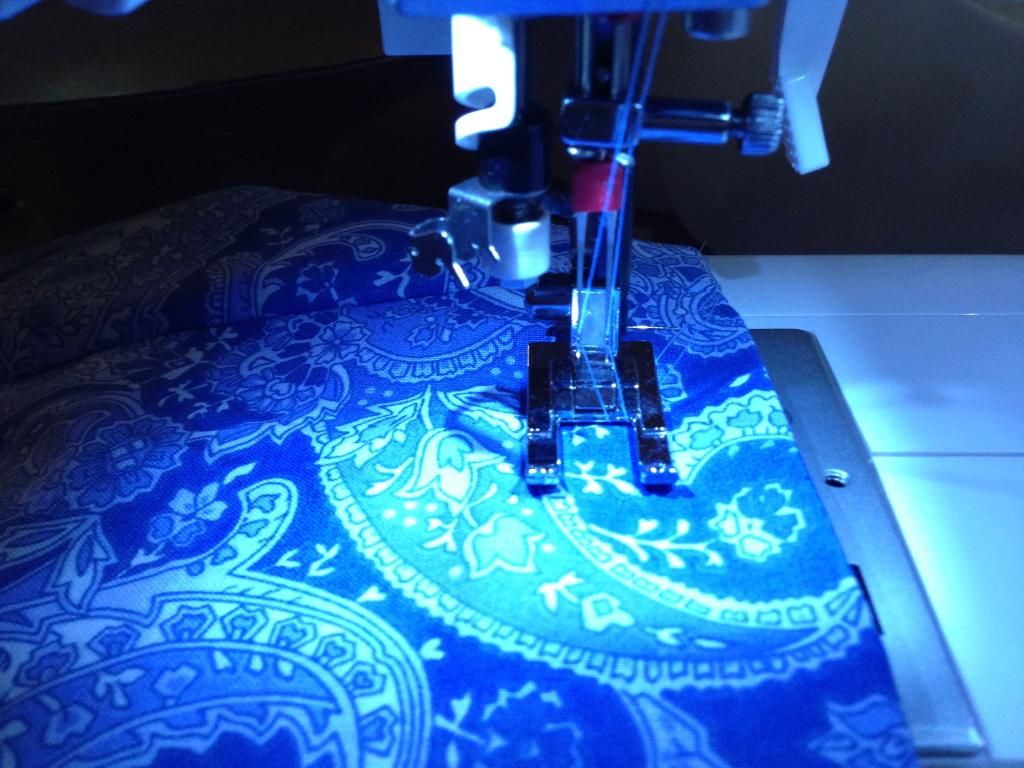
The double needle fits into your machine the same way your normal needle
does. I had to search through all sorts of tutorials to try to find
the info on how to do this; it's surprisingly scarce. I think it's
because it's so EASY, no one bothers to explain how to do it!
First, you need two spools of thread. I used my colored thread I bought to match the dress, and I used a bobbin filled with the same thread. My machine has two thread holders, so this part was quite simple. If your machine doesn't have this, there are several options for setting up a second spool of thread--including putting it on your bobbin threader.
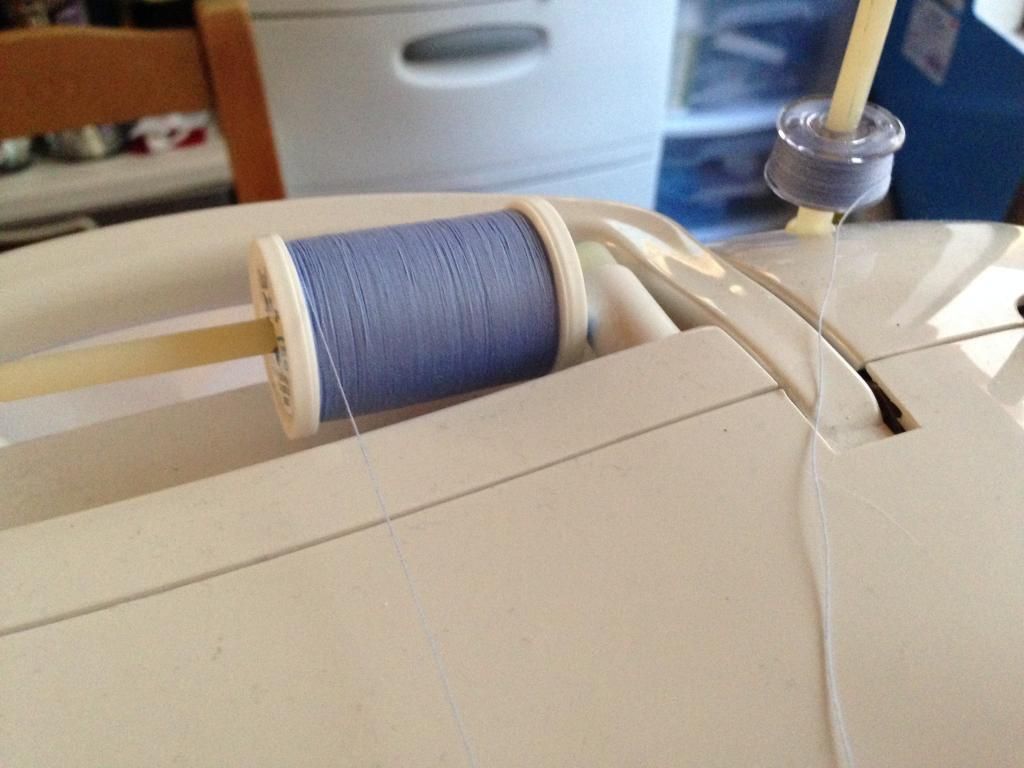
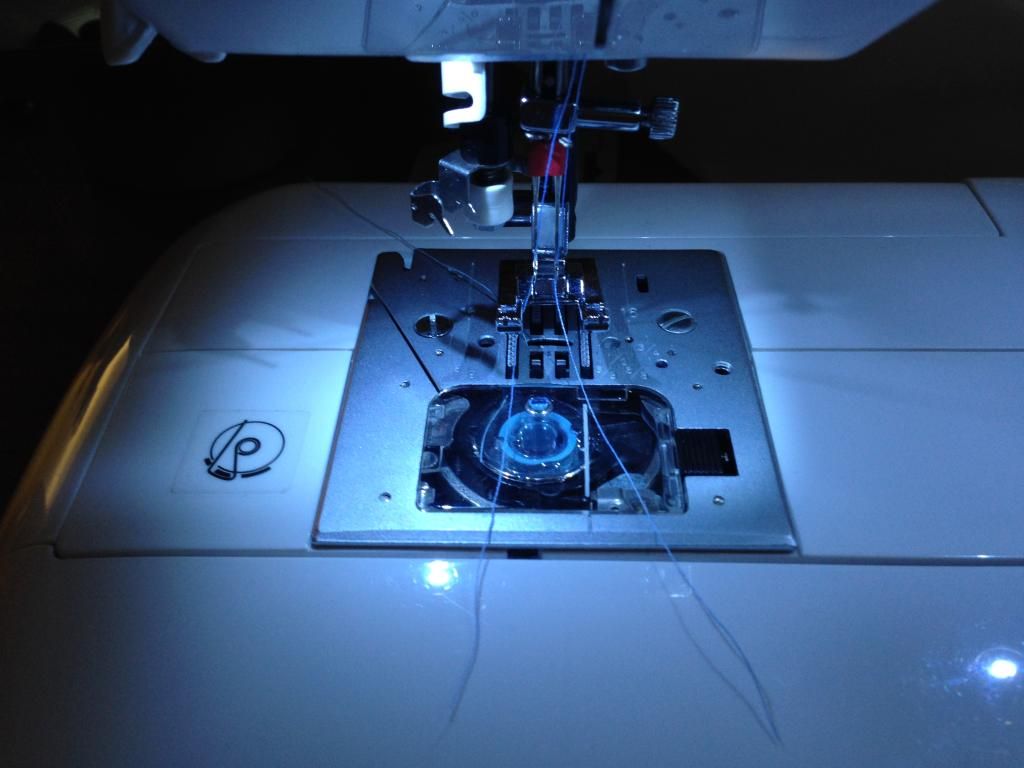
The important thing is to make sure both your spools thread in OPPOSITE directions. If one unwinds clockwise, make sure the other is going counter-clockwise. This will keep them from getting tangled. Thread both through your machine, just like normal, and put one thread through each needle.
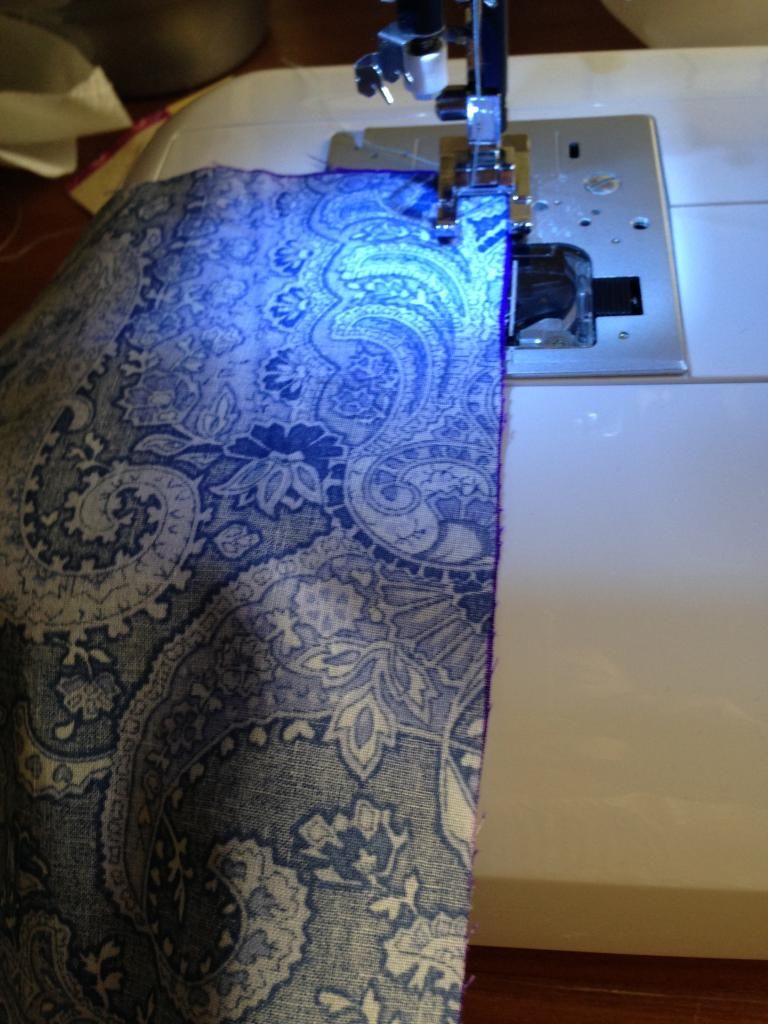
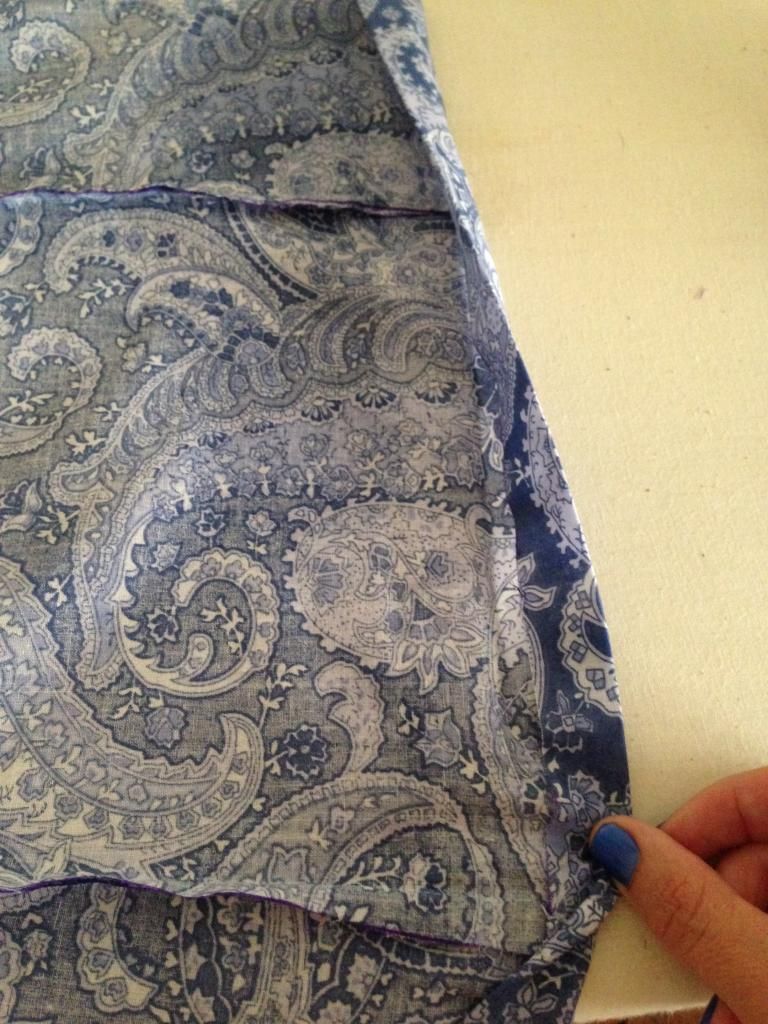
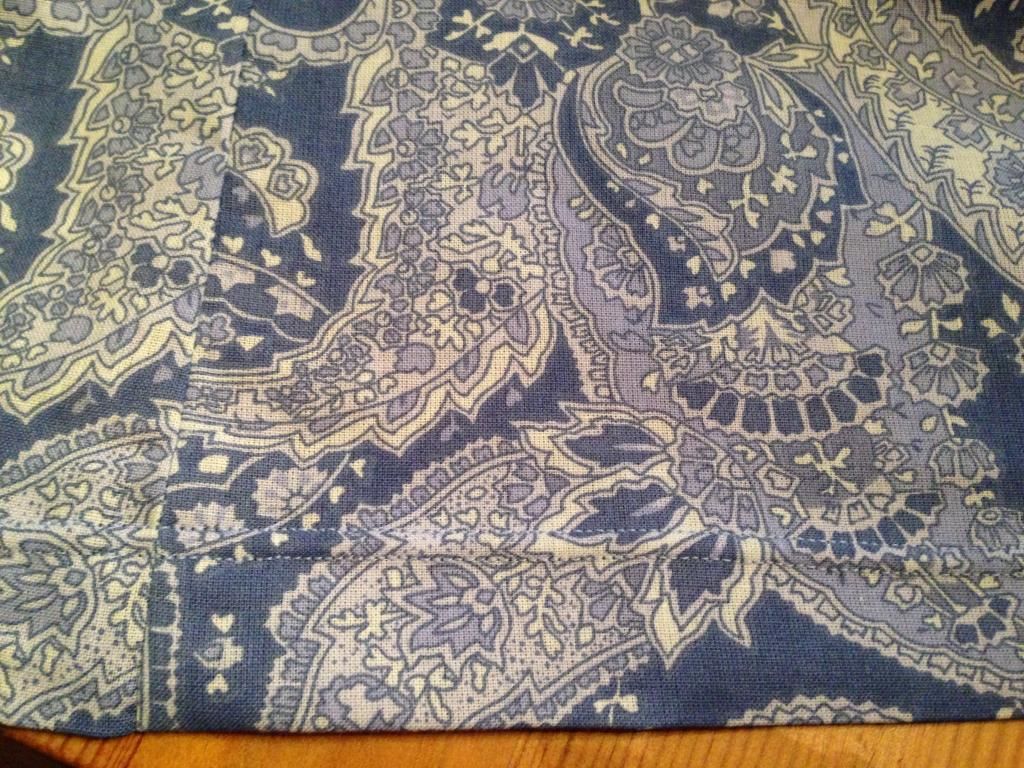
Make sure the outside of your fabric is facing up--this is where the double stitches will be. The back will look like a very tight zig-zag.
NOTE: for normal double stitches, keep your machine set to a straight stitch. There doesn't need to be any special setting.
Here's how it looks completed.
Now the top hem.
Take the top and fold it down enough to cover your elastic.
I used thick elastic because that was all I had on hand. You can use any thickness you want. But you'll be creating a pocket for the elastic to fit in, so you need to make sure you're folding down the material enough.
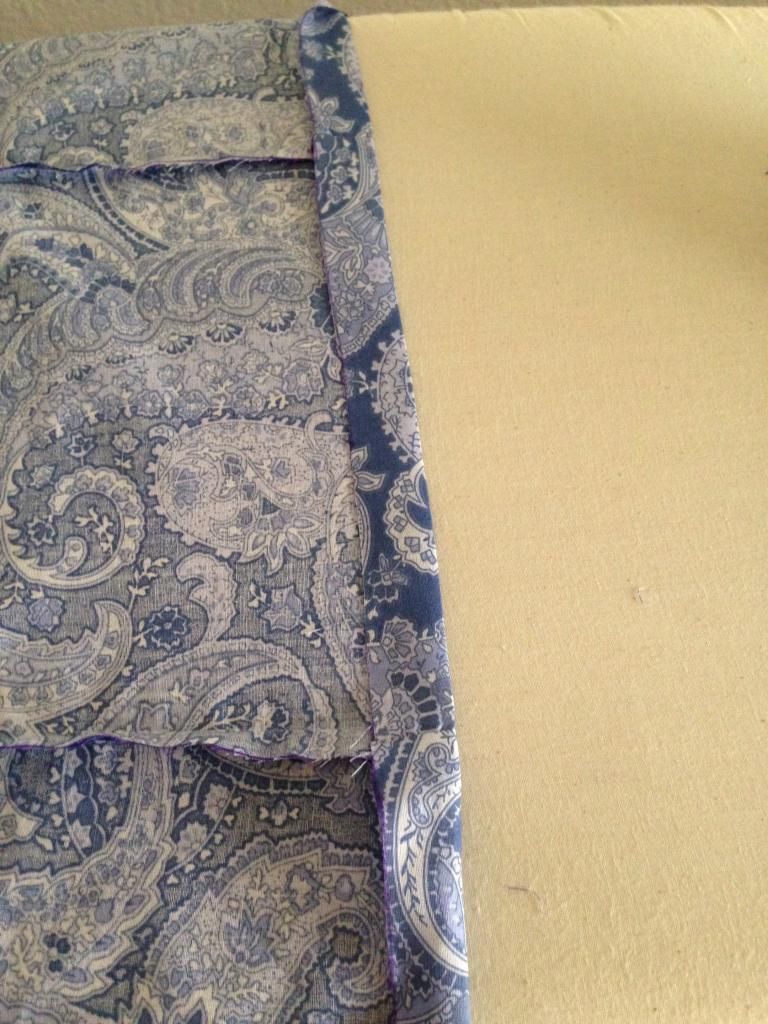
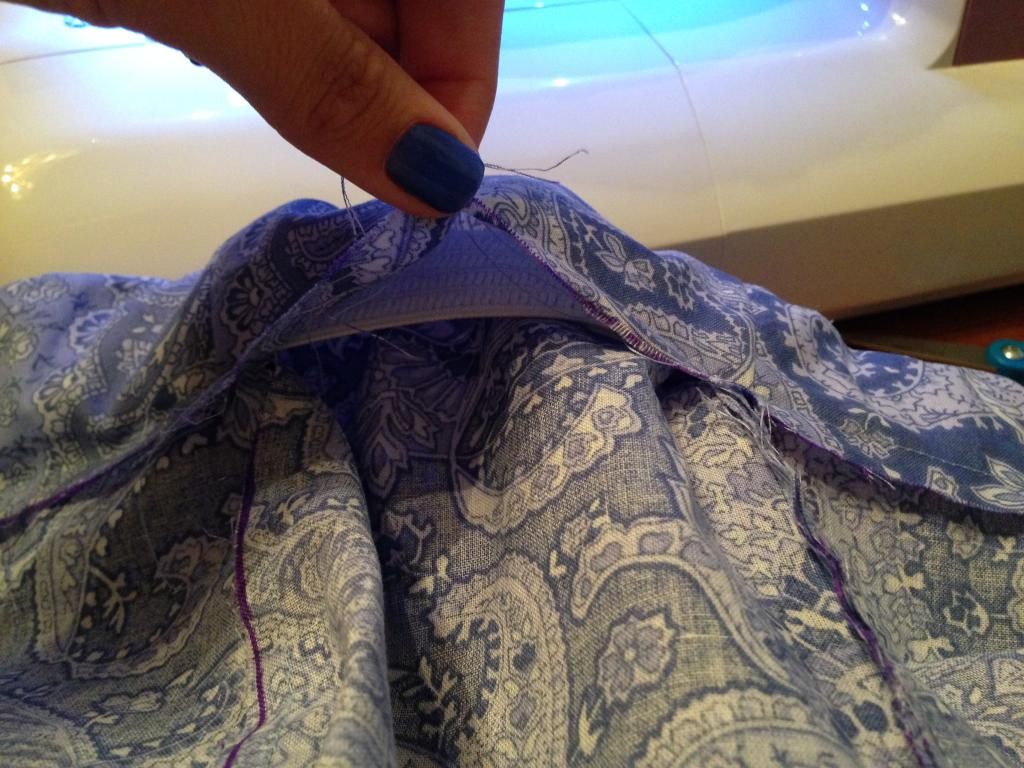
Once that's done, and pinned down, you'll want to straight stitch around the skirt, leaving one panel length open for inserting the elastic.
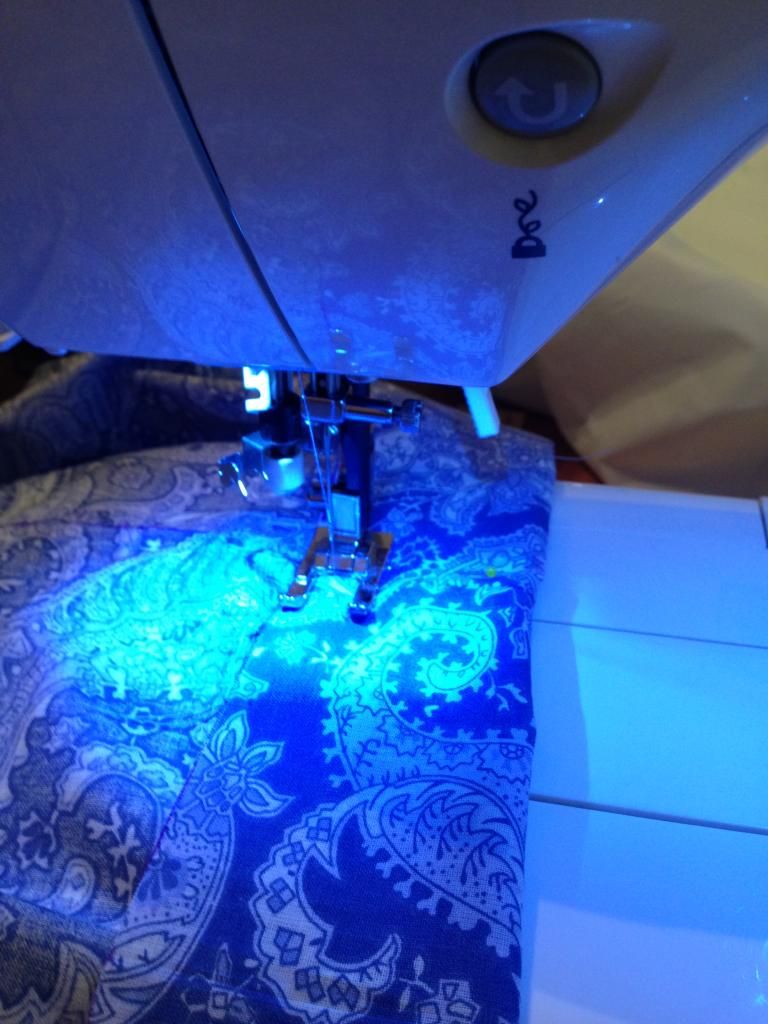
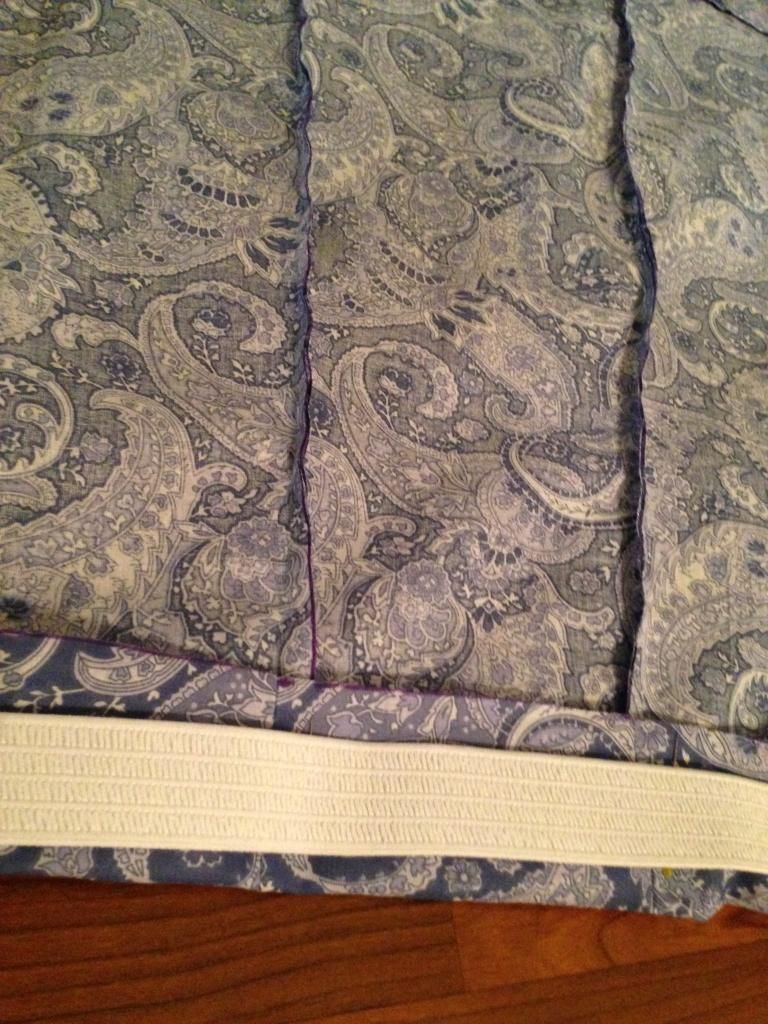
Here's the pocket's opening:

Pin a safety pin onto one end of the elastic.
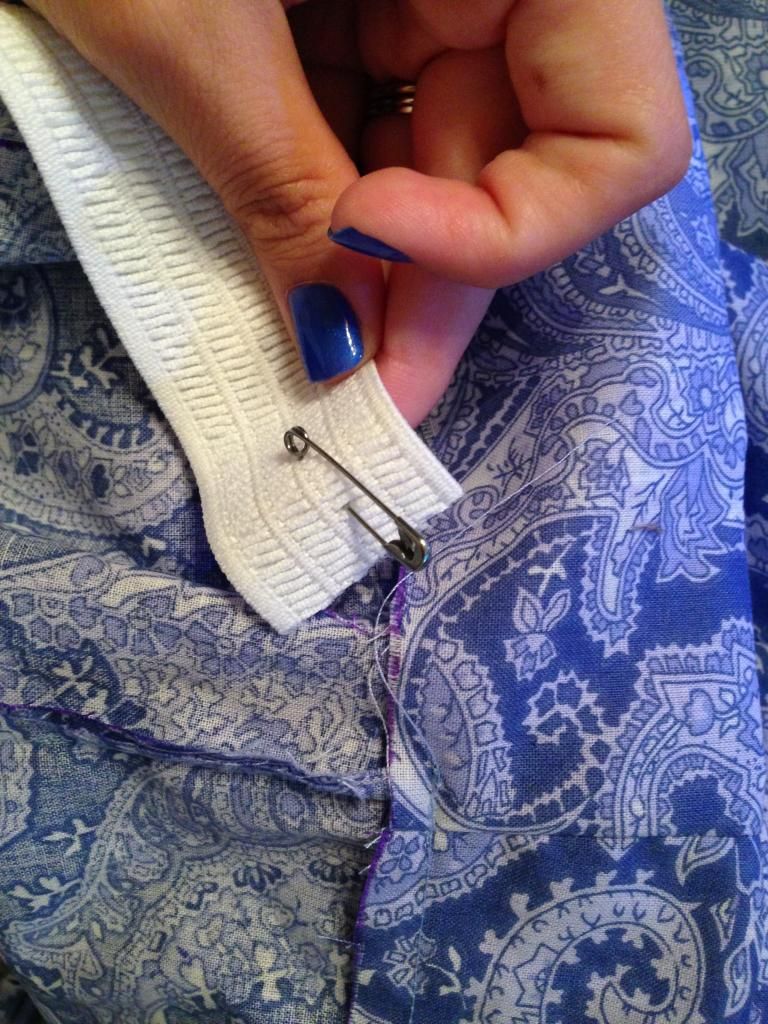
Thread it through the whole loop, pulling it out the other end.
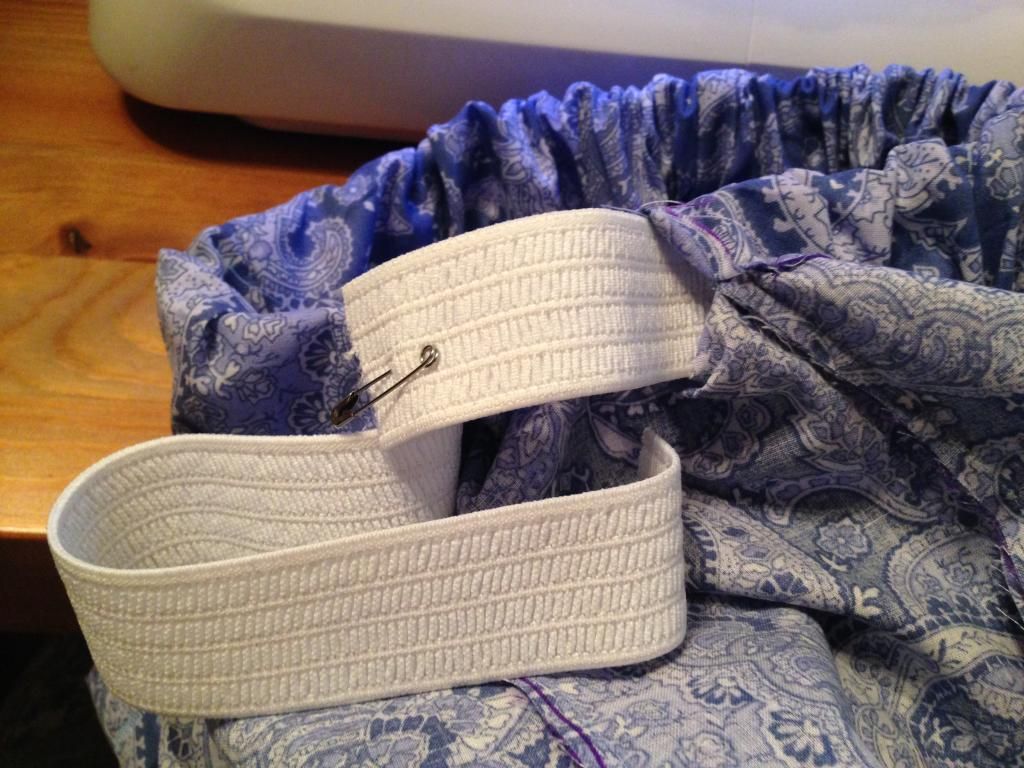
Overlap the ends about an inch and sew together.
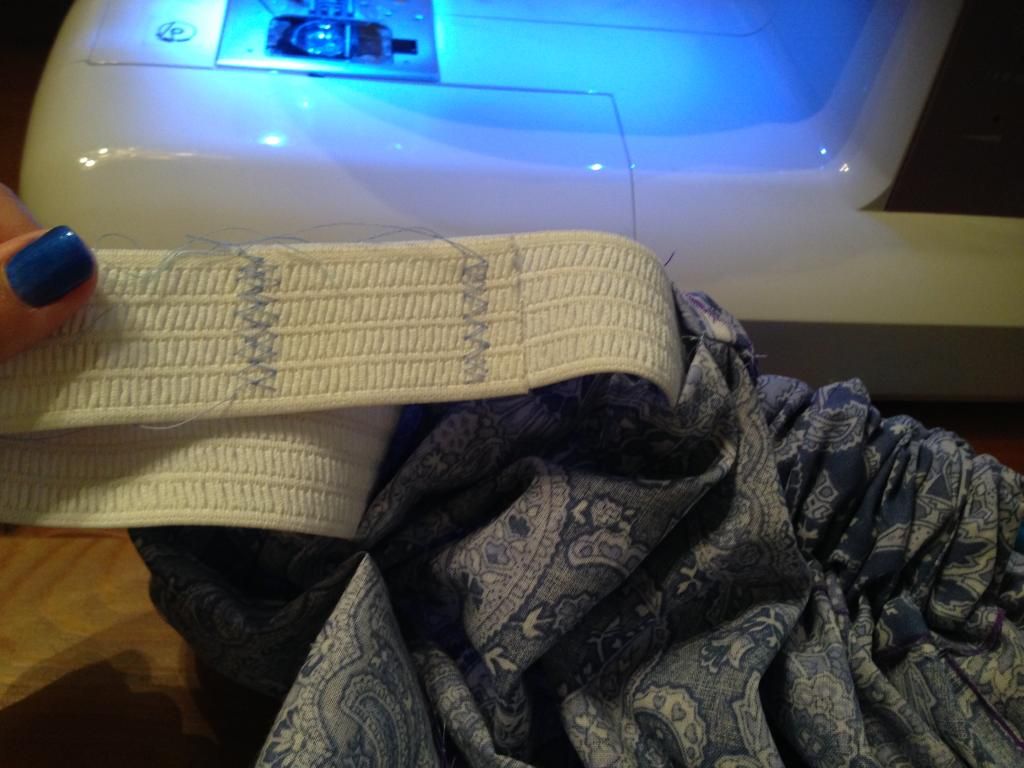
See how it tucks up nicely in the pocket?
Sew that last hole closed and you're done!
I tried it with two different shirts. :D
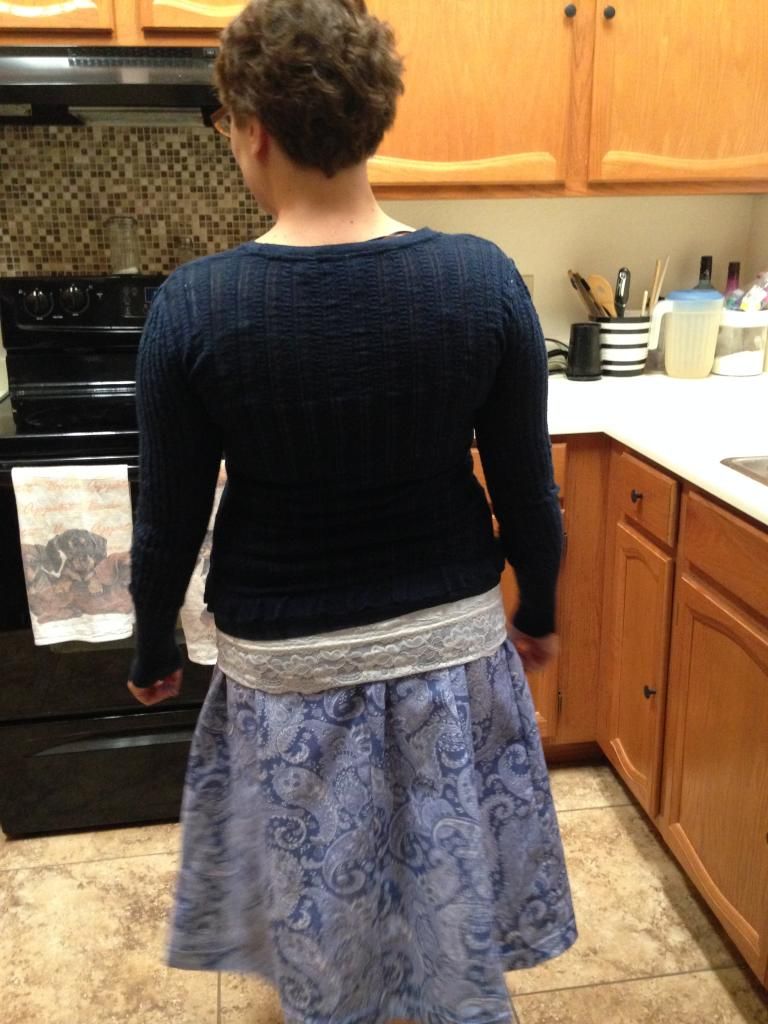
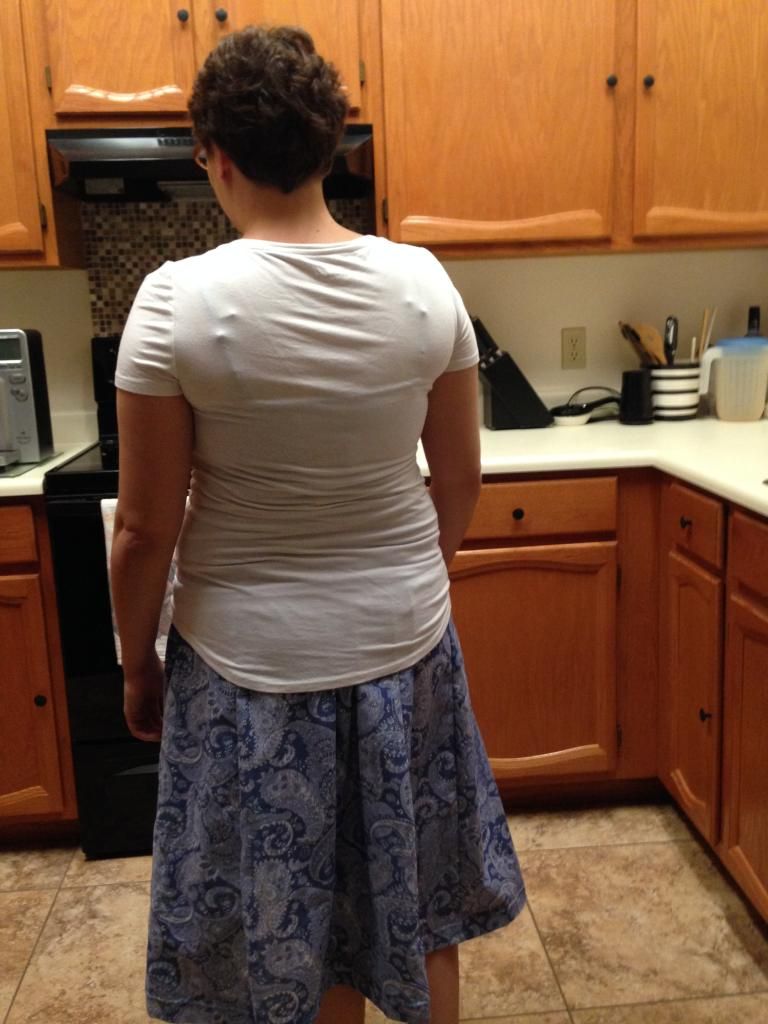
The skirt turned out adorable! And it was a pretty easy project, if a bit time consuming.
~Buttons
No comments:
Post a Comment