I think I need to stop making skirts. It seems like it's become an obsession. Probably because they are so easy. I'll try to focus on more non-skirt items as my summer continues.
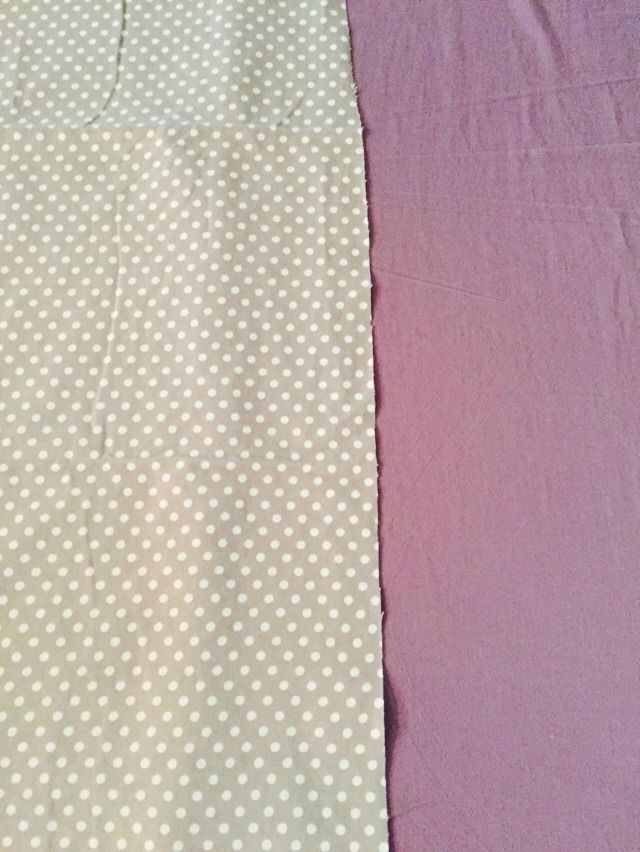
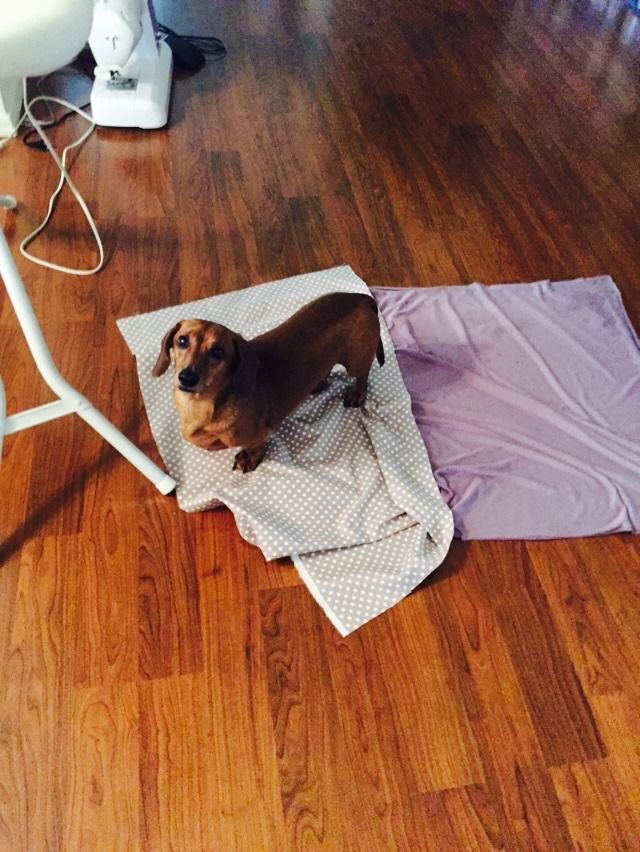
Anyway, I found these two fabrics in the remnant bin at Walmart for less than $2 apiece. The purple is sort of a knit, the kind used for maxi skirts. It's so soft and comfortable! The polka dot is a flannel. I'm not sure about the rules of combining different fabrics, but I don't care; they looked so cute together!
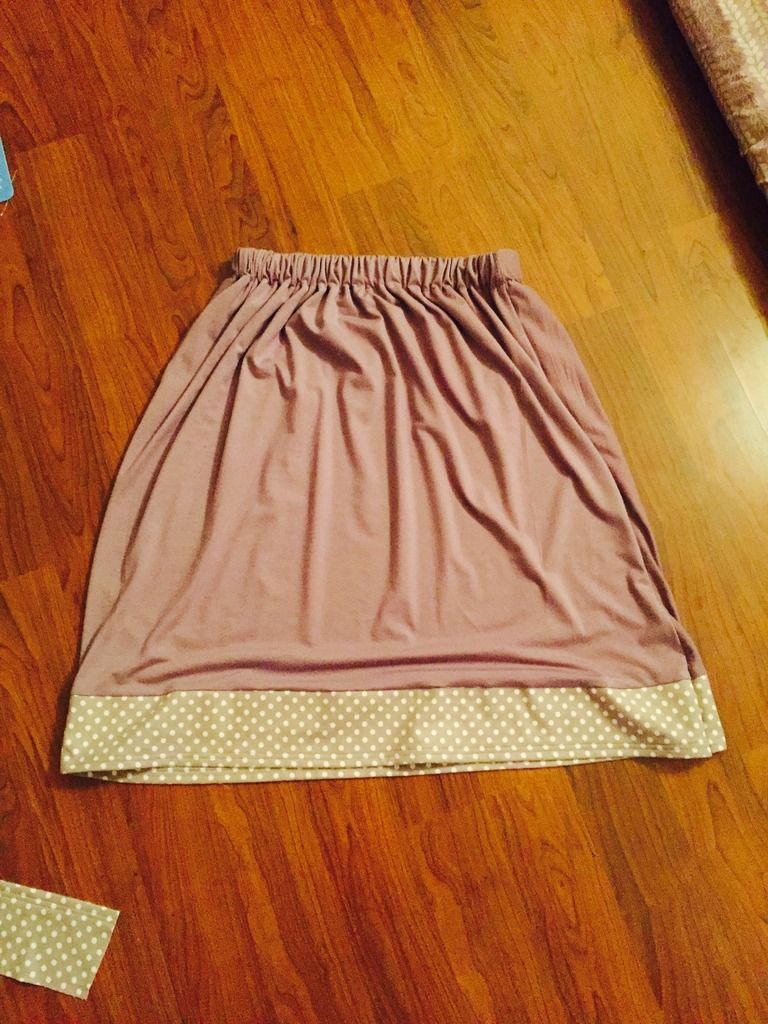
The first thing I did was decide my skirt design. I played with the idea of doing panels again, but since I just finished a panel skirt--and I wanted to do something quick and easy--so I decided against it. The best way to do this was to add a simple polka dot border around the bottom of the skirt.
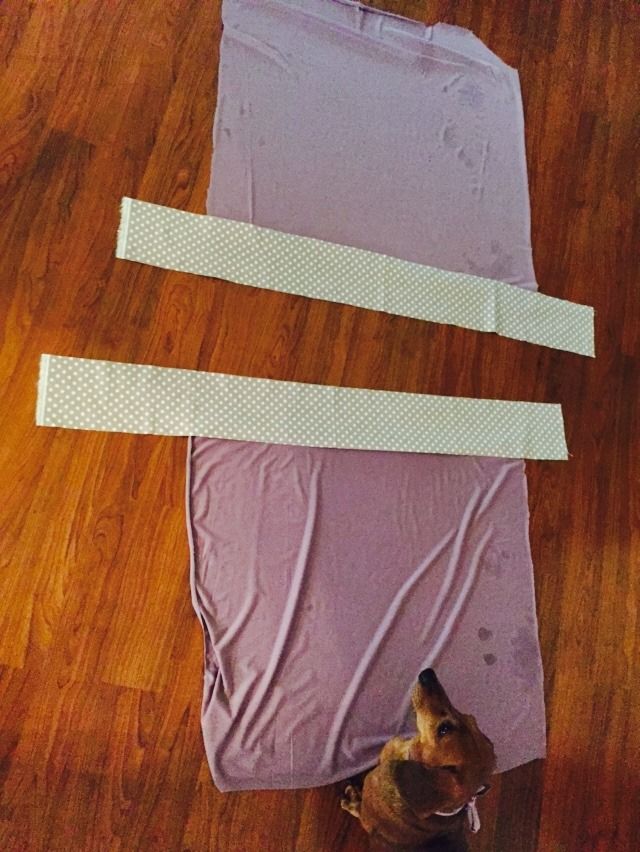
I cut my purple fabric in half, giving me two (relatively) equal pieces. Then I cut out bands of the polka dot, 5 inches long by 40 inches wide.
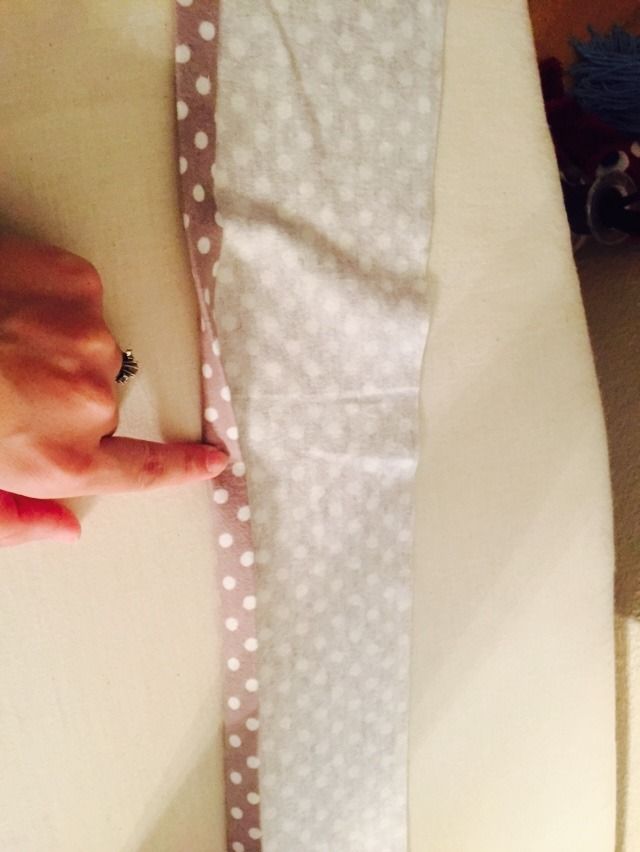
Starting with the polka dots, fold the hem of one side up half an inch and iron.
Fold up again, and iron.
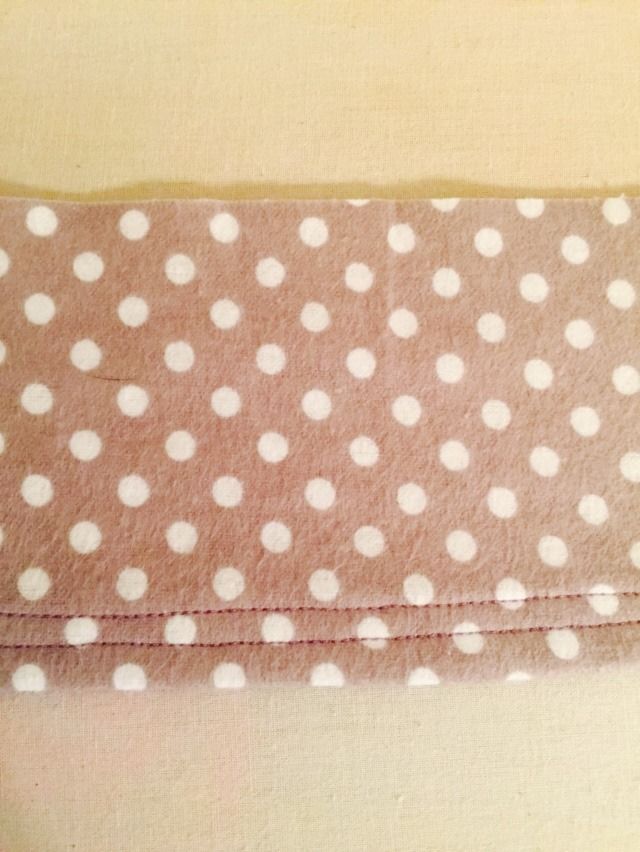
Stitch the folded hem. I used a double stitch, and a contrasting purple thread. Repeat for other band.
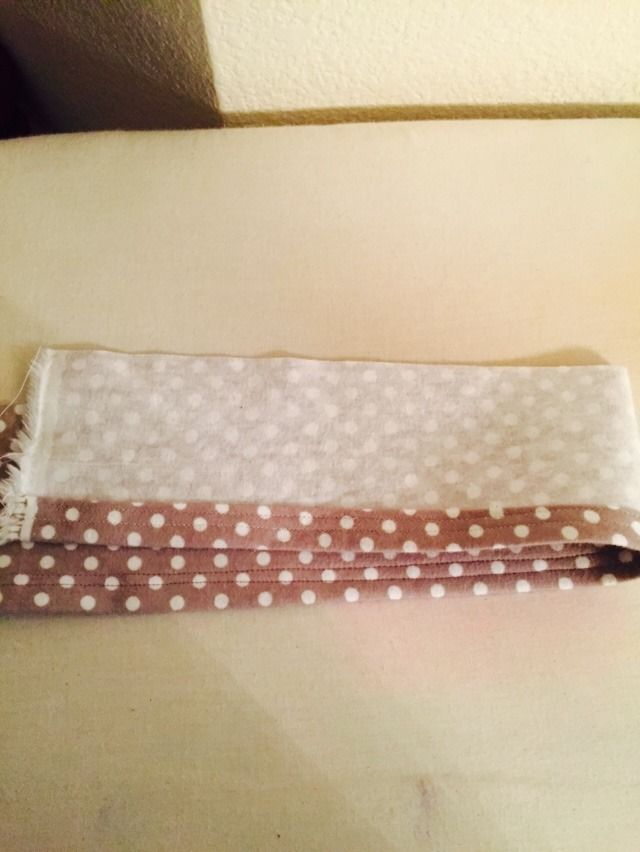
Pin the band to the purple fabric, right side to right side.
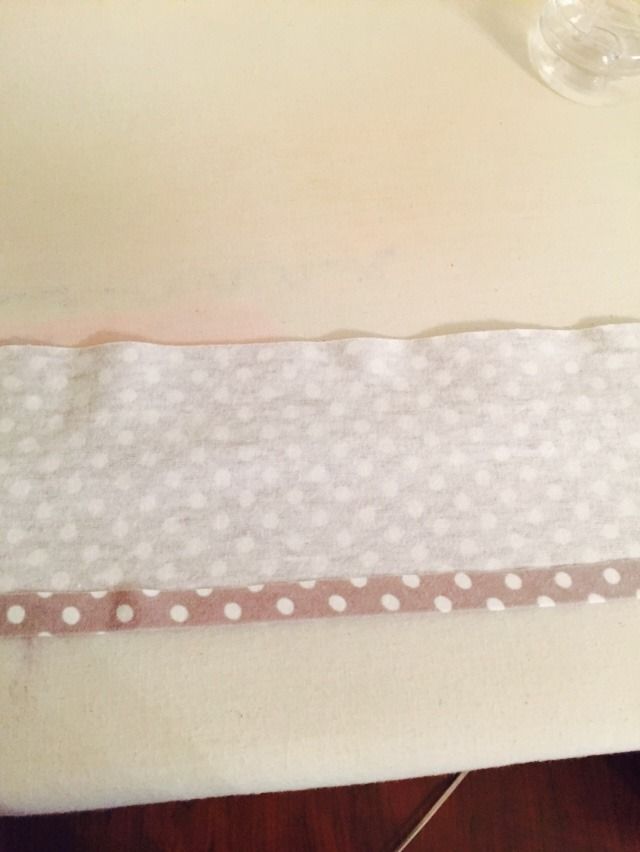
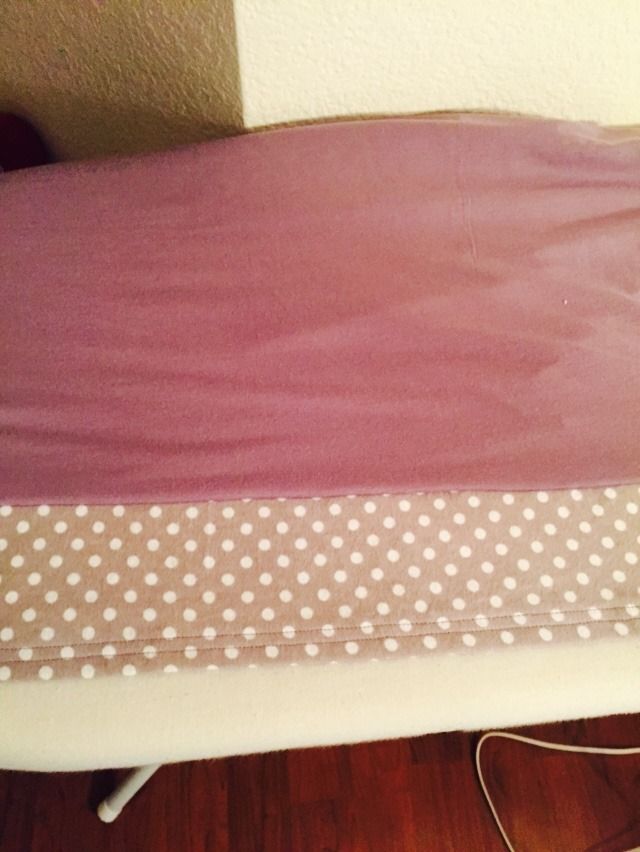
Sew together and you get this.
Repeat for other band and purple fabric panel.
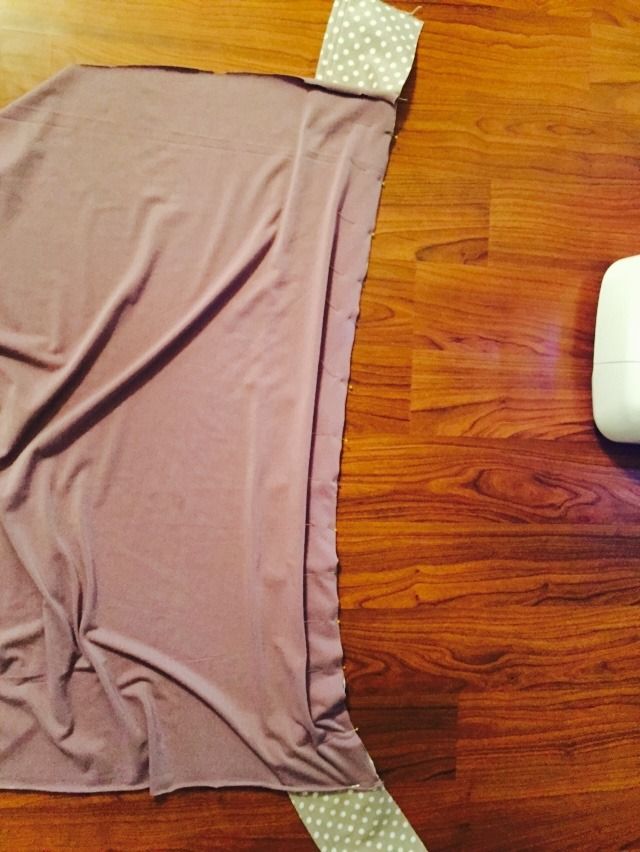
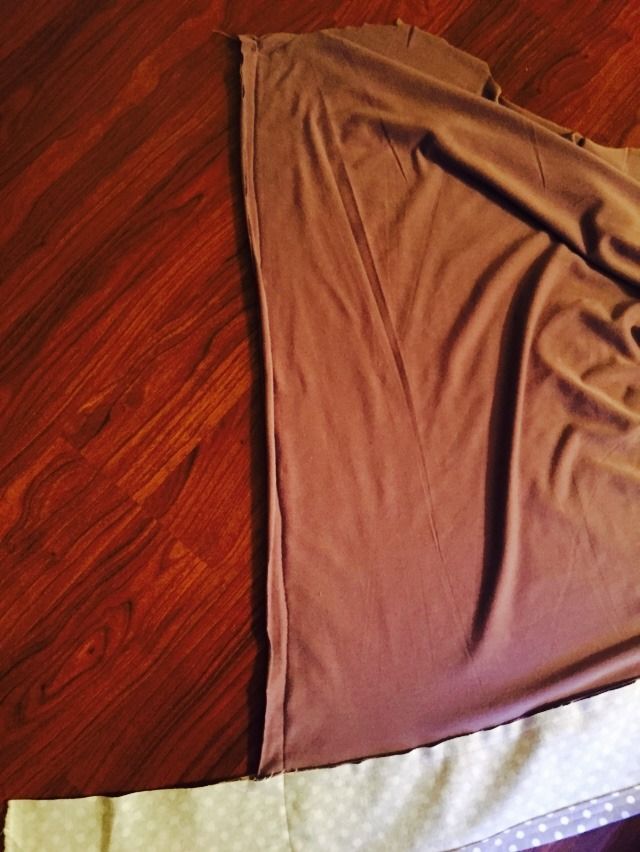
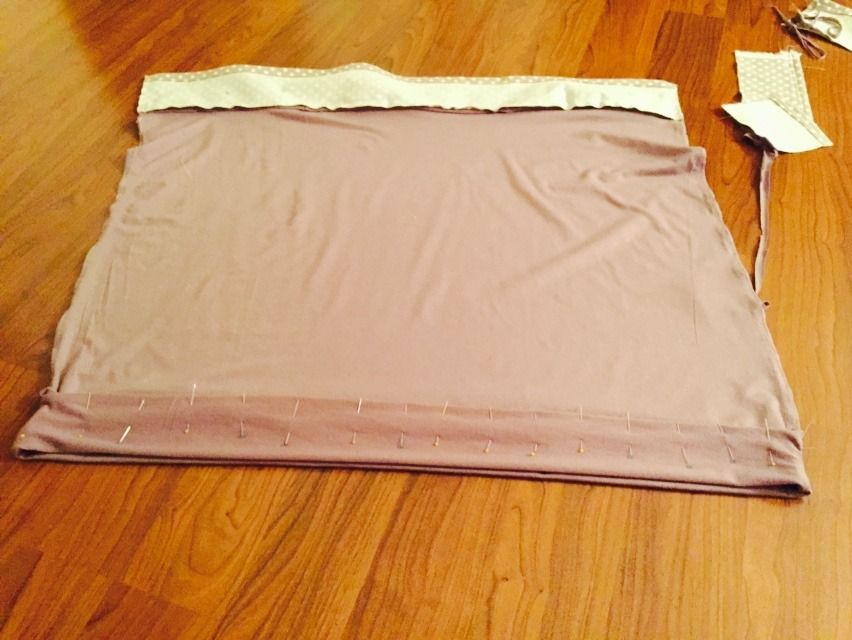
Since this purple fabric was so wonky--I've never worked with this before, and I didn't realize it would be so difficult to control; it wouldn't lay flat, even when I ironed it--I measured my skirt from the bottom. I aligned my bottom hem and pinned the two purple panels together, completely ignoring how they aligned on the top.
Then, sew the panels together. I even added a zigzag stitch to the inside seam afterwards to give it more support.
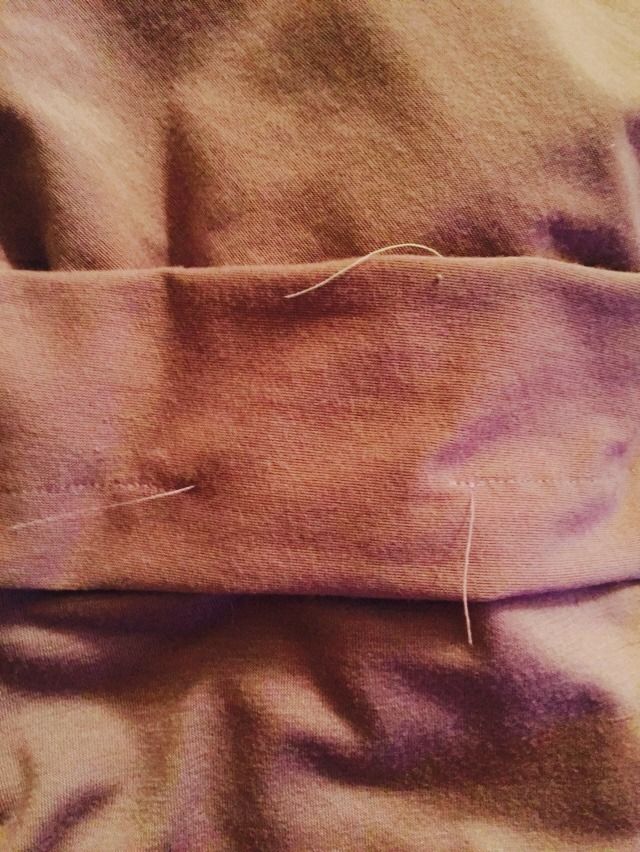
Once both sides are stitched up, it's time for the top hem. I folded down the top to give me an even and straight line, also leaving enough room for my elastic band.
Sew the top hem, leaving an inch long gap to stream the elastic through.
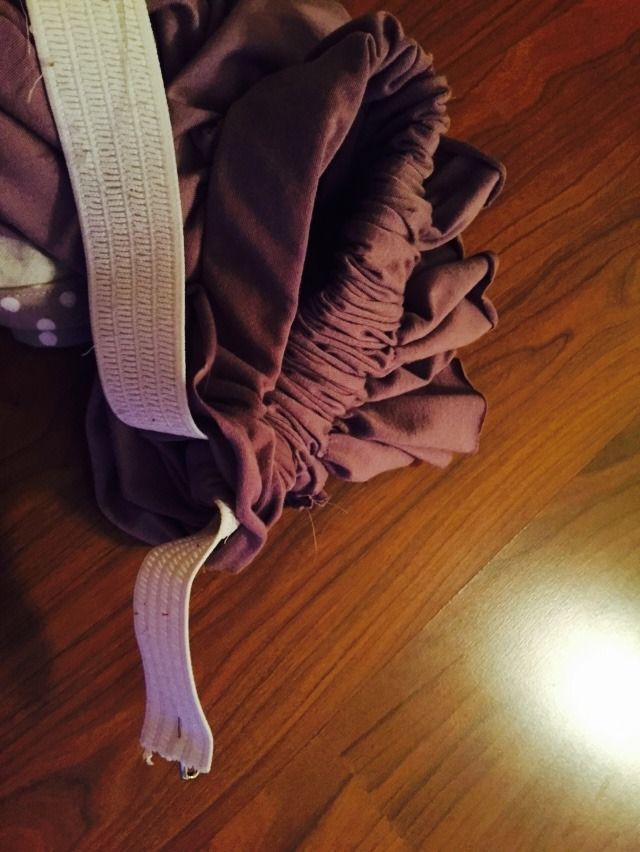
With a safety pin, thread the elastic through the opening in the hem.
Sew the elastic ends together, overlapping them about an inch. Complete the seam for the hem, and you're finished!
This was an incredibly simple project. The only thing that slowed me down at all was the uncooperative nature of the knit fabric. Still, I love the way it feels, and the way it flows so well, so I will have to try another project with this material!
~Buttons
No comments:
Post a Comment