I drew out a diagram of what I wanted to make--basing it on the same measurements from my original panel skirt.

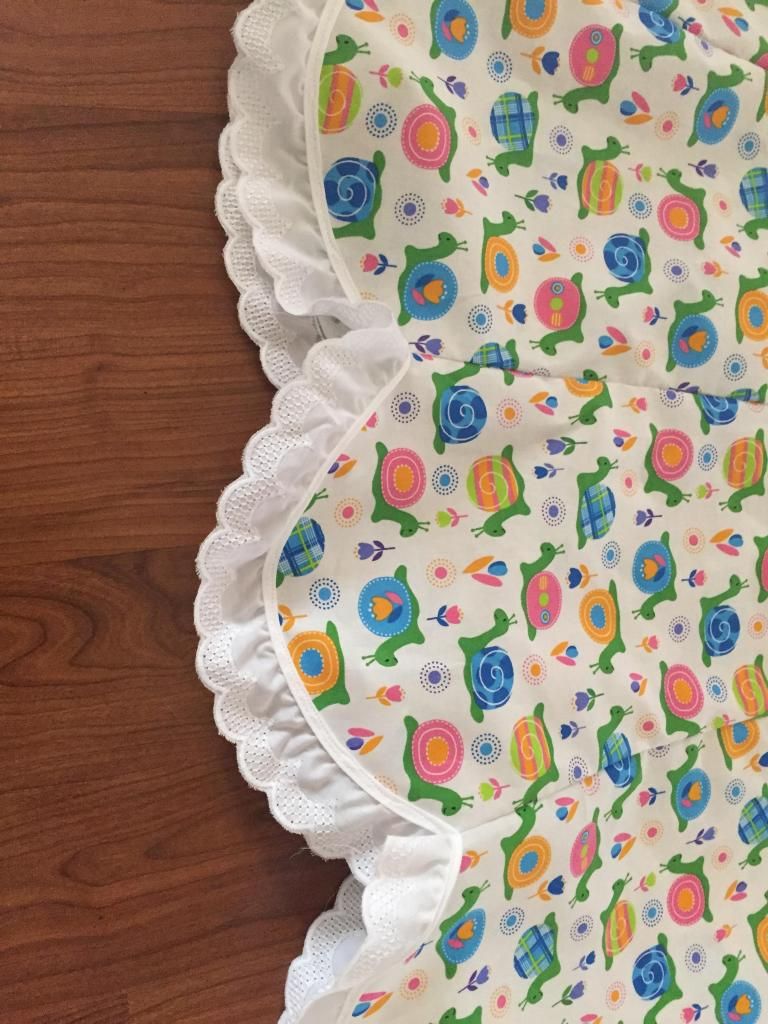
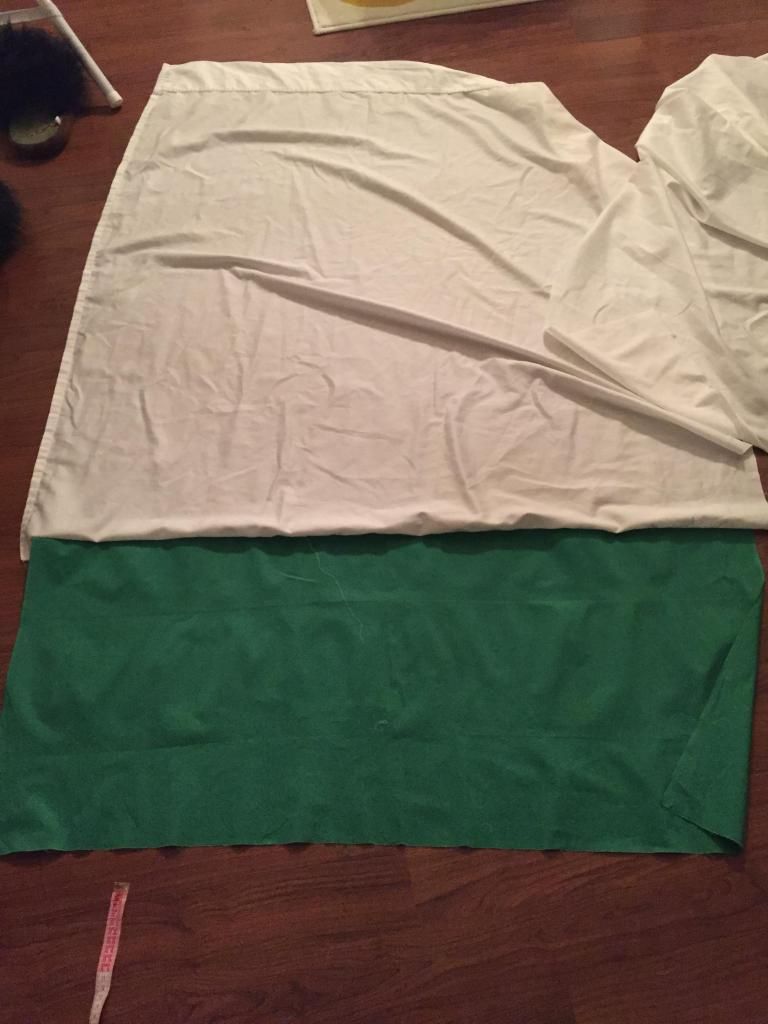
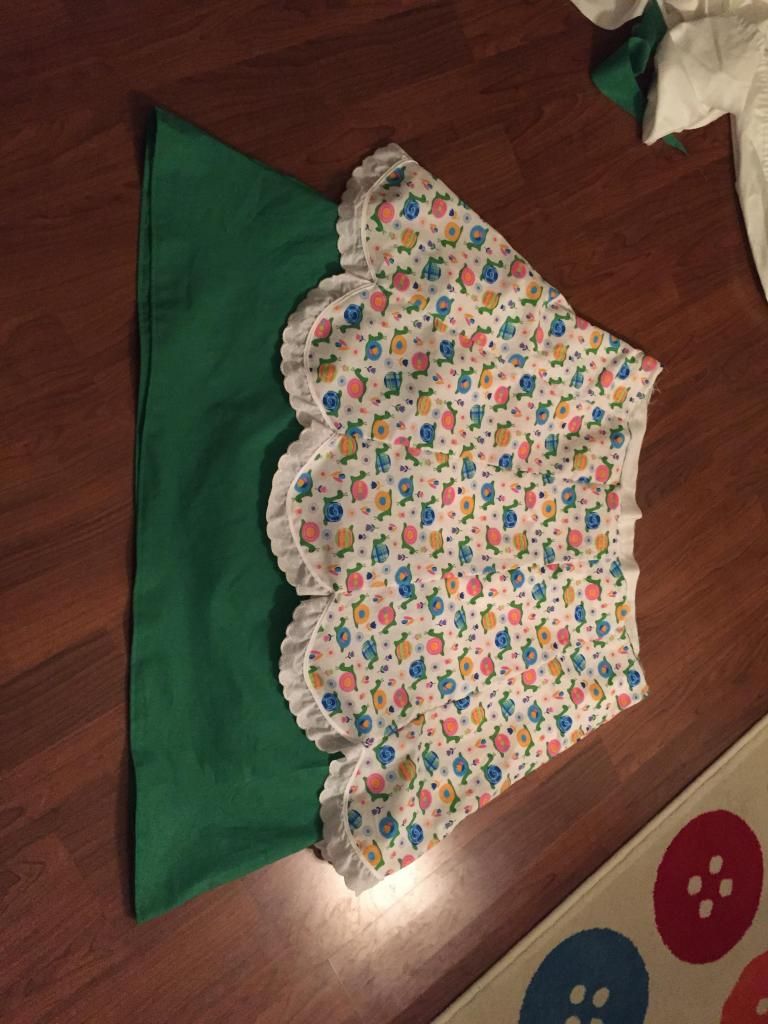
For the top layer, I'd use the snail fabric, but I also wanted a plain cotton under skirt. I chose a green that matched the snails. And to add a bit more flair, I bought a scalloped ruffle to attach to the bottom of the snail skirt.

I constructed my pattern out of parchment paper.

Then I traced it (horizontally) onto my fabric. This was intentional, giving the snails a side-to-side look rather than a going-up-my-leg look.

After I cut them out, I sewed them together.
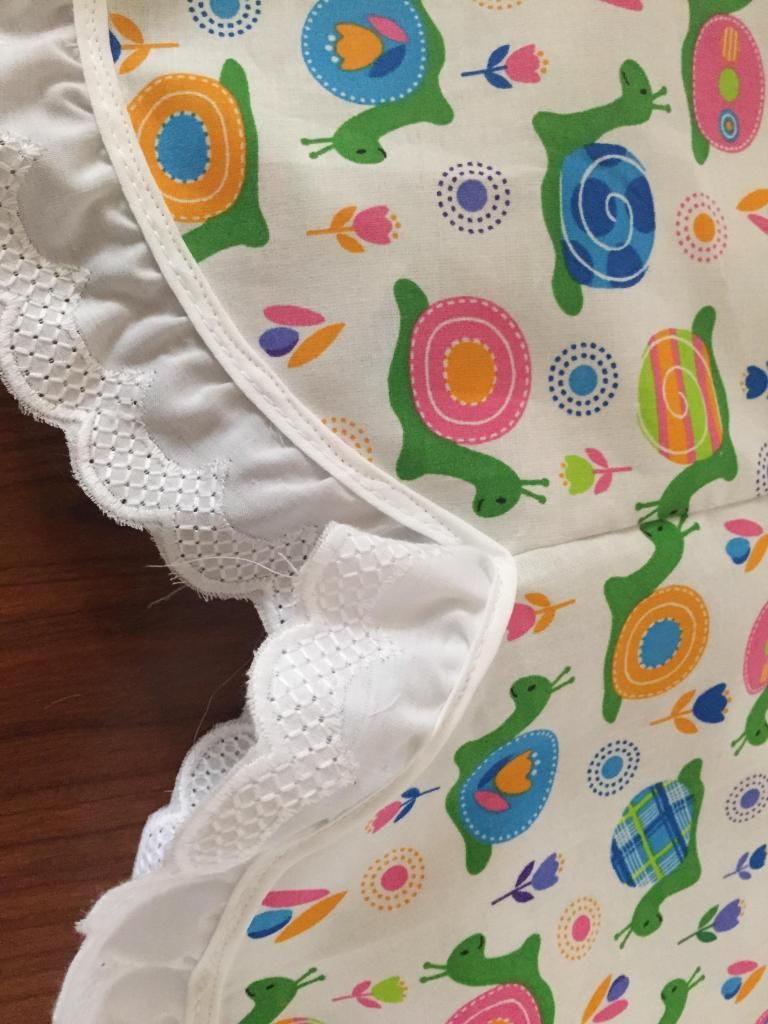
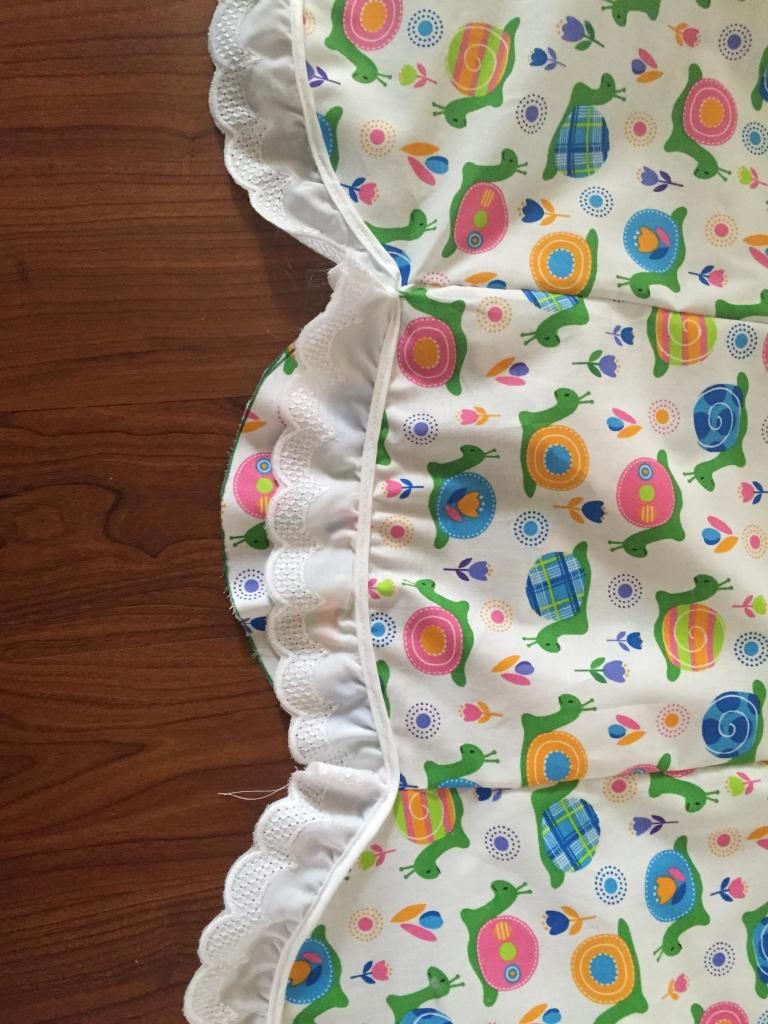
Then, I added the ruffle.

Unfortunately, I was about 2-3 inches too short, so I had to cut across the last panel.
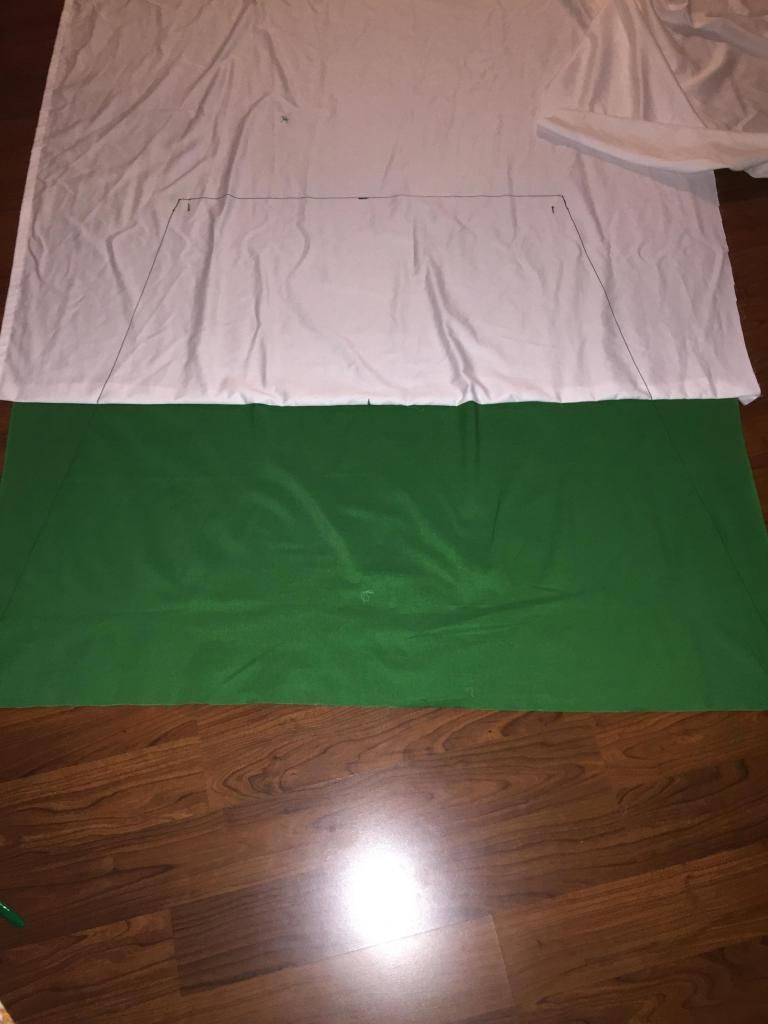
My green fabric wasn't long enough, so I added white to the top to give it the proper length. (I used a sheet I had cut up for the Greco/Roman day at school.)
I traced the skirt's general shape, and cut.
I finished the hem by tucking it under twice and doing a straight stitch.
I looked at the best way to combine them together, and I was drawing a blank. The problem was that I cut the underskirt straight across instead of making it rounded like the snails. This gave it an uneven look no matter how I tired to stagger it. I thought about just cutting off the bottom seam and redoing a curved hem, but sudden inspiration struck me--more on that in a bit.
What I did to get started was sew the elastic band onto the outerskirt. I just pinned it about two inches from the top at the front, back, left, and right sides. Then I pulled the elastic and stitched it onto the fabric. This made an easy elastic hem at the top--unfinished hem, but still easy. I could have tucked the leftover fabric under, stitched it down and been done. But, I did want that green underskirt.
After I had the elastic in place, I took the underskirt and pinned it to the top skirt, right side to right side. This was a mistake. But it was what made the sudden inspiration happen, so I went with it.

After it was sewn together, I flipped the underskirt inside and sewed it down, about a half an inch under the current elastic hem.


This is when I realized the underskirt was inside out. I tried to think about sewing the green fabric up on itself to give me a clean edge.

But then, I thought it would be neat if I could bustle the green fabric. The length was so off, it had to be lifted or lowered at each panel, so I thought this would be an interesting way to cover up any mistakes in length.
I put it on, and while looking in a mirror to check the length, I pinned the green layer up on itself.

I sewed it down, going all over the place to get some nice bustles and bunches.

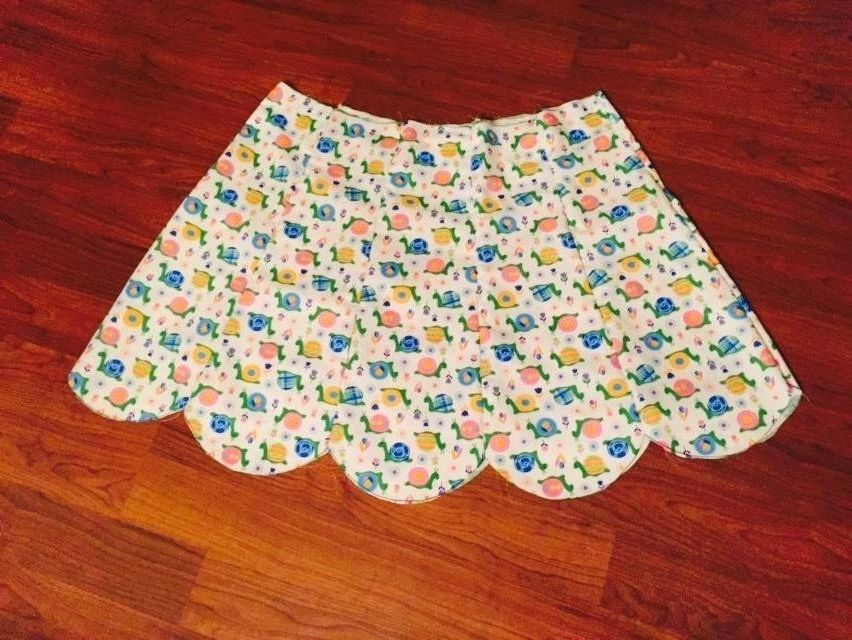
And here's the finished product!


I think it turned out pretty cute! I didn't have a shirt that matched--this neon orange was the closest I could find! I'll have to find a better one soon.
~Buttons
No comments:
Post a Comment