I had some old scraps from a quilt I made--probably five years ago. I've been wanting to do something with them for awhile, but last month I finally got them out and thought about what to do.
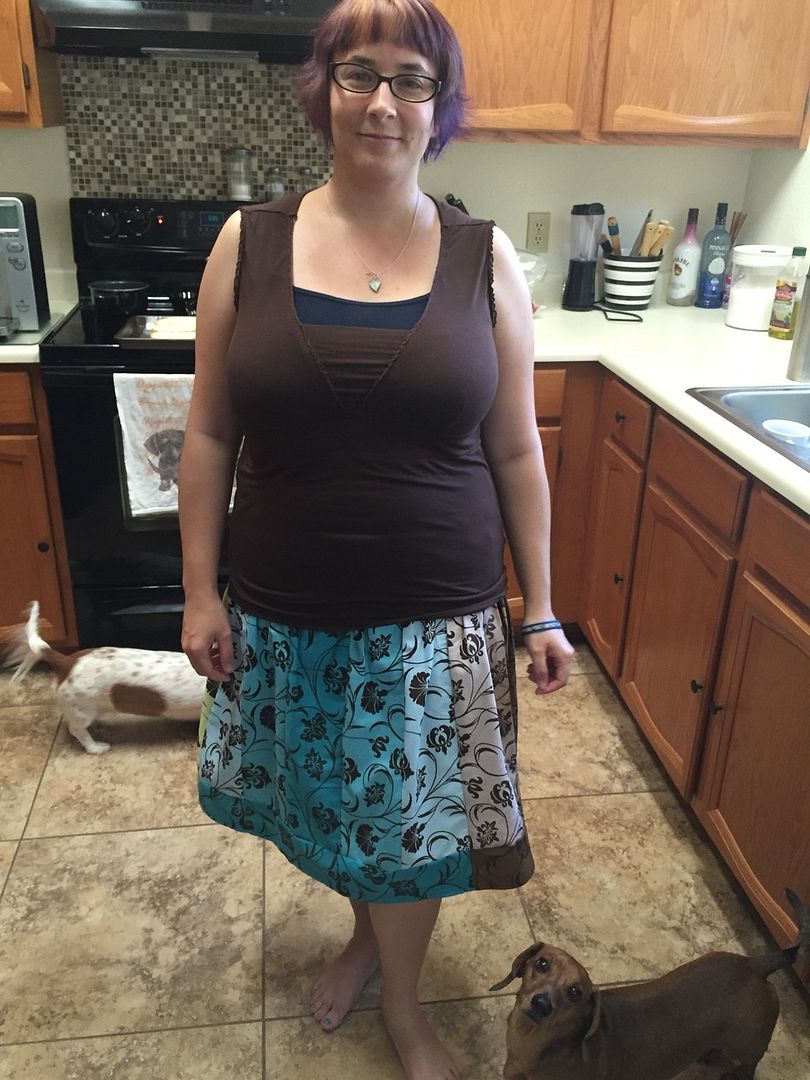
Of course, I decided to make a skirt. Default Buttons Project.
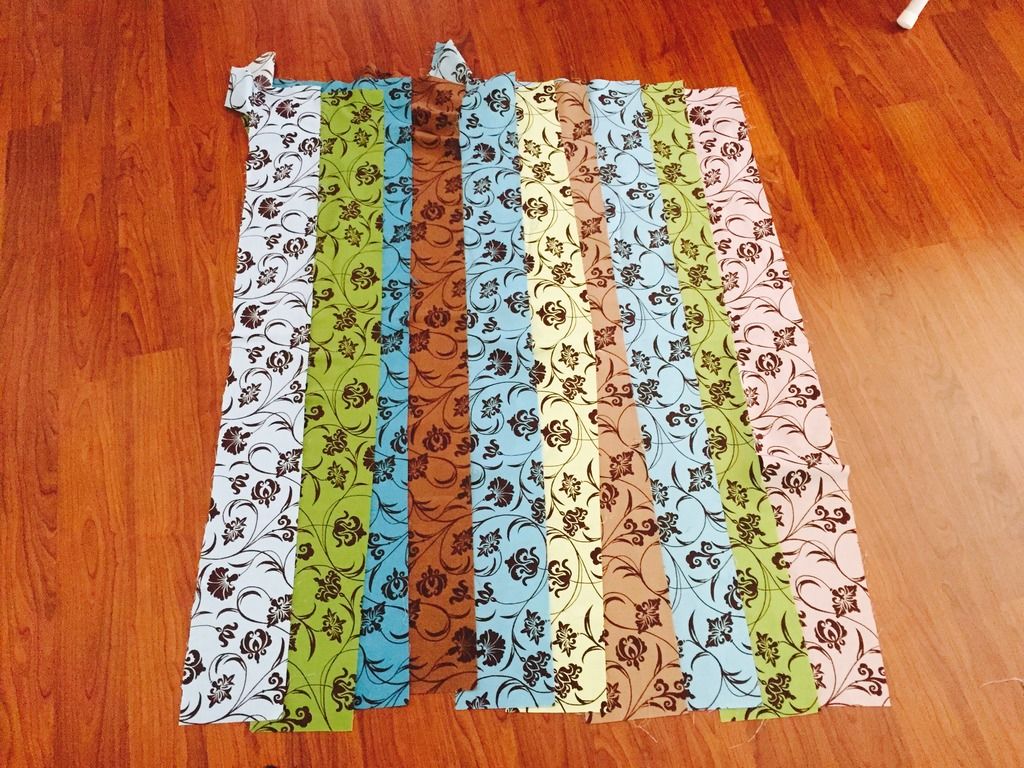
So, I took my strips. I had 10 strips that were roughly 42 inches by 5 inches, in various shades of brown, blue, and green.
The first thing I did was cut them in half. Then, laying them out on the floor, I decided which pattern to use for sew them together. I toyed with a random pattern, a logical pattern (blue, green, brown, blue, green, brown, etc.), and an ombre pattern. After some feedback from Pockets and my husband, I decided to go with ombre.
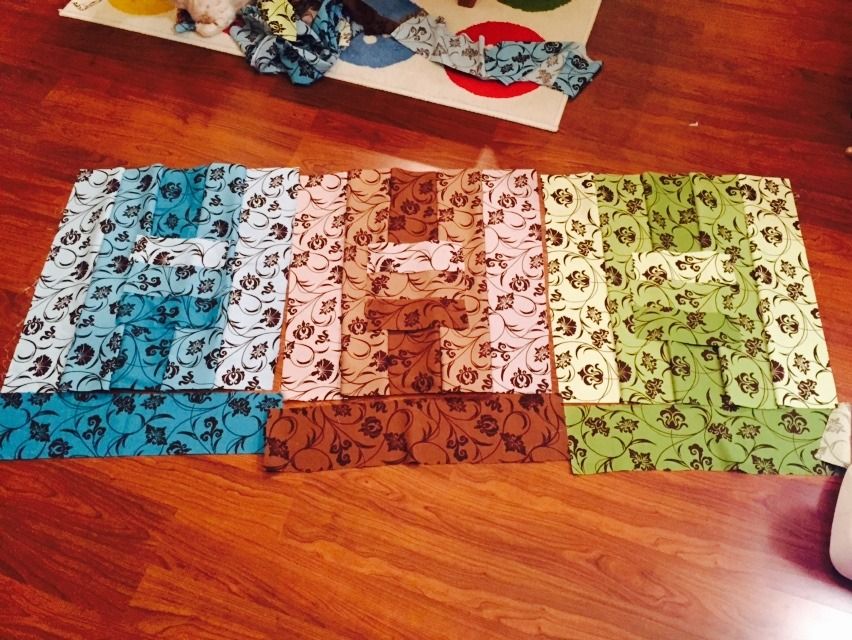
Even with the ombre theme decided, there were still a ton of ways to order the fabrics. It took me many hours of debating to decided on doing lighter strips on either side of a single dark strip in the middle--giving me five panels per color. The left over panel I used as a band on the bottom.
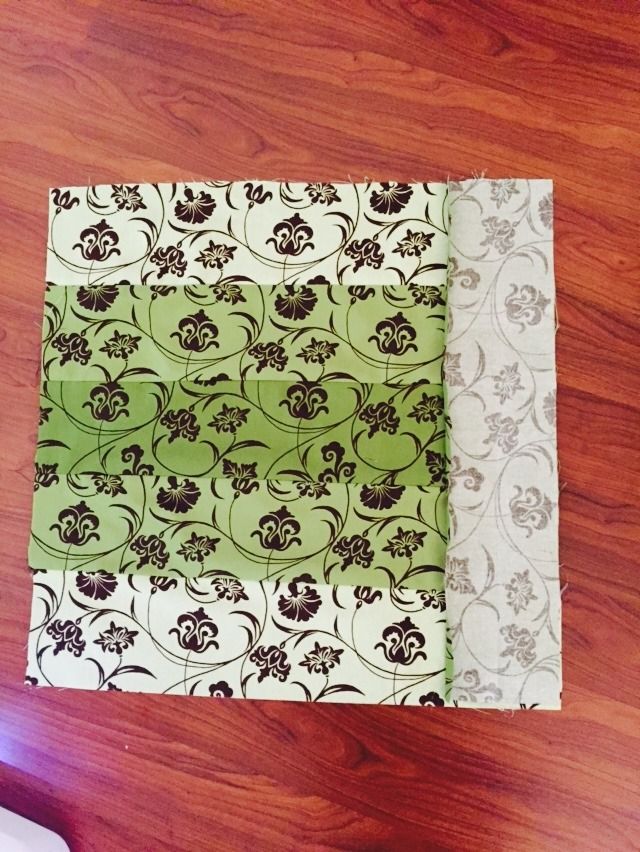
I sewed all the colors together, right side to right side. Then I added the same color band to the bottom, sewing them right side to right side.
(Here, the dark green is face down atop the other panels; it's kind of hard to tell)
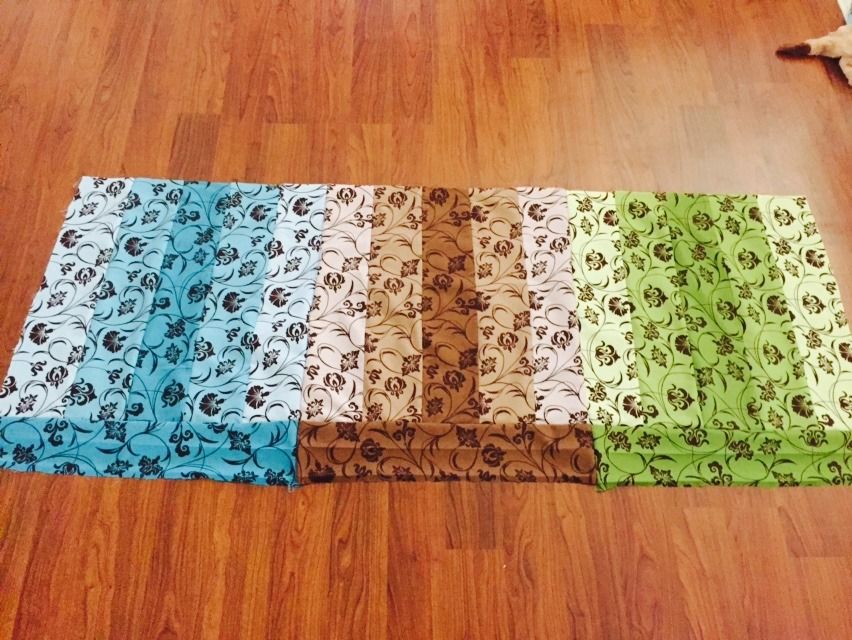
Then, I sewed all three completed panels to each other. Since there were only three, it didn't matter which order I sewed them in, as they'd all touch each other anyway.
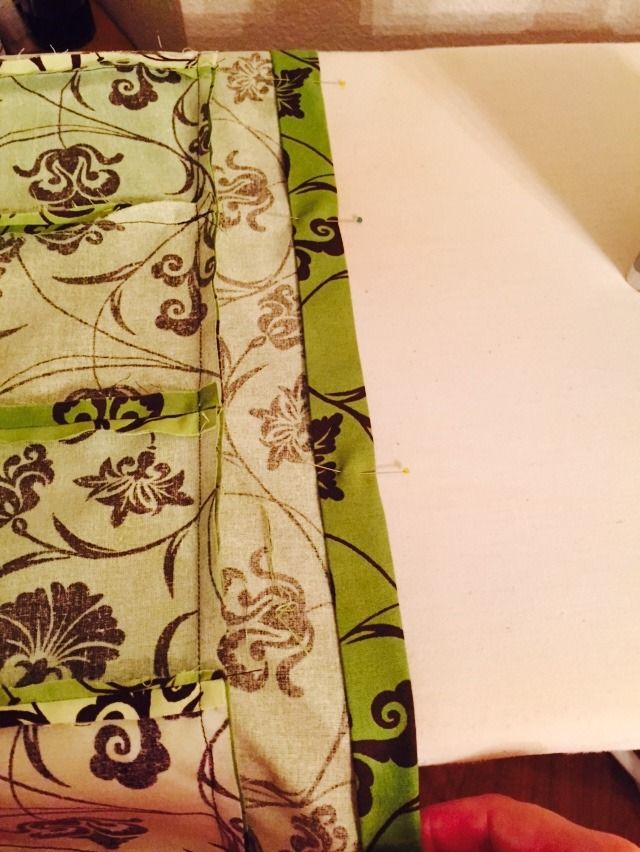
For the bottom hem, I folded the hem up about a half inch and ironed it. Then folded it up another half inch, and ironed again. I added pins to be extra safe.
I sewed the hem twice, giving me a decorative double seam. It looks very nice.
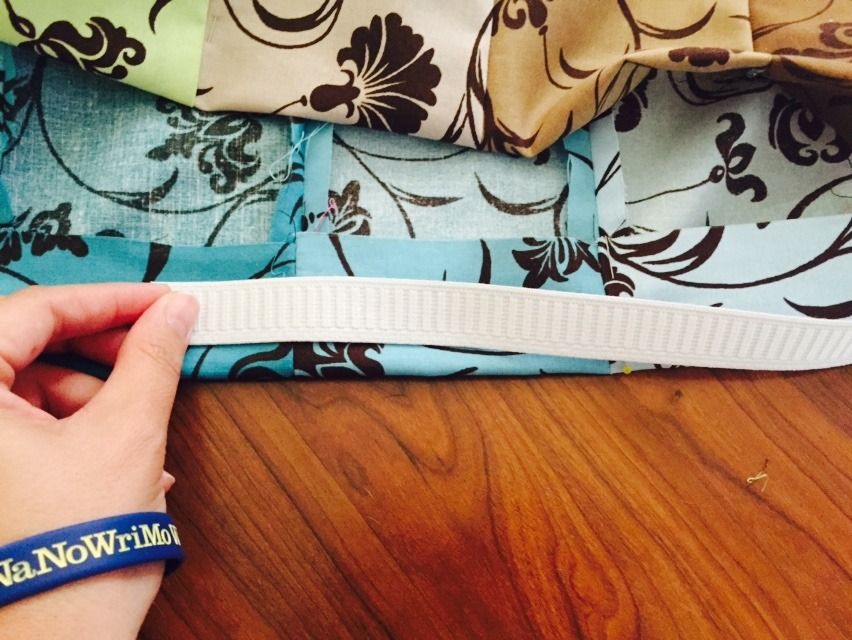
For the top hem, I folded the edge down about an inch, wide enough for my elastic to fit through, and sewed it closed--except for a few inch gap to string the elastic through.
Once the elastic is looped through, finish the seam and you're done!
I thought about adding pockets, but haven't done it yet. Without pockets, any of the colors can be in the front, and I like having that choice. But I may add the pockets anyway. We'll see.
~Buttons
No comments:
Post a Comment