I saw a post on Pinterest that shows how to make a "tablecloth skirt." I love the way the finished product looked, all that hanging fabric, so I decided to give it a try myself!
First off, I made mine WAY too big. It's ridiculously long on me. For next time, I'd make my initial square much, much smaller. Also, the fabric I used was one I just had left over. This would look better in gauze, or even in plain cotton.
Okay, onwards....
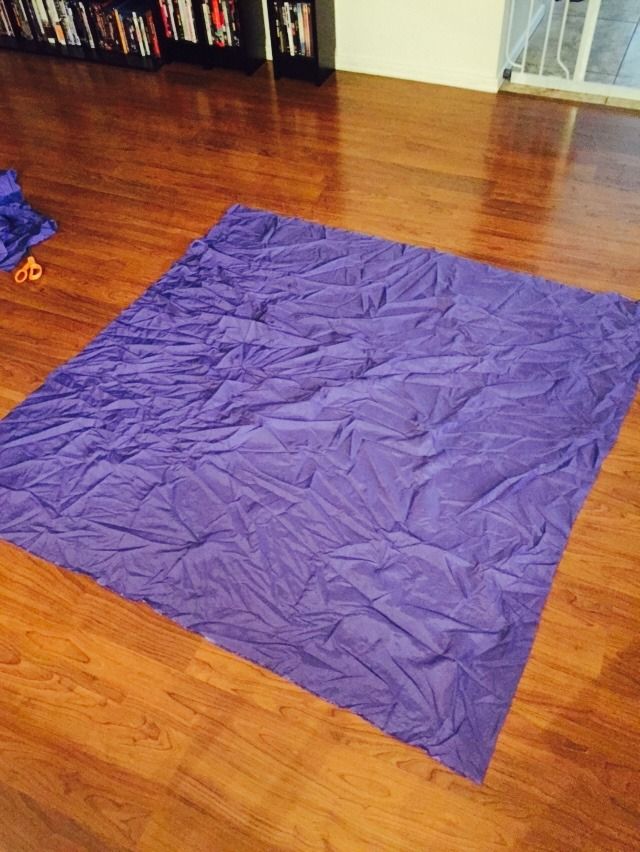
First, I cut a large square out of the fabric. One of the sides was initially 43 inches (the initial length), so I cut all sides to match.
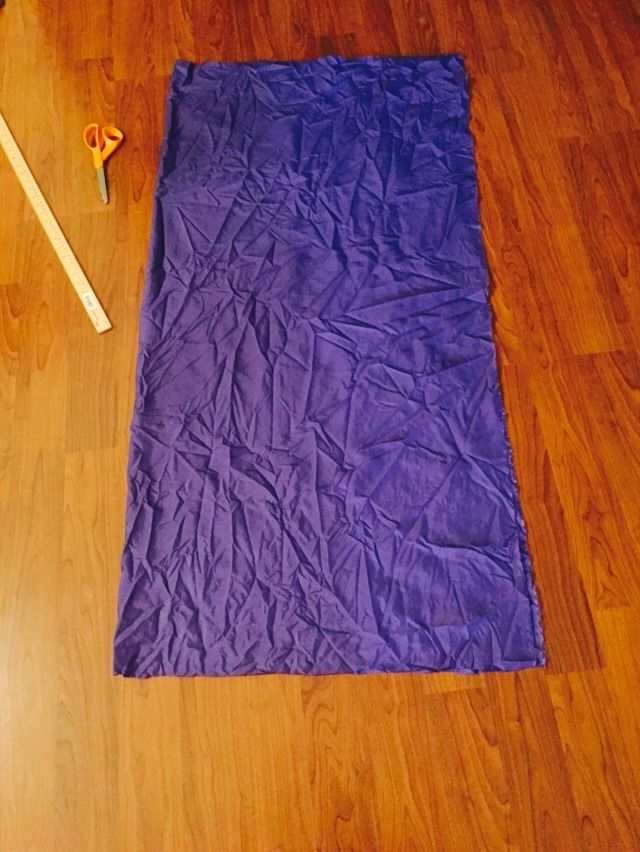
Next, you fold it in half, hot dog style.
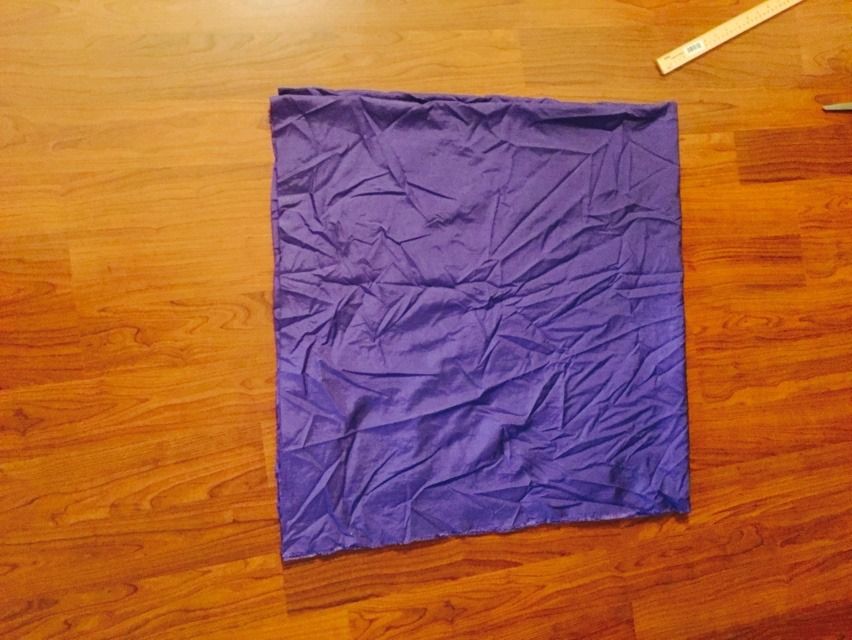
Then fold it again, hamburger.
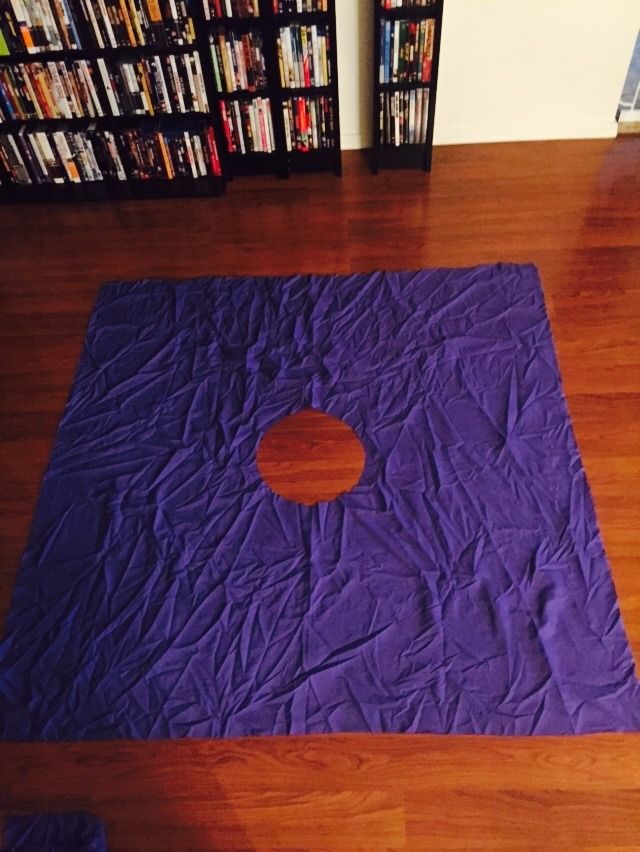
You're left with a small square, four times smaller than your original. Now, you need to cut the hole for your waist. I used a circle skirt pattern I already had. If you don't have that, take the measurement of your waist, add 2 inches, then divide by 6.28. That will be the length from the corner your hole needs to be. You can make a string that length and run it in a loop from the point in the center; or you can just measure a few times from the point and mark each time, connecting the dots at the end. You can find a great tutorial on how to do that here.
When you unfold it, it looks like this (like I said, it's way too long!):
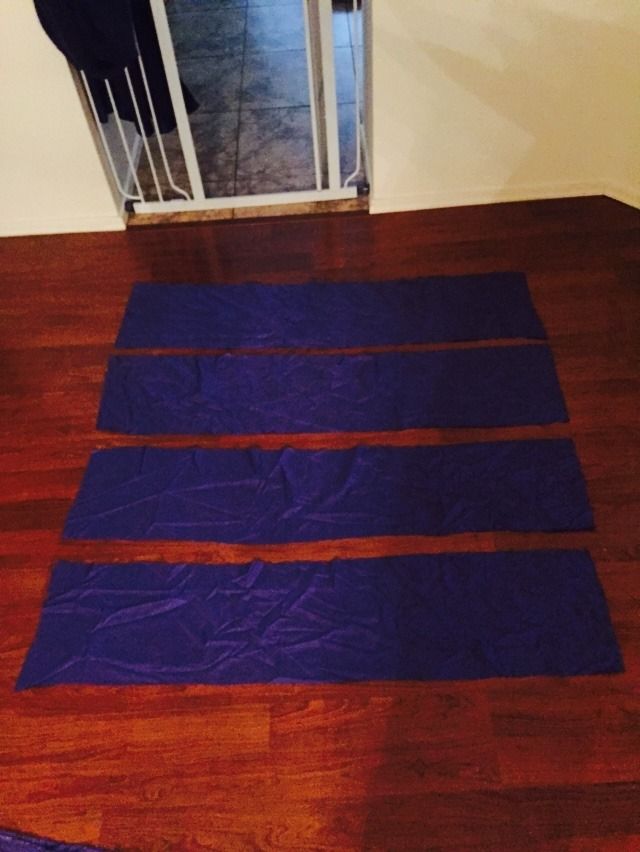
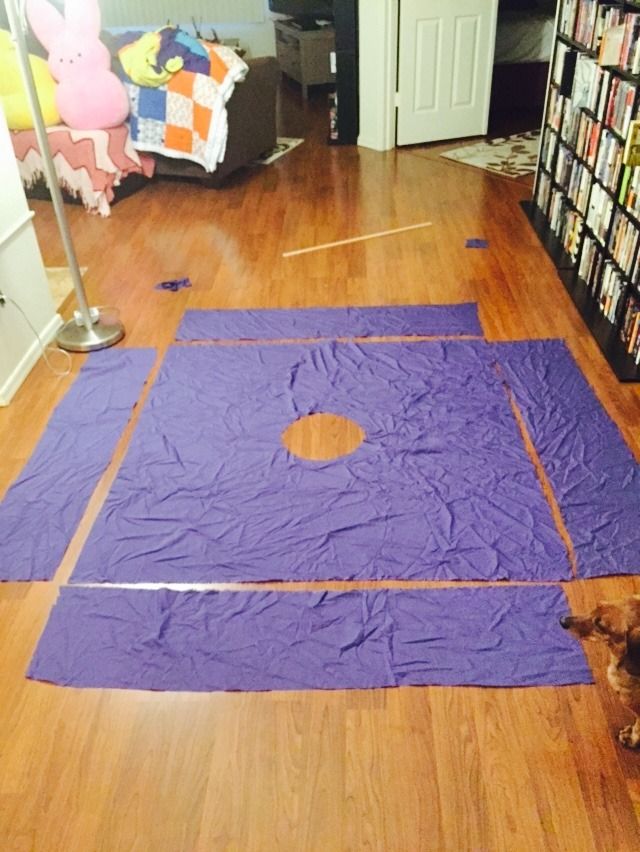
Next, cut out four panels of the same length as your square's sides. The width of the panels is up to you. I should have made mine shorter, but I just cut what was left of my fabric into four equal parts.
You'll want to sew each panel to one side of your skirt, right side to right side. Like this:
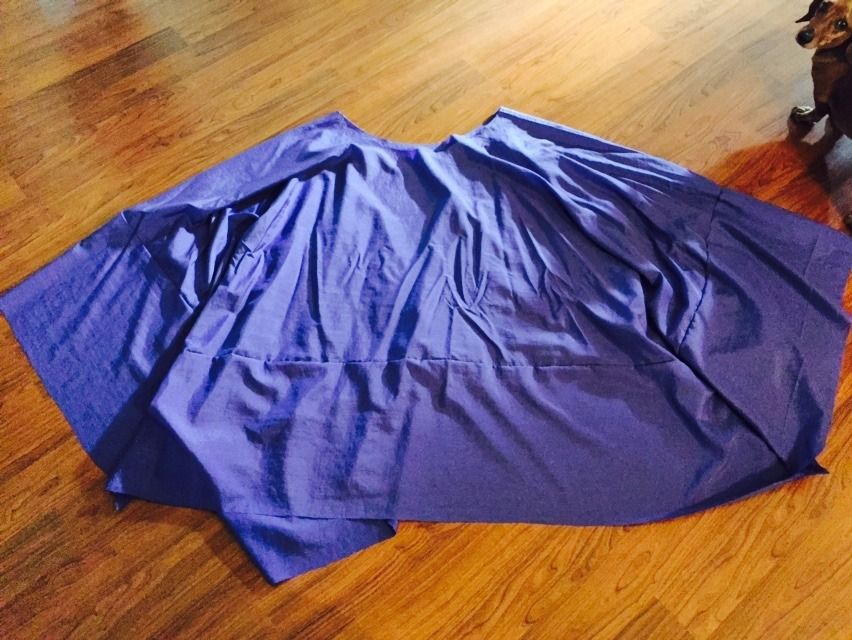
Once all the panels are attached, you need to sew the seam between the panels, turning the bottom of the cube.
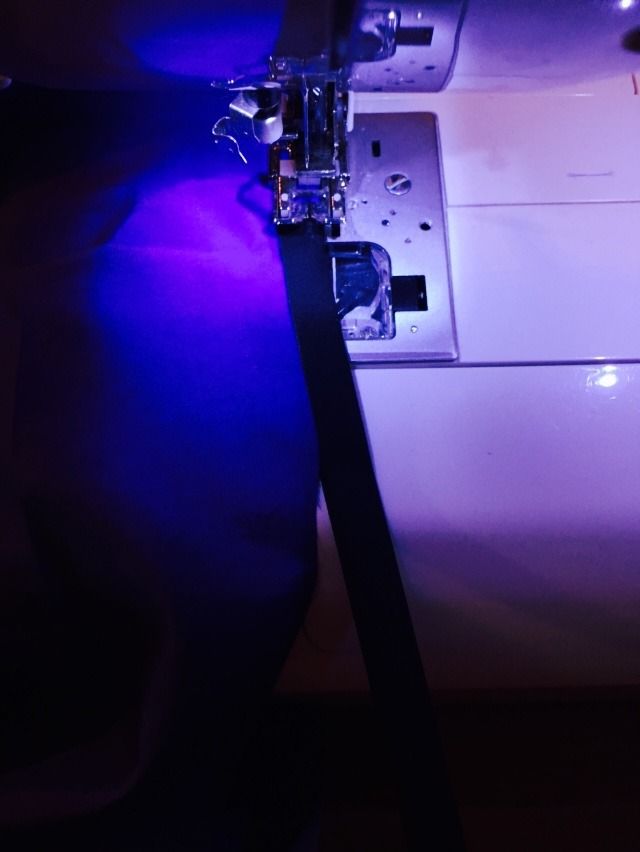
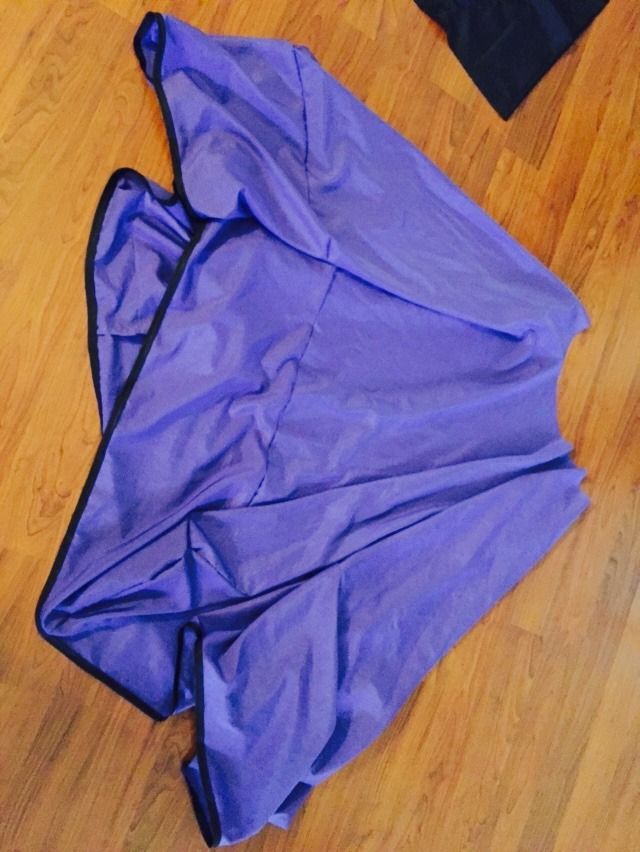
For the hem, I used 1/2 inch black biased tape. Just sew slowly, and the corners present no problem.
Here is it is with all the biased tape done!
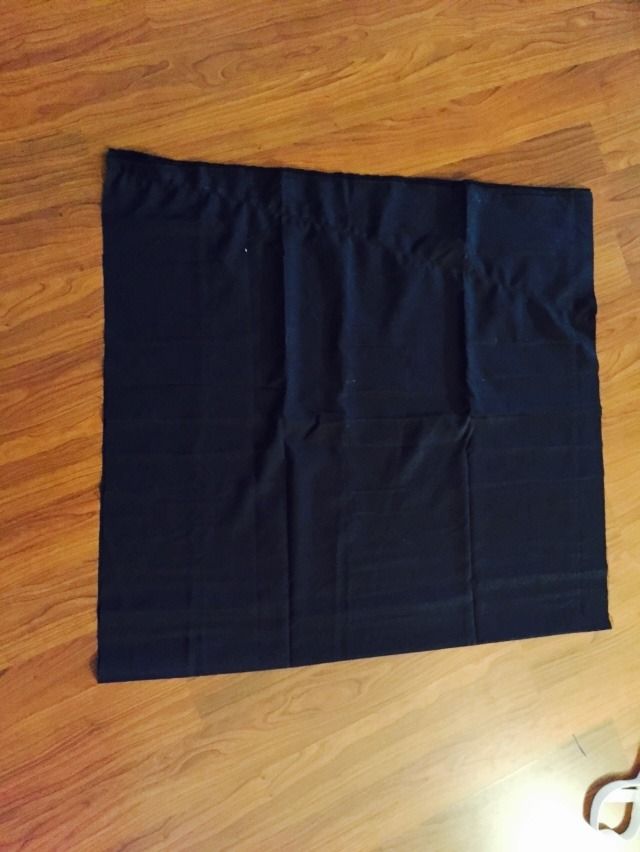
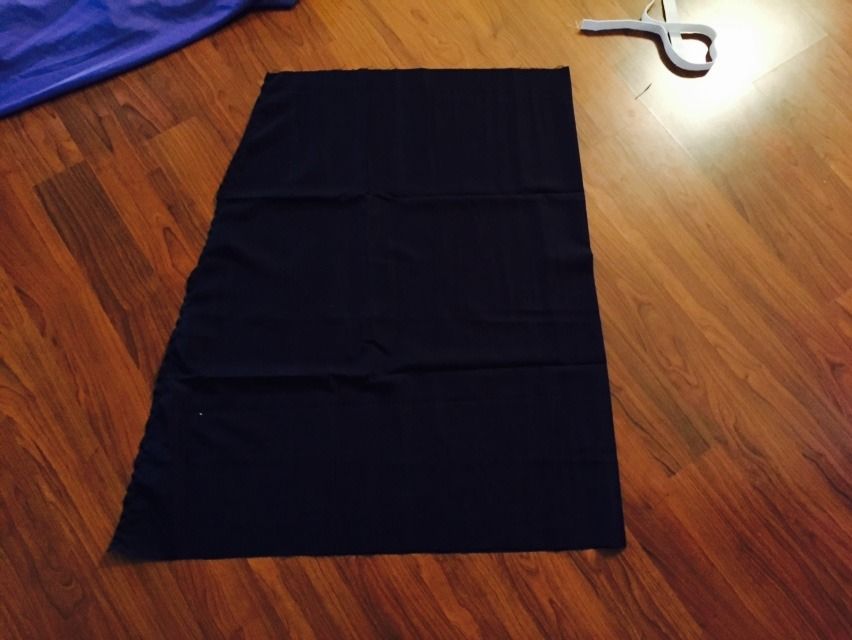
Since my material is not opaque, I wanted to add an underskirt. I had a remnant of black silk that I used. I sewed up the side at a diagonal, after measuring the top to my waist.
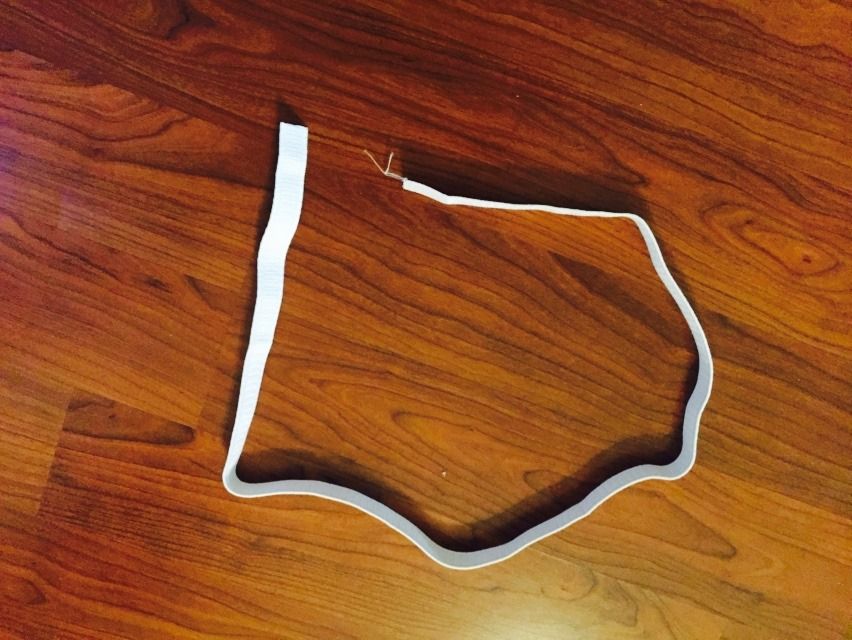
Cut an elastic strand the length of your waist.
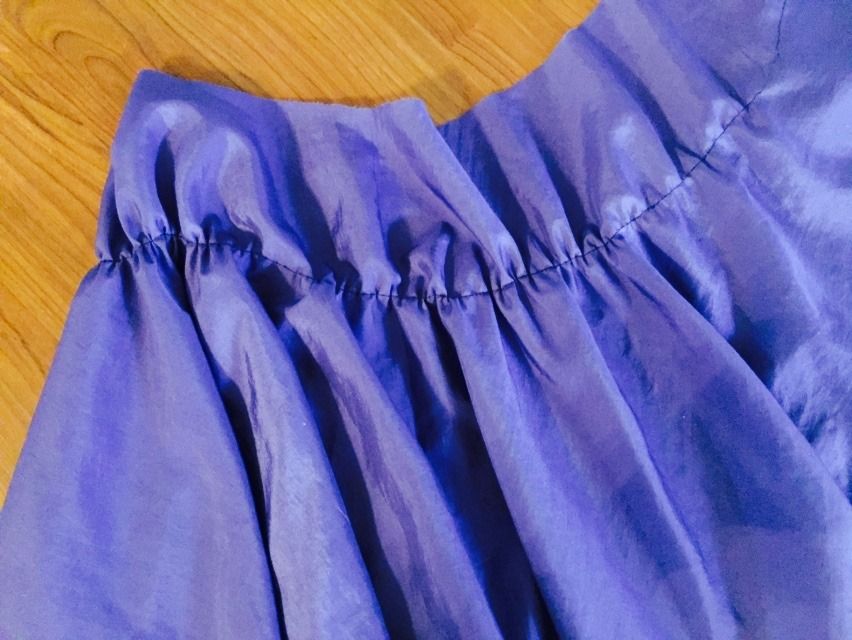
Since my skirt had so much fabric, I thought it would help to gather the inside seam before sewing the hem down. So I did a long straight stitch all the way around my top, about four inches.
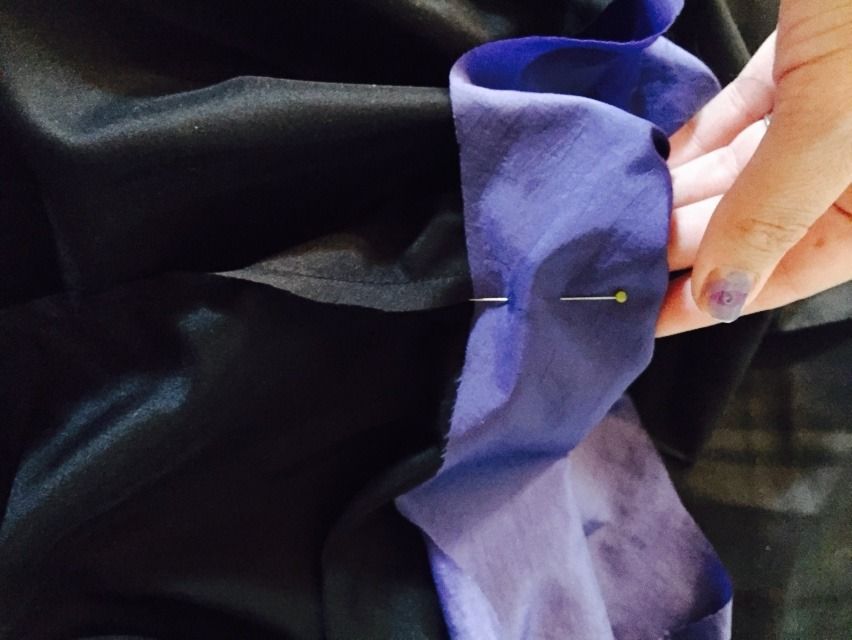
Then, fold the top down (so the top is meeting gathered seam). Tuck the underskirt inside, and pin.
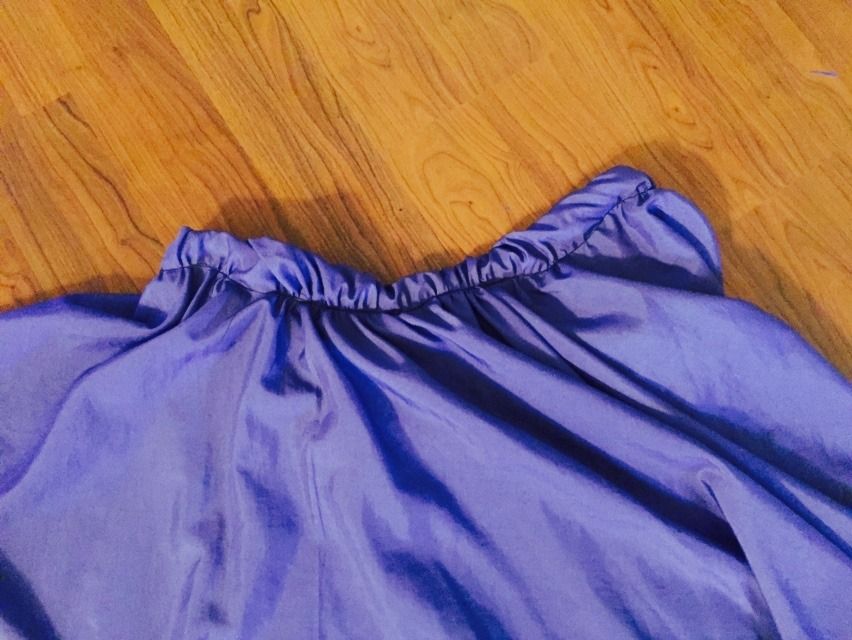
Not the prettiest seam, but it'll do!
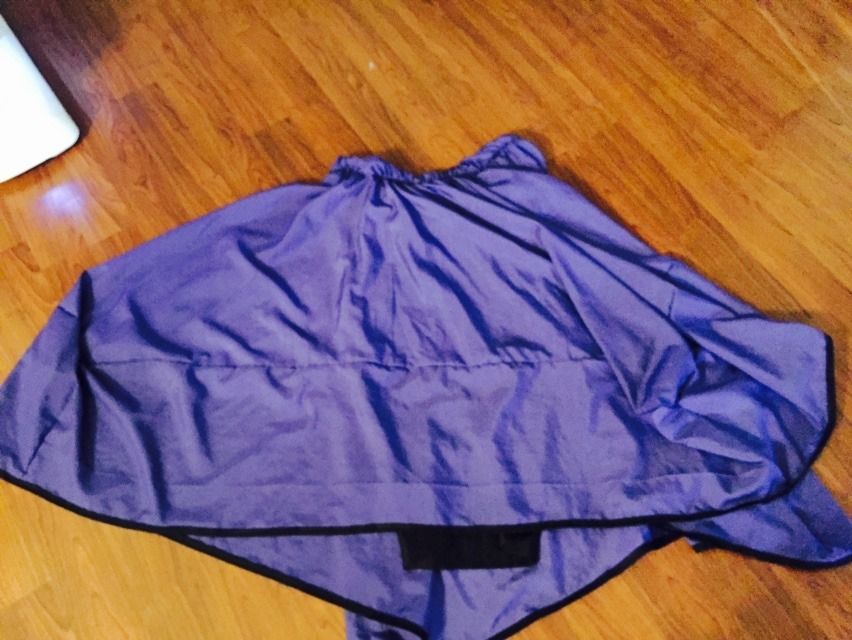
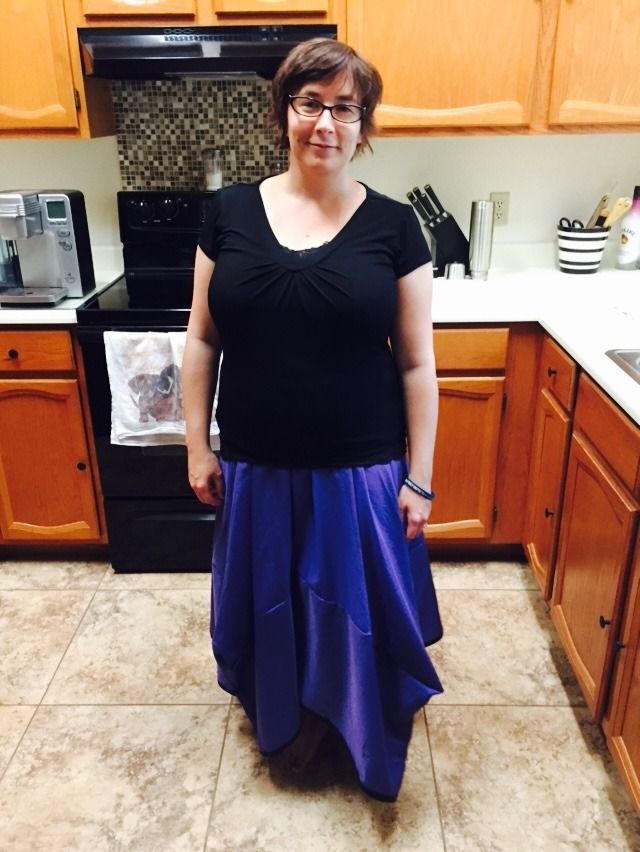
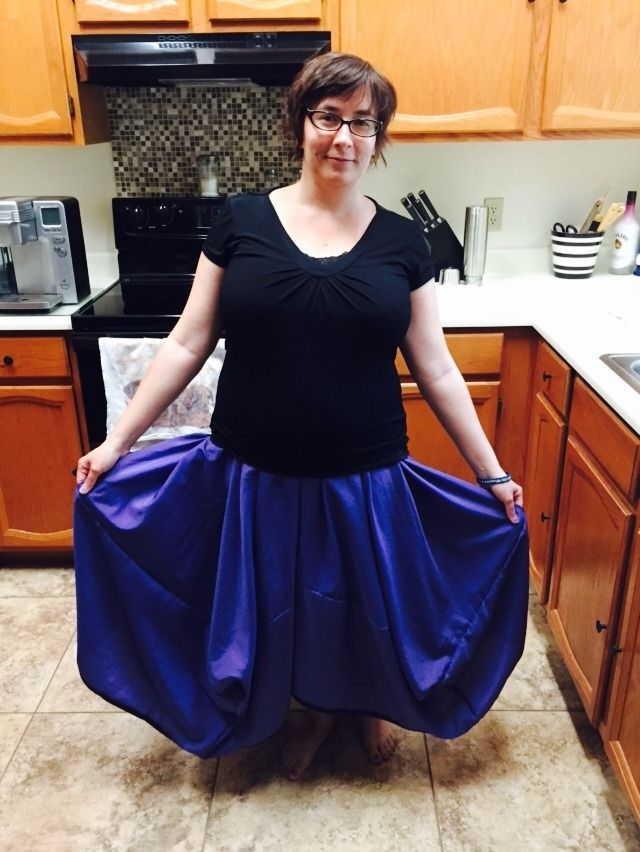
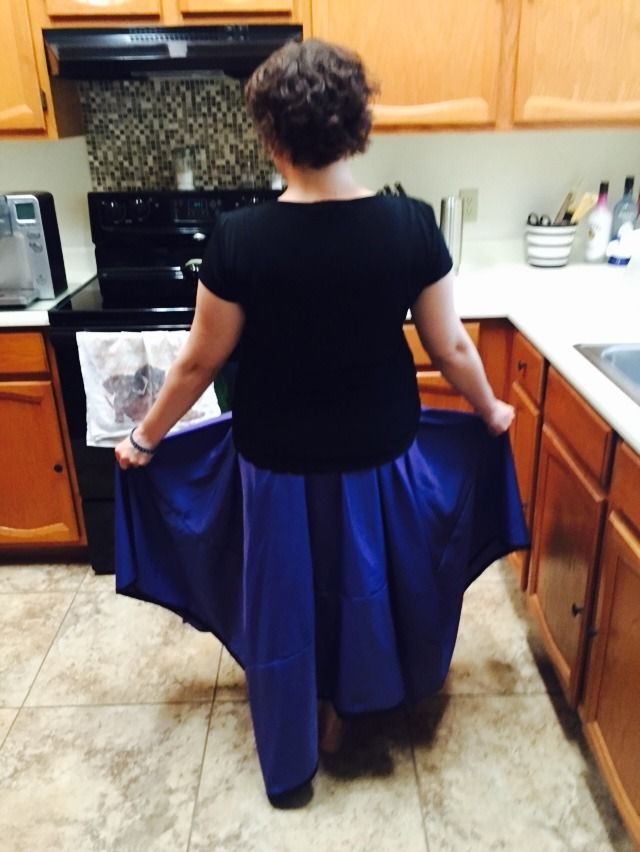
And here's the finished product!
I love the way it looks, but wish it was shorter, and made from a different material. I will have to try this one again!
~Buttons
No comments:
Post a Comment