Posted Today, 04:16 PM

I found a tutorial on Pinterest for this skirt. I loved it the moment I saw it. And it's pretty simple to complete. I had a couple of hiccups, but that was due to my backwards thinking--or maybe lack of backwards thinking.
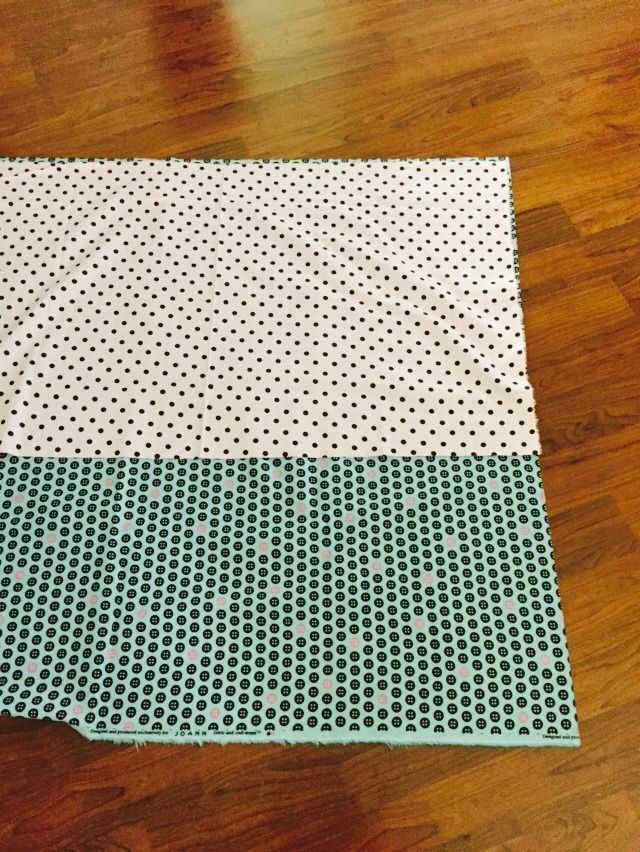
First, I found two fabrics that looked okay together.
I had bought the pink polka dot fabric from the remnants bin at Hobby Lobby last week. I didn't have anything in mind for it; I just liked it. Plus, it was only about $2.50. How could I pass that up? The blue buttons fabric Pockets bought for me quite a while ago. I had planned on turning it into pajamas, because it's flannel.
First, measure your waist. The top of each piece of fabric will be this length. I added 1 inch to mine, just to ensure it would fit.
For the bottom length, my fabric was only about 50 inches because it was a remnant. But you can make it as wide as you want. I believe the original tutorial just doubled the waist measurement. It's totally up to you!
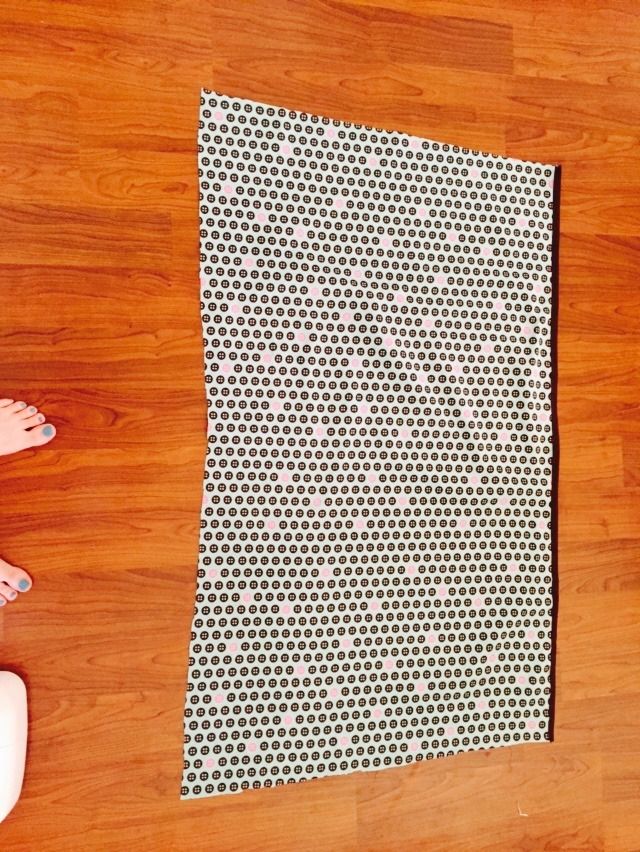
I cut out my polka dot fabric, then placed it on top of my button fabric and traced, giving me two equal-sized pieces.
After that, I sewed bias tape on the TOP hem of the button fabric.
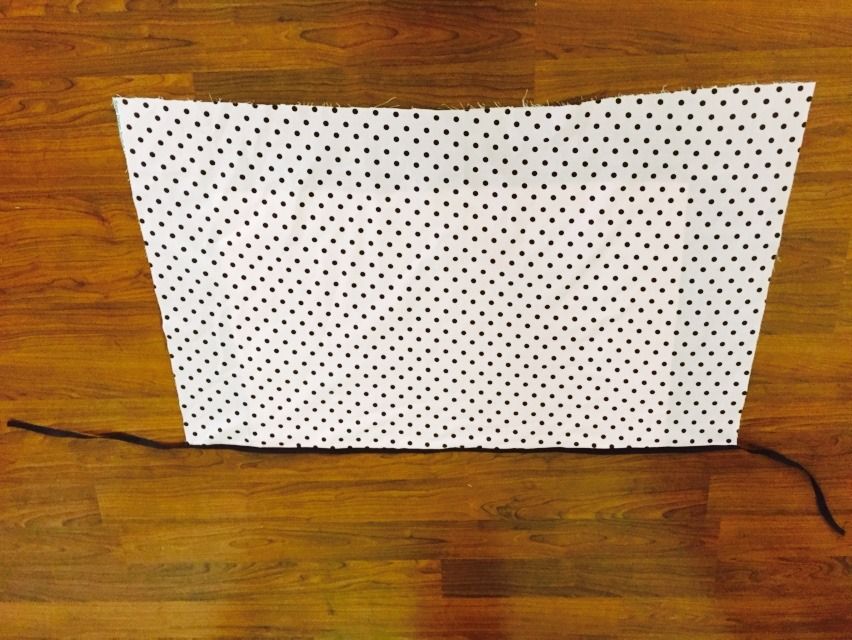
Then, I sewed the bias tape to the TOP hem of the polka dot fabric, including about 8 inches extra bias tape on each side to use as strings.
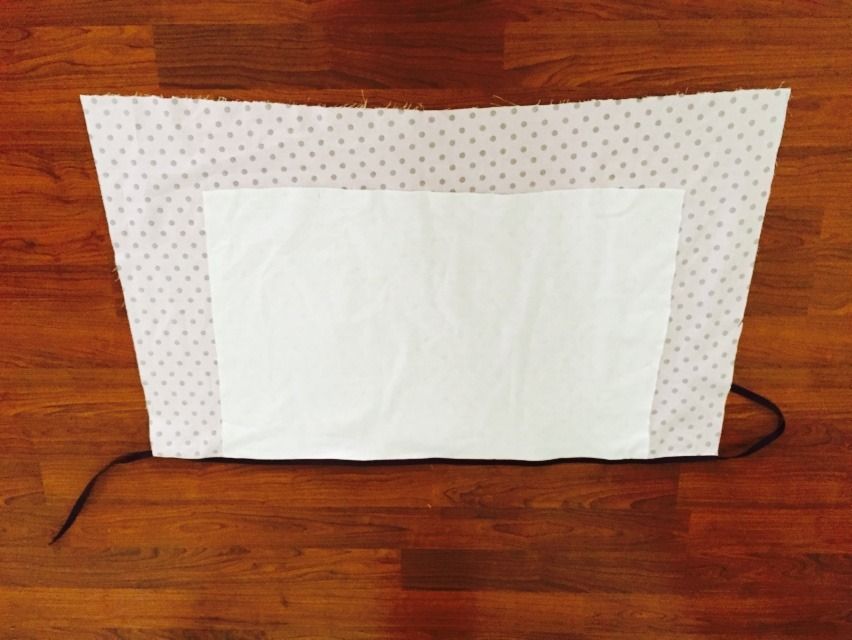
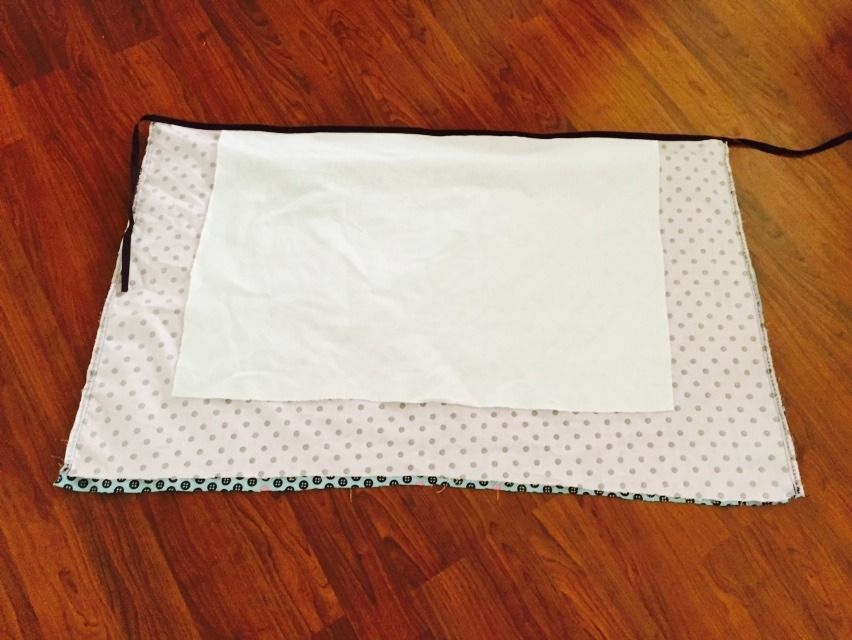
Since the pink fabric was a bit see-through, I added in a small white cotton panel for modesty.
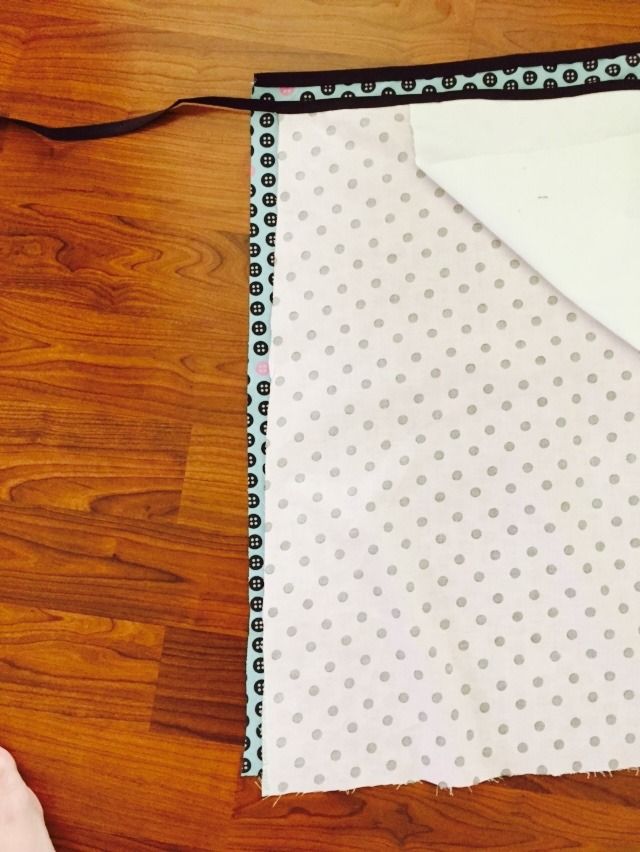
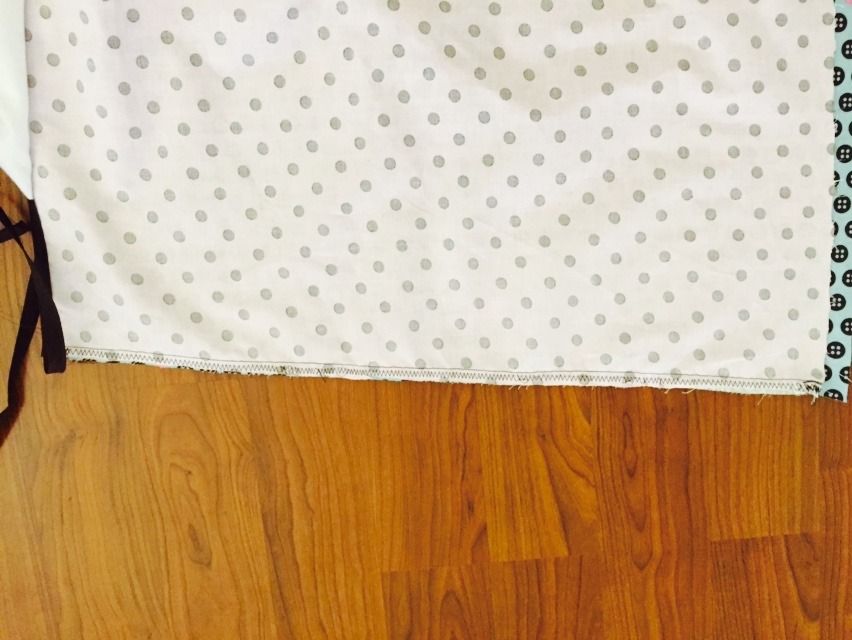
With both fabrics on top of each other, right side to right side, sew up the angled side seams.
Note: Do not sew all the way up to the bias tape because the skirt will be flipped inside out, and you need the strings on the outside. So, stop at the top bias tape; it will be finished later.
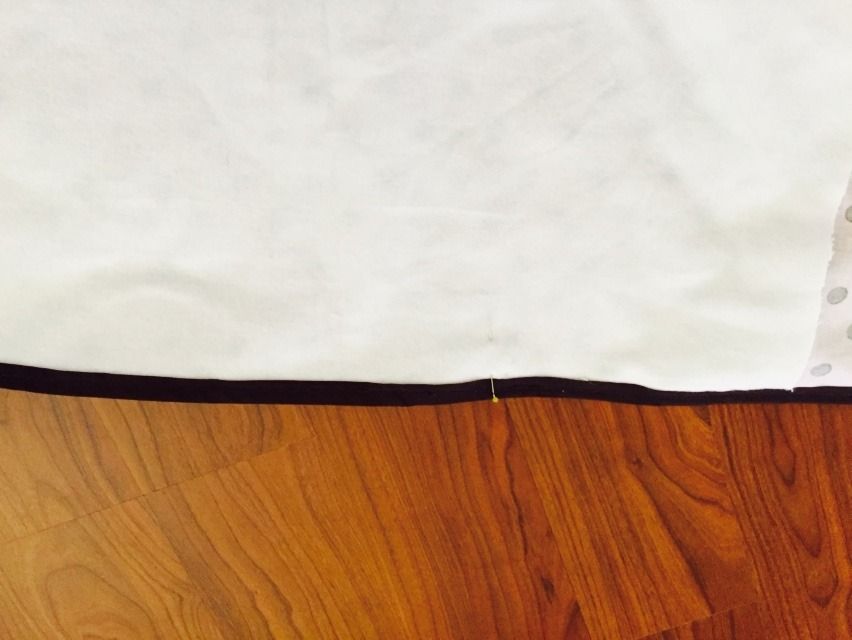
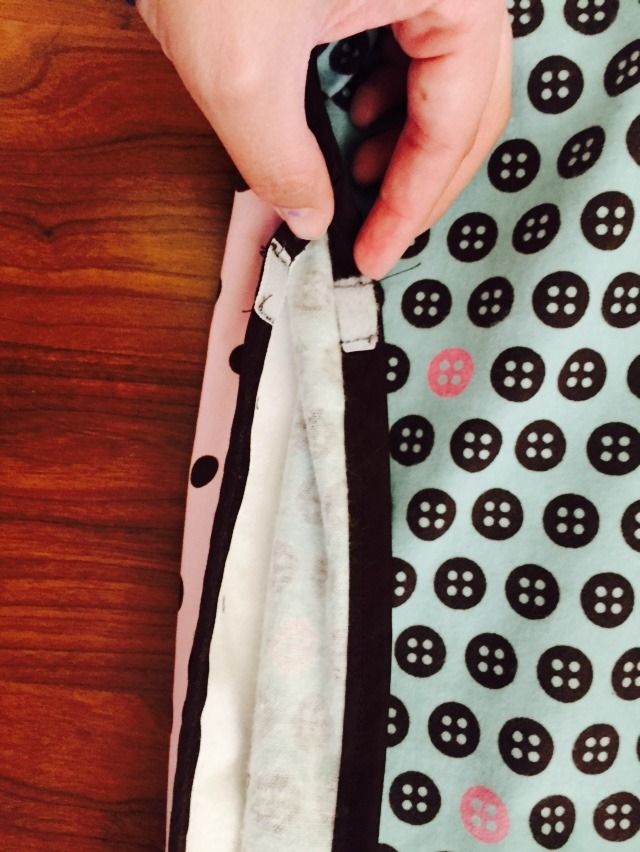
Some of the readers of the original tutorial pointed out that the skirt will slip open and suggested extra reinforcement. I decided to sew the top seam, leaving just enough room open for my waist. I used pins to mark the sides of my waist.
Before sewing, flip the skirt so it's wrong side to wrong side. I accidentally sewed it right side to right side, and trapped my strings inside. Also, once it's wrong side to wrong side, you can complete the side hem, tucking the other fabric under the fabric with strings.
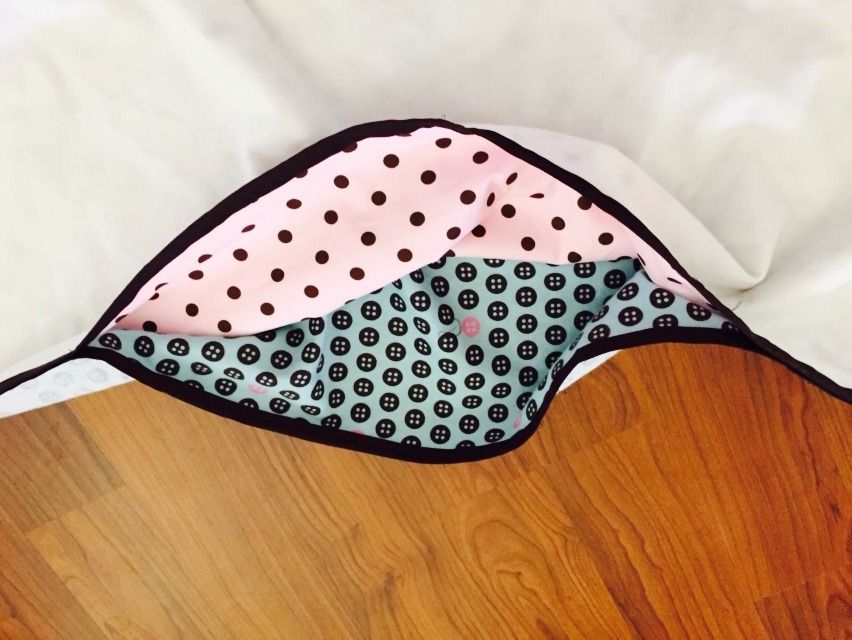
But this is what it will look like if you leave the opening.
I also added a small strip of Velcro (and I may have to change it to a snap or a button and button hole) to keep the skirt secure around my waist.
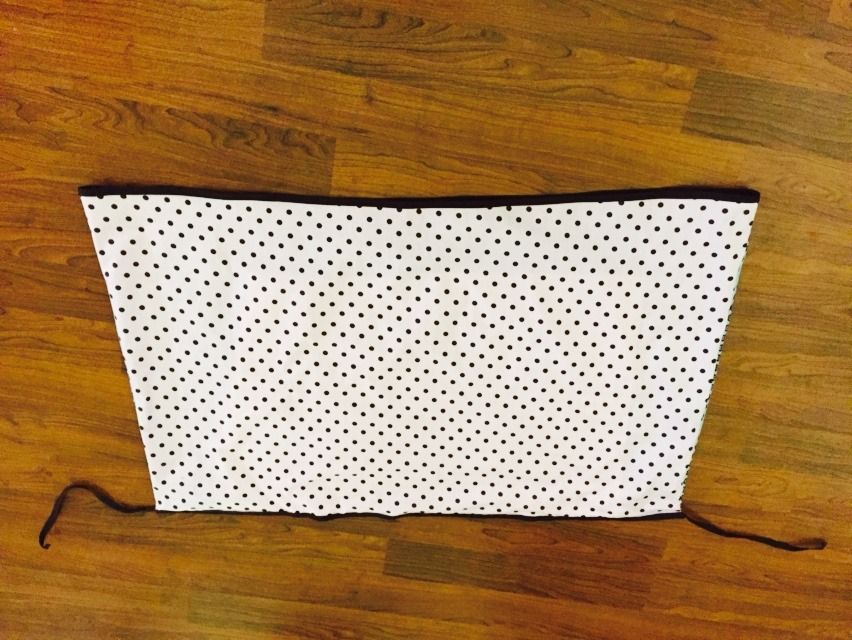
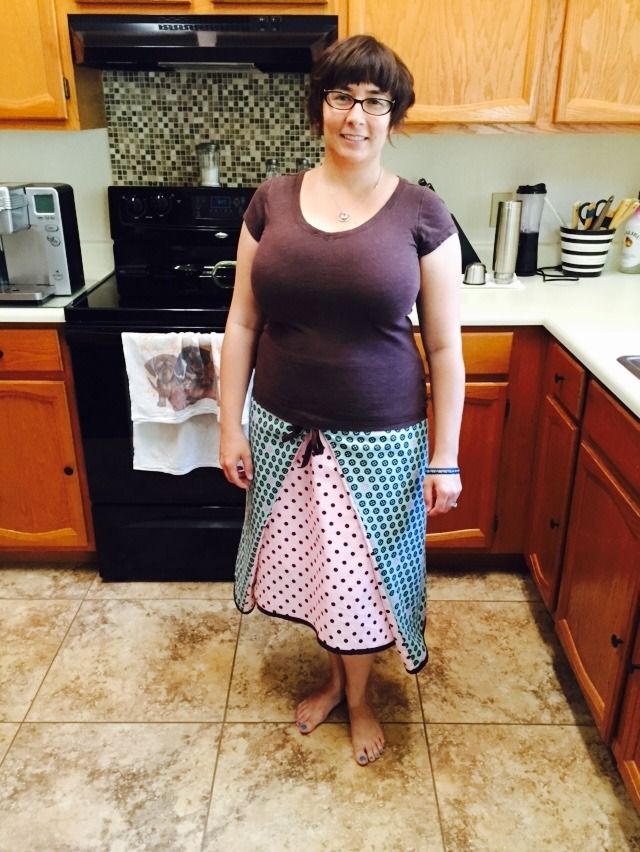
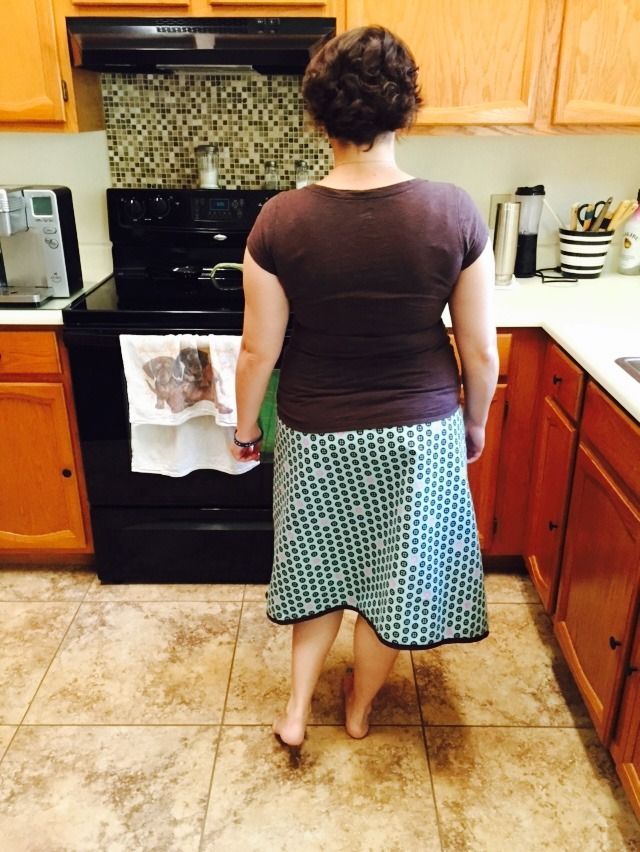
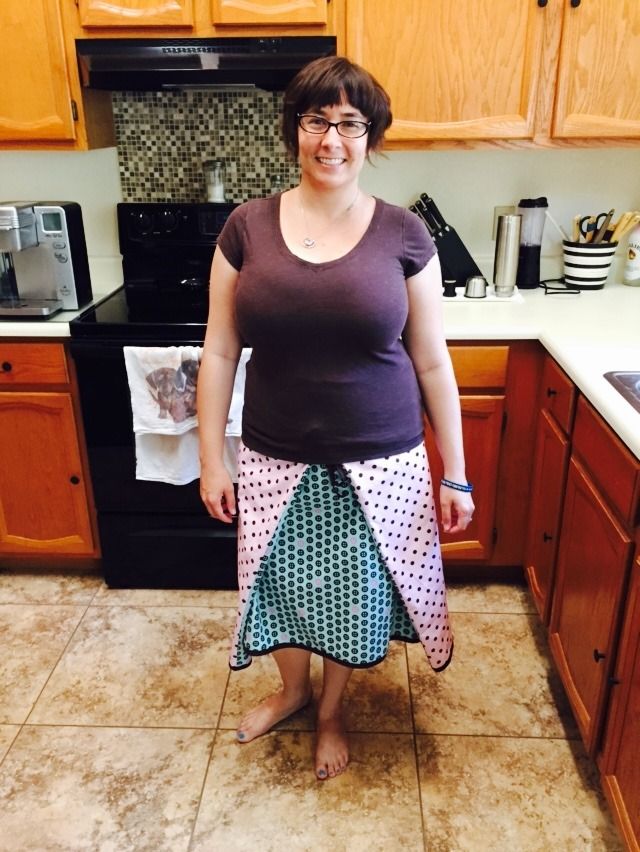
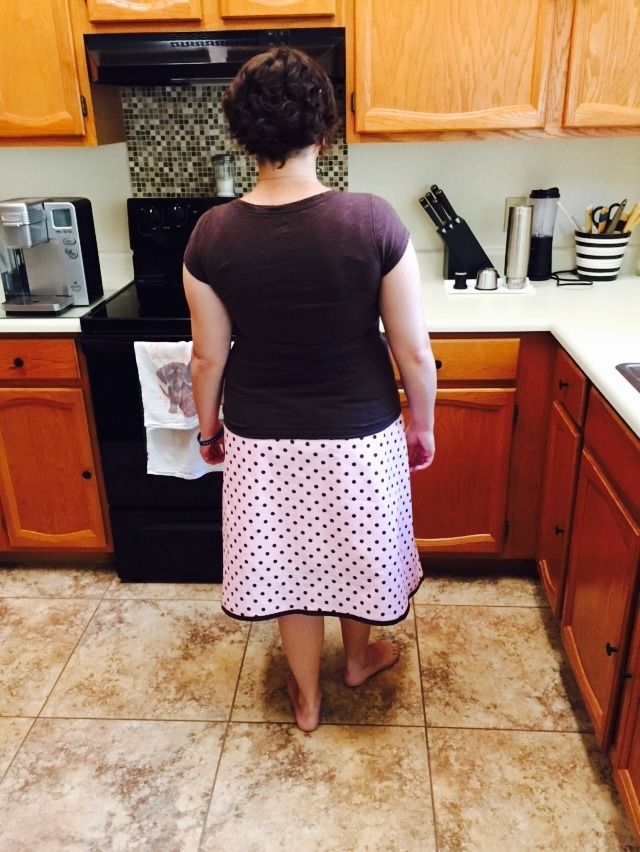
Then, sew your bias tape to the bottom hem. And you're all done! Here it is after I fixed all the mistakes on the top seam.
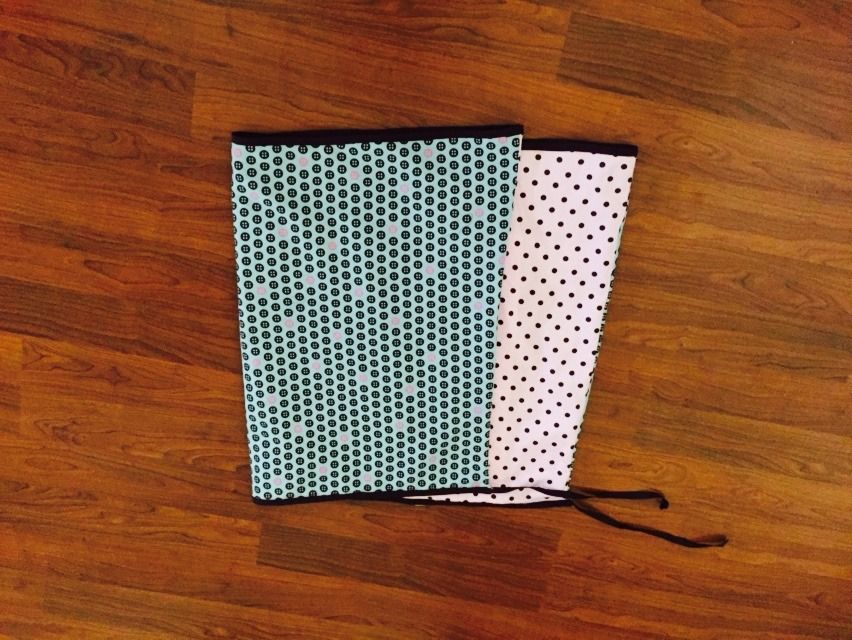
I love that it's reversible! It's so adorably cute!
I think I like the buttons on the outside best.
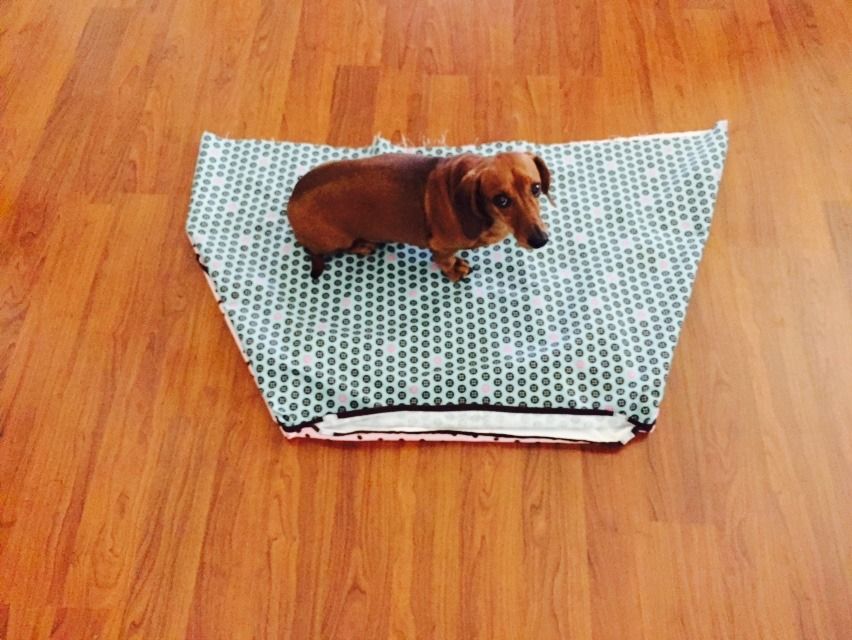
And just for fun... my doggie thinks fabrics are his bed...
~Buttons
No comments:
Post a Comment