I saw this tutorial on Pineterst and wanted to give it a try. I'm getting better at making skirts, so I wanted to increase my understanding of how to put shirts together.
Materials:
About 1 yard main fabric
About 1/2 yard contrasting fabric (optional)
First, the directions in the tutorial are spot on. The way they are set up gives you nice, clean finished seams. I was really impressed at how wonderful this turned out. And it was relatively easy. There were times when I had to read the directions a few times in a row to grasp the concept of what was being said; but that's typical with sewing instructions.
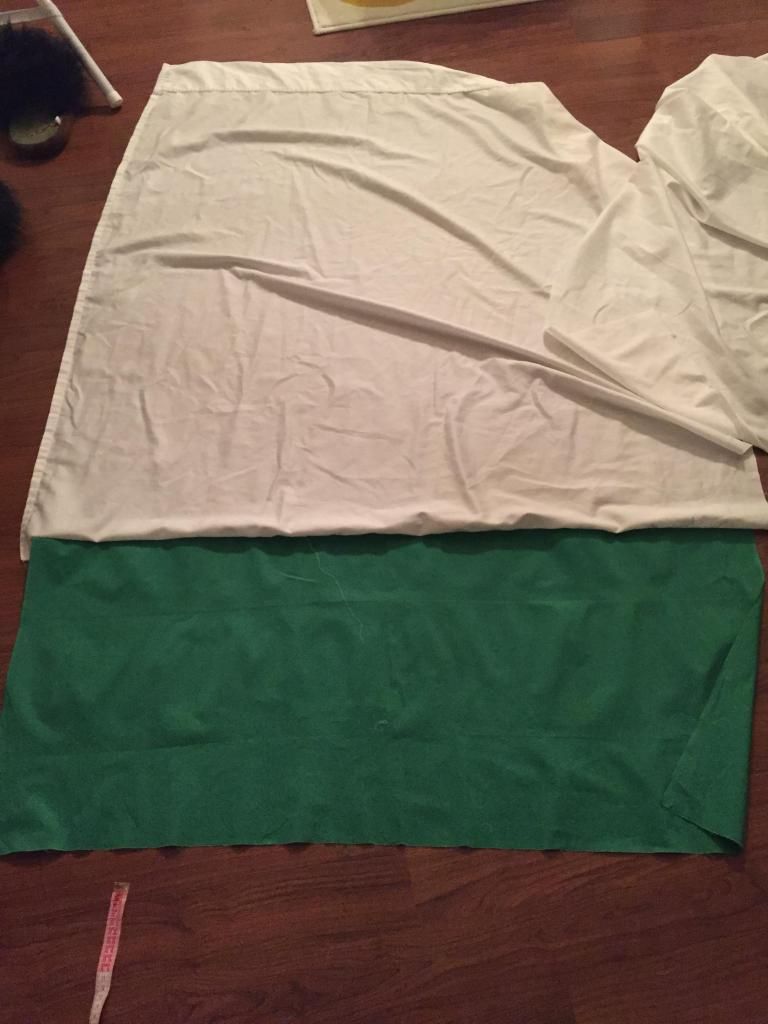
I started with these two fabrics: a mint green knit that I got for $1 a yard at Walmart, and a green and blue paisley cotton that Pockets gave me ages ago.

I cut out all my necessary rectangles:
Four 5 in x 20 inch rectangles in the CONTRAST fabric for the straps (left and right) and the shirt's top band (front and back)
Two 6 in x 12 inch rectangles in the CONTRAST for the pockets (I actually used 5 in x 12 in and it worked just fine)
Two 3 in x 22 inch rectangles in the MAIN fabric for the arm ruffles
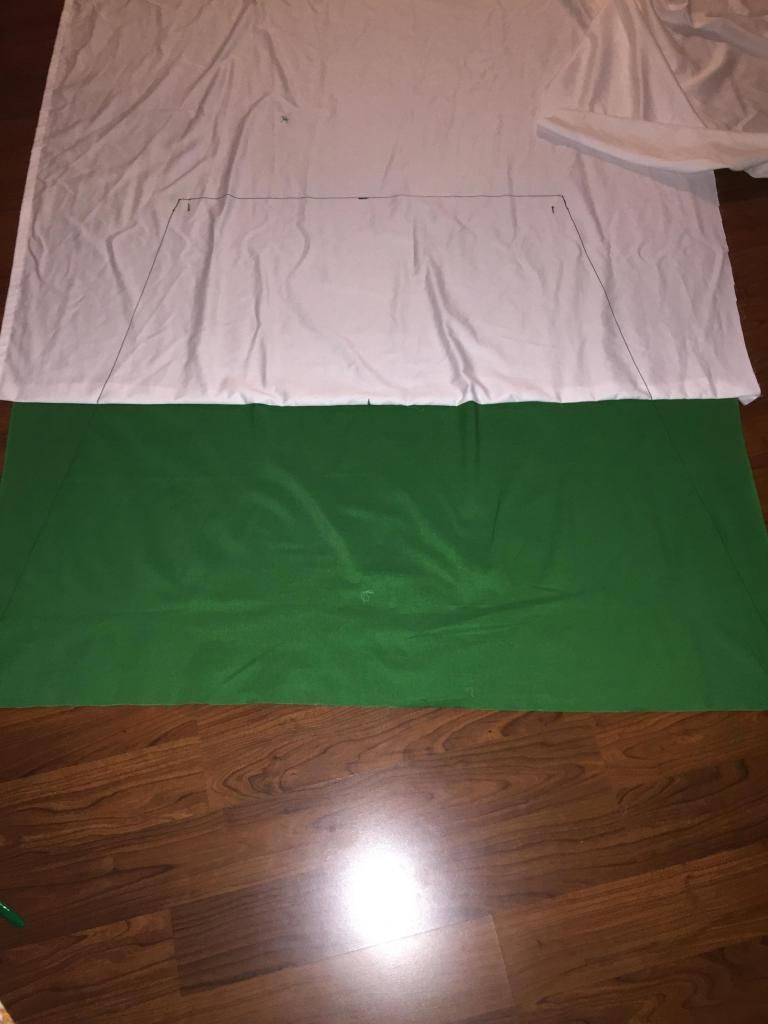
Finally, I made a pattern for the shirt's body, a trapezoid 26" on the top and 29" on the bottom.

For the sleeves, you're supposed to add a ruffle. I tried to do this, but since my knit was too delicate, I couldn't get the ruffle to work. I really had a hard time sewing the knit fabric in general. It was too stretchy and thin, so would get sucked into the bottom of my machine. Several times I had to alter my design to add in a stabilizer to help. Luckily, the knit looks just fine not-ruffled, so I just left it as it was.

For the body, again, I couldn't sew the knits together. I had to add a thin strip of the contrast fabric underneath to prevent the knit from being pulled in.

As it's on the inside, I didn't worry about it--it won't show at all once the piece is done.

The directions call for making the pleats before you attach the body to the bands at the top. Since I have a fuller bust, I wanted to wait to make the pleats, giving me an easier way to make sure the measurements were right. The original had three pleats on either side, I could only squeeze in two.
So I pinned the side hems of the body to the side hems of the band. Then I marked the middle of the front and worked out to the right side, folding the pleats and pinning them. Then I went back to the middle front and did the left side. Next, I found the middle back and did the same thing.

The pockets were easy to do following the original instructions. I sewed my about an inch and a half from the side seam on either side of the front. They look very cute!
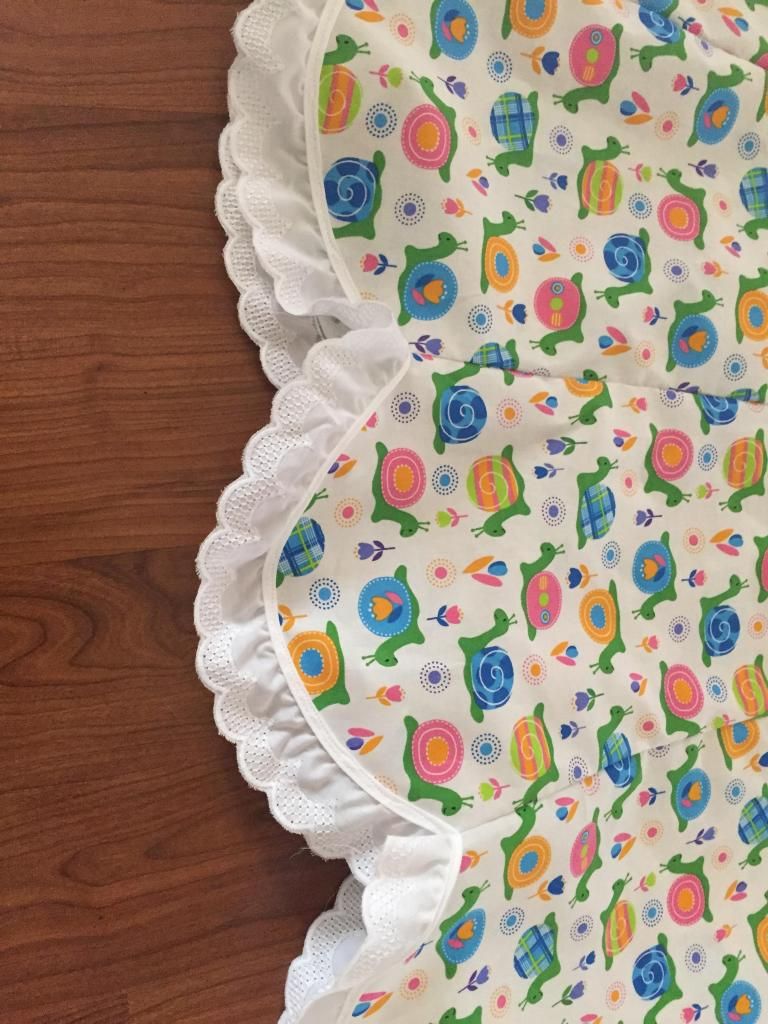
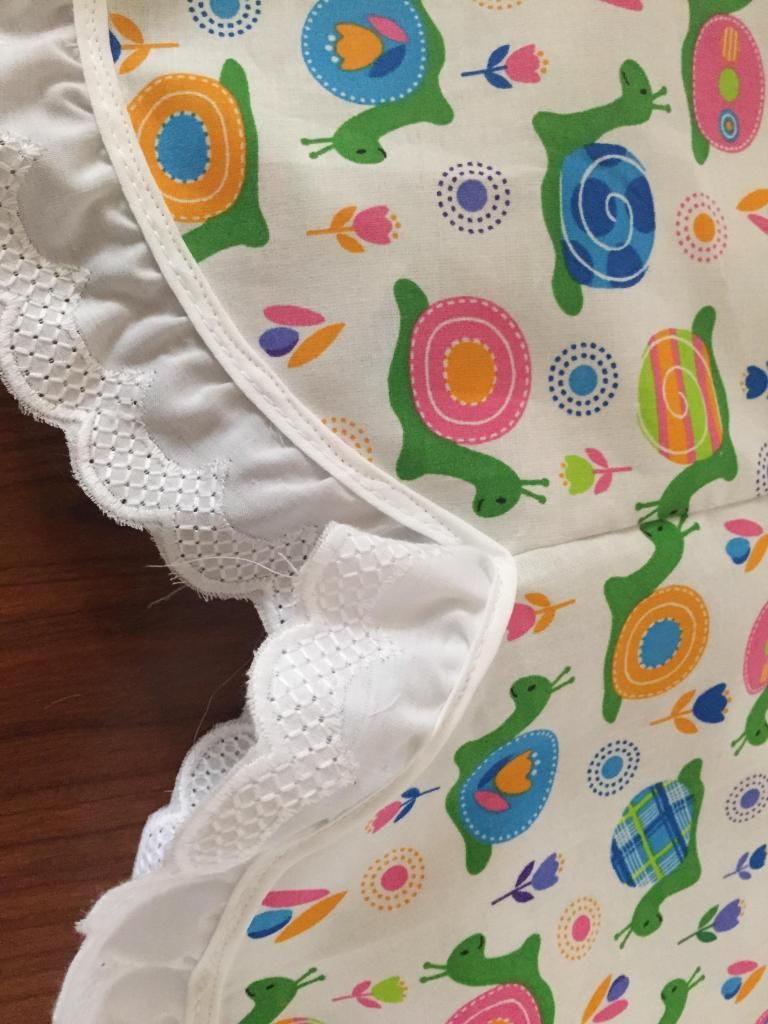
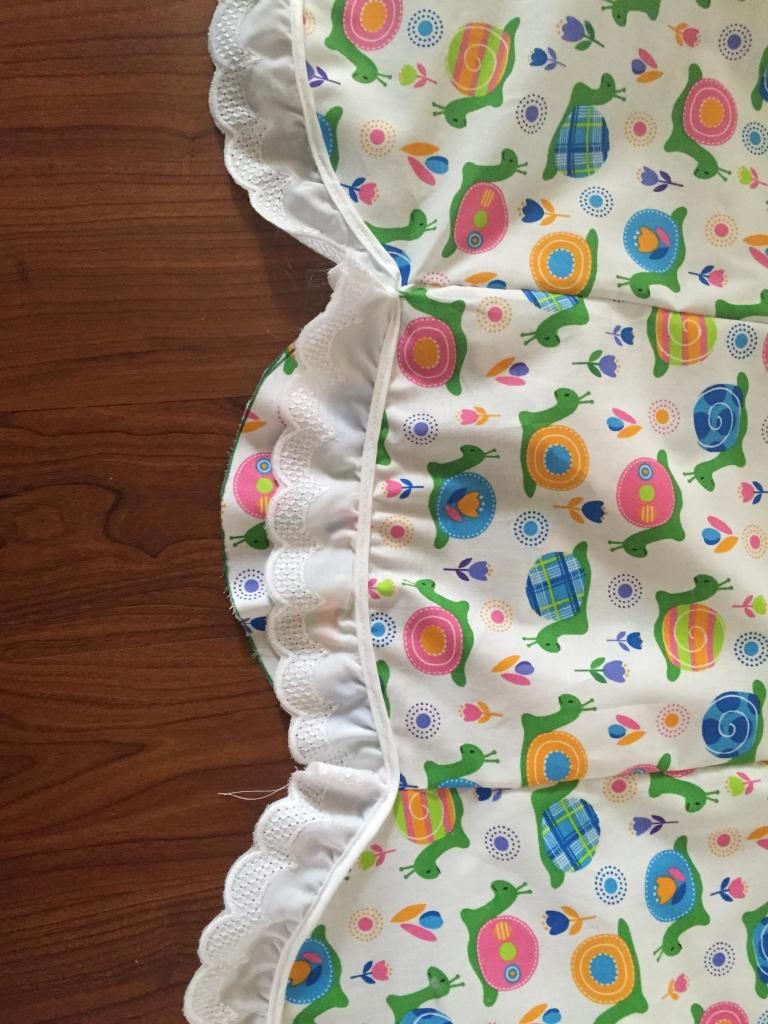
One thing I added that was of my own design was a ruffled edge at the bottom. I took two left over pieces of contrast fabric that were 5 inches by about 40 inches each. I sewed the short edges together, right side to right side. Then using the longest stitch, I did a seam 1/2 inch from the top. Pull on the thread, and this gathers the fabric. Move the ruffles further away from the edges until the length equals the length of the body. This was one of the most time consuming parts of the project, but since I couldn't sew the knits together for a nice bottom hem, I figured this would look the nicest.
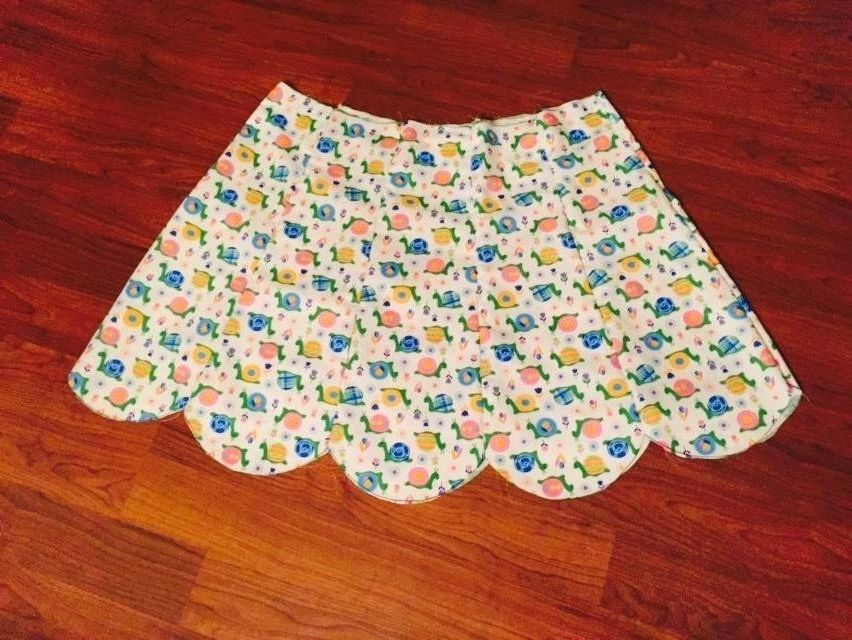
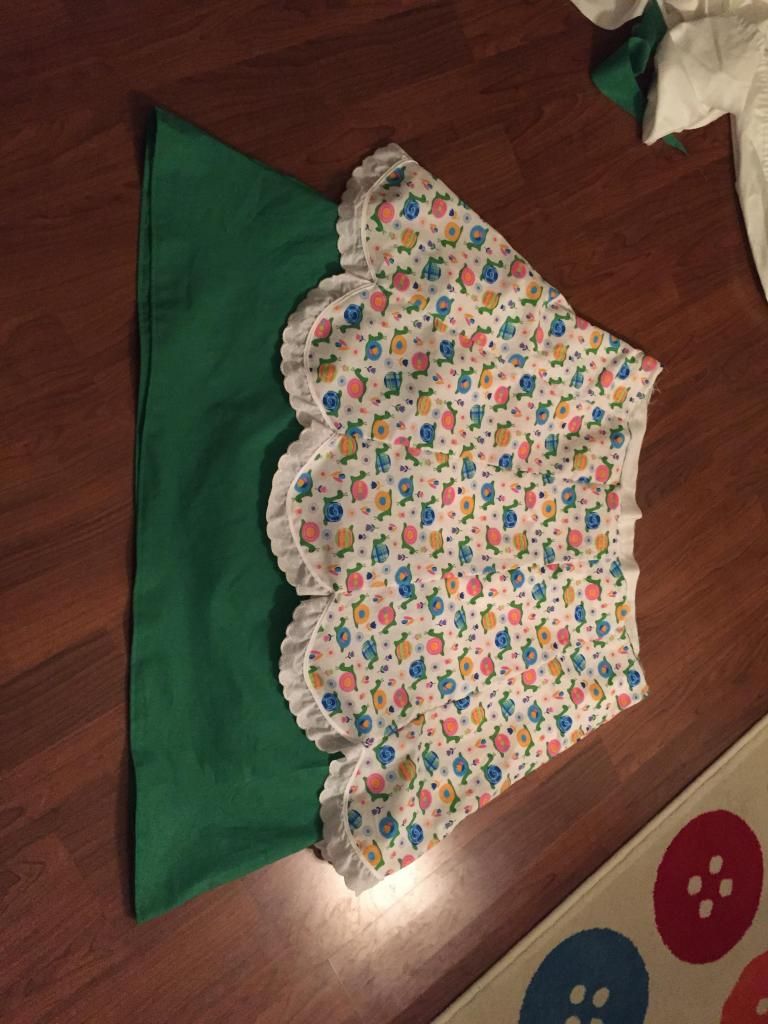
And here's the finished product!

As I said, this was pretty easy as far as difficulty goes. I did it in two days--probably about six hours of work. Though it's not the most complimentary style for my bust, I love how it flows and has a lot of extra fabric! It's very comfy.