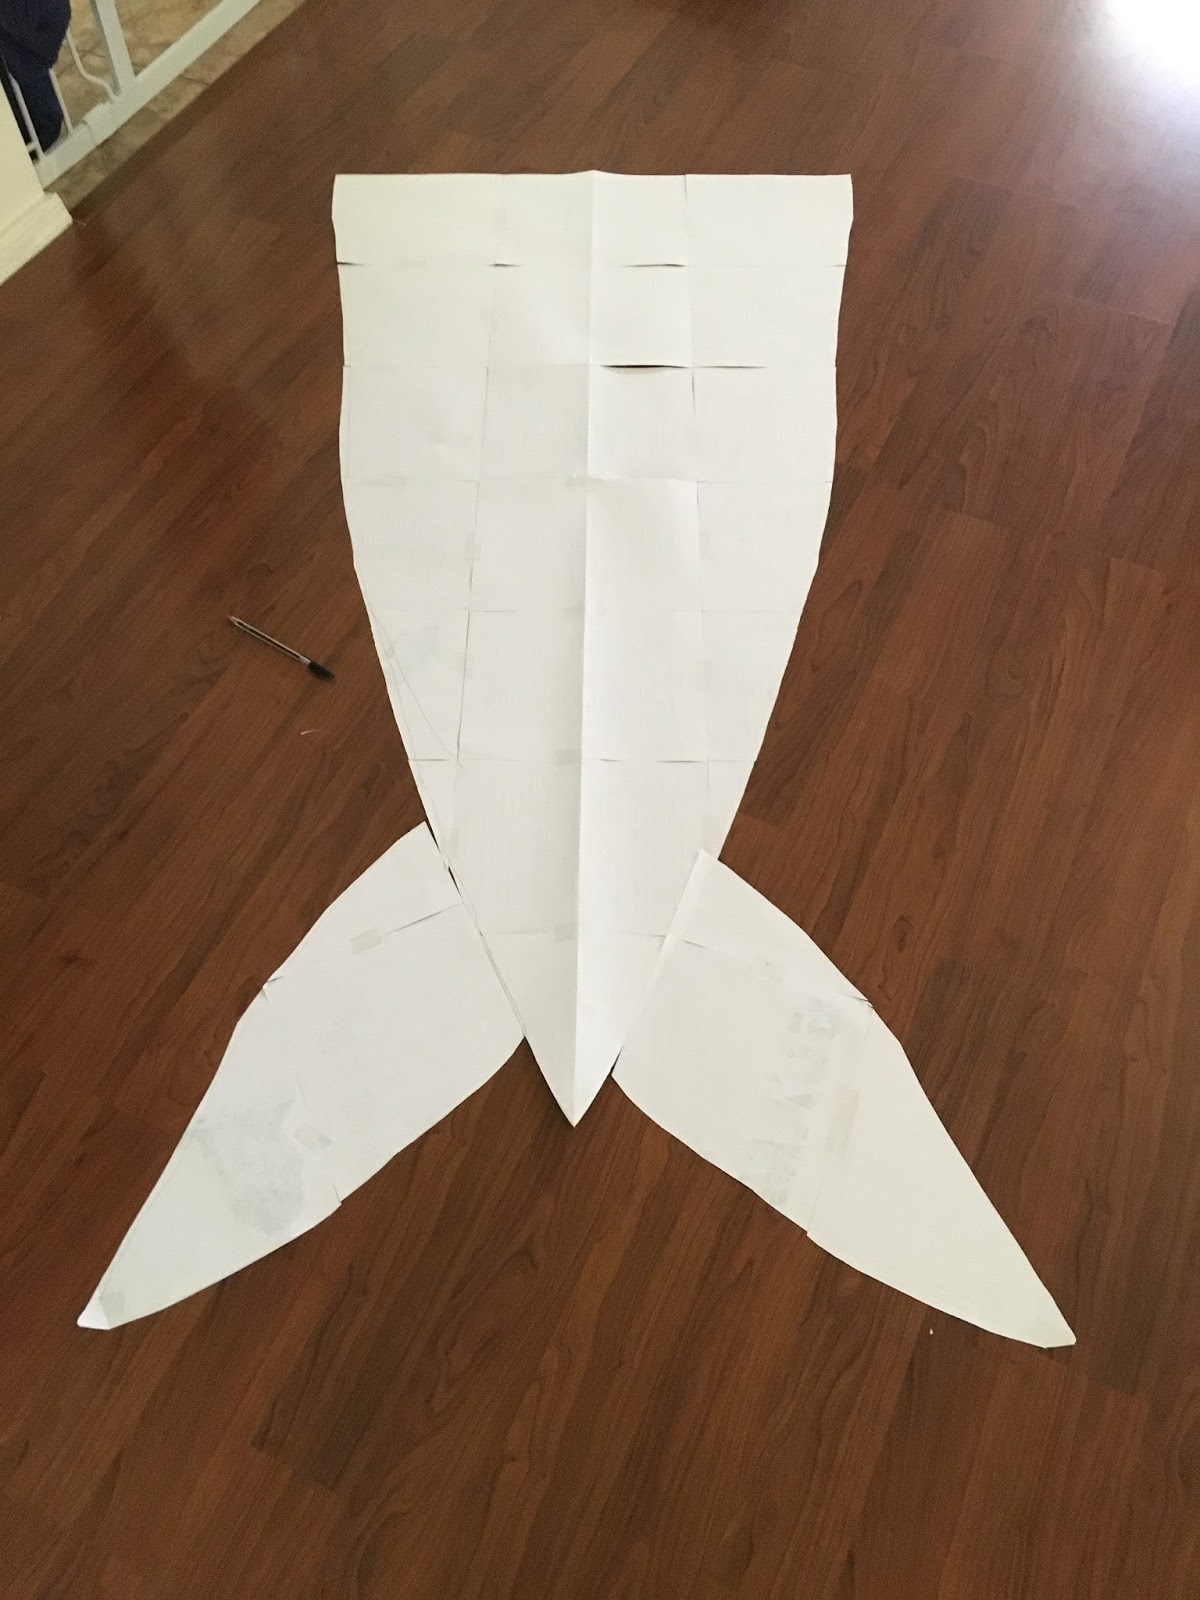
First, I had to come up with a pattern. I taped old printed pages together and outlined how I thought it should look.

Once I got it about right, I folded the pattern in half (hot dog) and cut it out. This ensured that both my side slopes were even.


With the left over pages, I made a pattern for the fins.
Next, it was time to start cutting out my fabrics. I found this soft, light, jersey knit that reminded me of scales. I used this for the tail.

For the fins, I used a solid green knit.
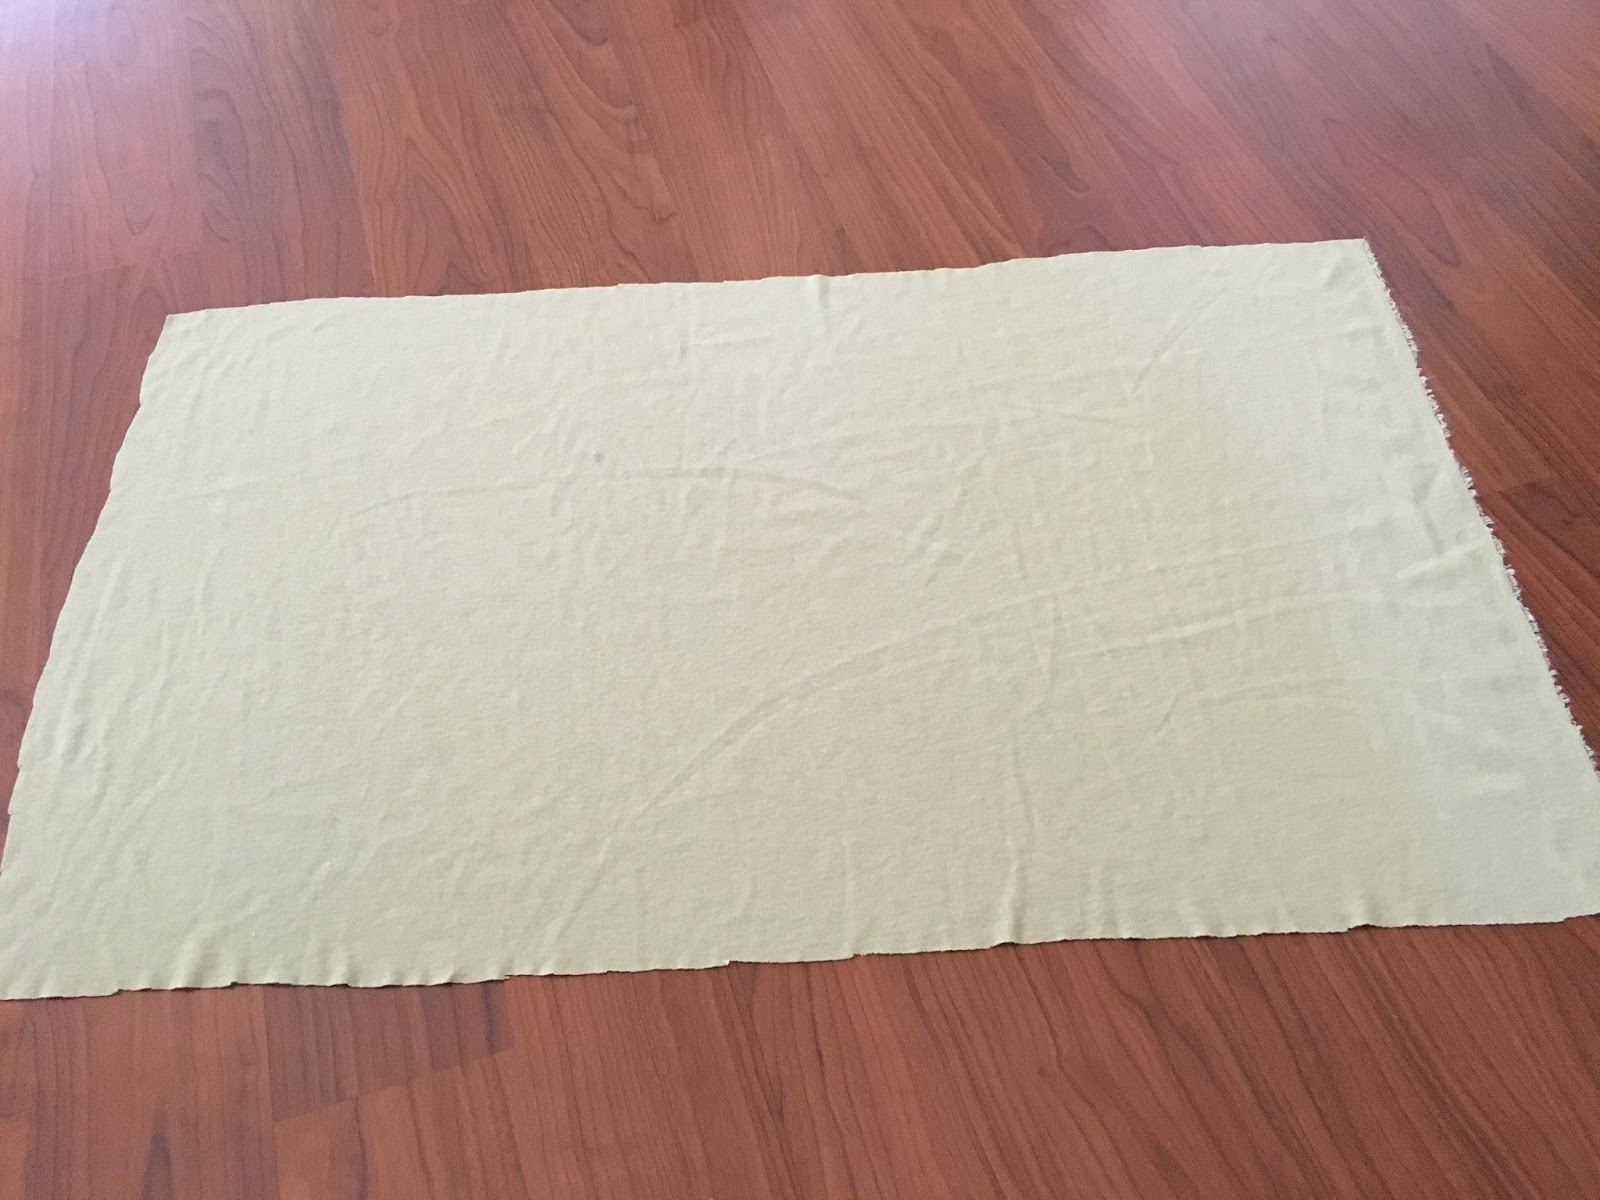
With my pattern atop the fabric, I cut it out, making sure it was aligned as straight as possible.

Then, I flipped the pattern upside down and cut out another piece. This allowed me to get both pieces out of only a yard of fabric.


After that, I assembled my fin patterns atop the green knit. I cut out two of each fin at the same time.

After they were cut out, I kept them together to ensure that I could make sure they wound up mirroring each other on the final product (more on that in a bit).

I set up the fins where I wanted them to go (about three inches from the bottom). Now, I had one piece that was the "front" of the blanket, and the other piece that was the "back." The front and back need to be mirror images of each other since they will be sewn right side to right side. To ensure that this happened, I took the right fin on the right tail and flipped it to the left fin on the left tail. That would mean when these two pieces line up on top of each other, they fit perfectly. (Even thought both fins were traced from the same pattern, I figured there would still be little inconsistencies.)
Next, I pinned the fins in place, laying them right side to right side with the tail fabric.

Once all the fins were sewn down, it should look like this.


Next, lay the two pieces together, right side to right side.

Starting at the bottom, sew up the right side, around the fin to the top. Repeat on the left side. Leave the top open.

To finish the top seam, I used a thin, black bias tape.


And since I had the pattern, I made another one! The second was flannel.

~Buttons
No comments:
Post a Comment