I searched online until I found a tutorial that I wanted to mimic. I found this amazing one from Sugar Bee Crafts. Though their aprons were for working at craft booths, the style was one that could be useful for teachers as well.

I also had a small cut of a maroon fabric that matched perfectly, so I incorporated that into the design as well.
First, a list of materials:
Two 12" x 19" rectangles in the main fabric
Two 9" x 19" rectangles in the contrast color
Two 6" x 19" rectangles in the main fabric
Of course, you can have these all be the same, you can have them all be different. It's really customizable.
Also, you'll need 3 yards of bias tape. I found this to be the easiest way to finish the top hem and make the ties that go around the back.
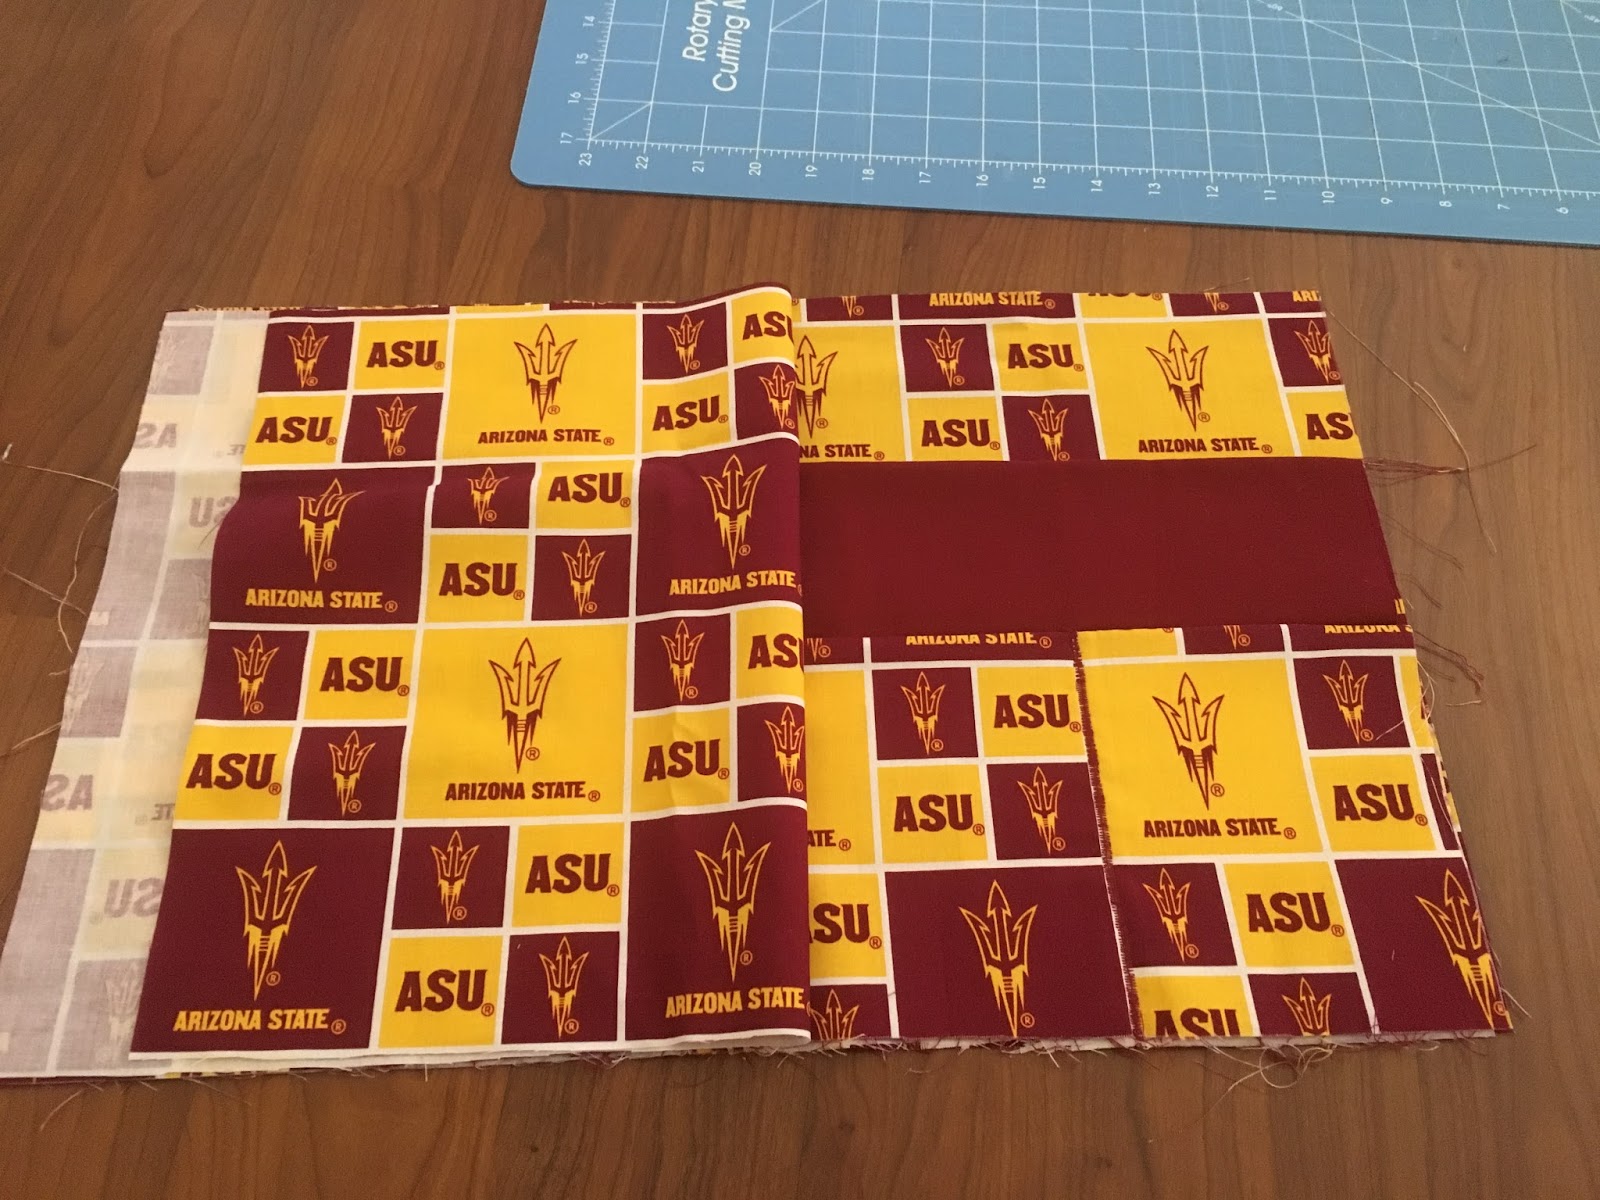
First, start with the two 6" by 19" rectangles.

Sew them together, right side to right side, along the TOP hem only.

Fold it over and iron the seam flat.
Repeat this for the 9" by 19" rectangles.

I used the red on the outside to help break up the pattern, and the ASU fabric on the inside.
Next, measure your 6" x 19" pocket and mark the fabric with pins at the 1/4 point, the 1/2 point, and the 3/4 point (that is, 4 3/4 inches, 9 1/2 inches, and 14 1/4 inches).


Place the 6" x 19" rectangle atop the 9" x 19" rectangle.

Pin them together with the smaller piece on top. Sew a zigzag stitch from the top of the 6" x 19" piece to the bottom at the 4 3/4 inch mark and the 14 1/4 inch mark. Your stitching will secure the smallest pockets to the larger pockets in back.

Next, take only one piece of the 12" x 19" fabric. Place the sewn part on top. Stitch from the top of the 9" x 19" piece to the bottom at the 9 1/2 inch mark. This will secure both of the top layers to the bottom.


This gives you two pockets on the middle row, and four on the bottom.
Now lay the last 12" x 19" piece of fabric atop the sewn part, right side to right side.

Sew down the side, along the bottom, and up the other side. This leaves the top hem completely open. Flip it inside out and press the seams.

For the top, you can measure exactly how long you need the bias tape to be in order to wrap comfortably around your waist. I wanted to make sure there was enough tape to go around the back and to the front again, so I used the whole 3 yards that came in the package.
With the center of the bias tape, pin it to the center of the apron.

Sew a straight seam along the top side the whole length of the apron only.

Fold the tape over and stitch from the center all the way along the right side of the tape until you reach the end. This secures the other side of the tape to the apron, and also closes off the tape used as the ties. Repeat from the center to the left side. At the end, fold the last inch of tape under and sew it closed.

And that's it! These aprons are cute and functional! They have many other uses besides just being in a classroom!

~Buttons
No comments:
Post a Comment