Recently, I got an email from Cake Central--a wonderful site for all your baking needs--that included a tutorial on how to make a frozen buttercream transfer. Honestly, I only clicked on it because it was a Tranformer image they were using. But as I watched the video, I was amazed at how simple, and amazing, the image came out! I was determined to try it myself.
A frozen buttercream transfer is an image that you pipe with a special kind of buttercream (half butter/half shortening), then freeze for 90 minutes. It makes a beautiful design and is so easy to do! I had some difficulties--mostly because my buttercream's consistence was off--but I'm so exited to try it again in the next few weeks!
So, here's a list of supplies you'll need (I used this recipe, but there are several others out there. I also halved this recipe because I didn't need that much frosting—my measurements are in parenthesis.):
1 stick of salted butter (1/2 stick)
1.5 cups shortening (3/4 cups)
1 two-pound bag of confectioner’s sugar (1lb)
1/8 cup water (1/16 cup, which is 1 tablespoon)
1/8 cup liquid* from list below (more can be added for desired consistency) (1/16 cup, or 1 tbsp)
1 Tablespoon pure vanilla extract (1/2 tablespoon)
½ teaspoon almond extract (1/4 teaspoon)
*Ideas for liquid options:
Water
Skim milk
1% milk
2% milk
Whole milk
Half and half
Heavy whipping cream (my favorite!!)
Flavored liquid coffee creamers
Extracts beyond or instead of vanilla and almond
Anything else you're brave enough to try; I think I've tried it all!
I skipped the almond extract and just used vanilla extract instead. Also, for the 1/8 cup of liquid, I just used water.
Here's the directions for making the buttercream. As I said, my consistency seemed off--it could have been more liquidy. I should have added another few tablespoons of water. OR, I saw that if it turns out a bit bumpy, you can pat it down with a Viva paper towel (you can see that done here, Step 11).
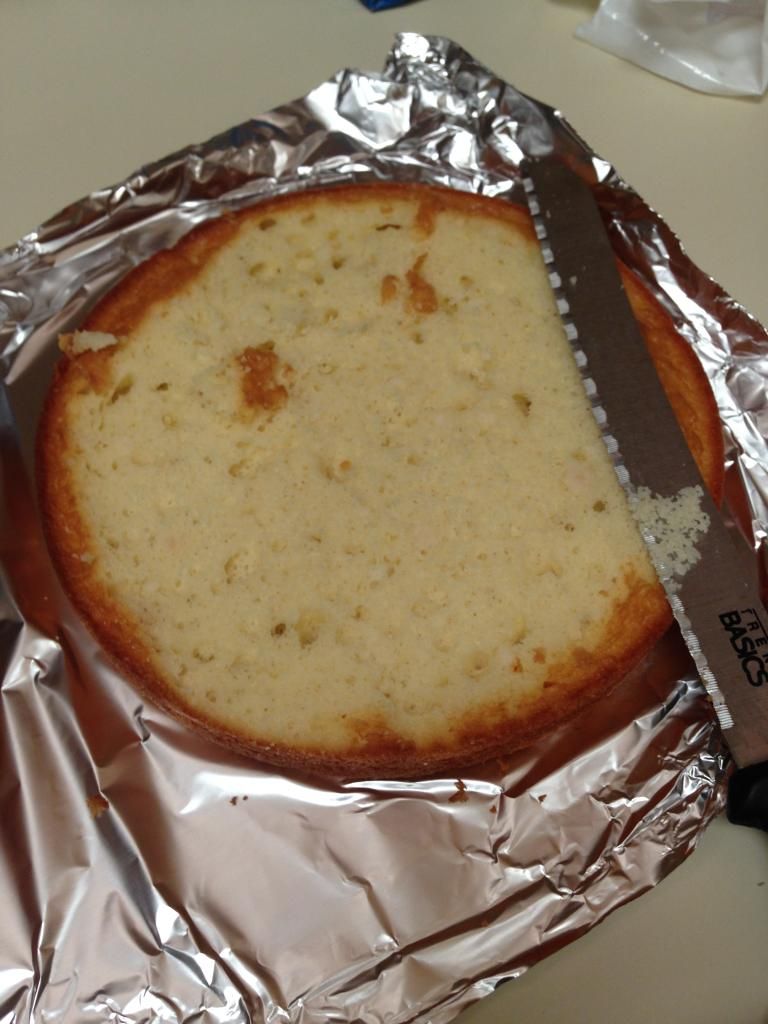
First, I trimmed off the uneven top of my cakes, since I was doing two 9in layers.
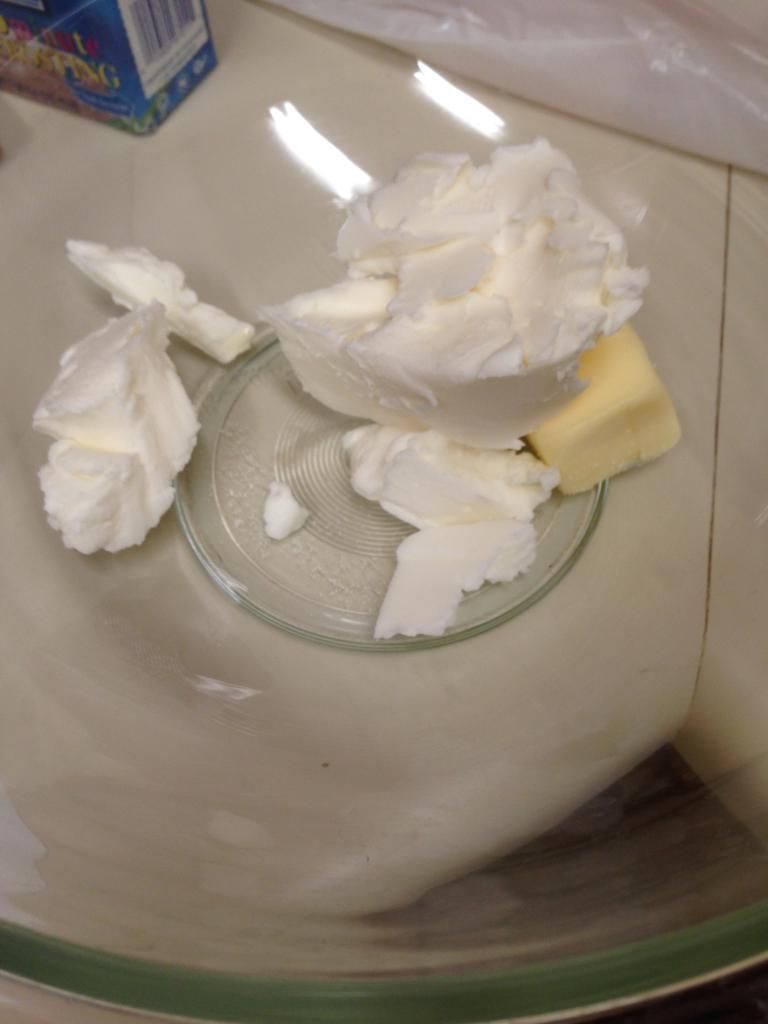
Cream butter/shortening until white and fluffy.

Add 1/8 cup of water, mix.
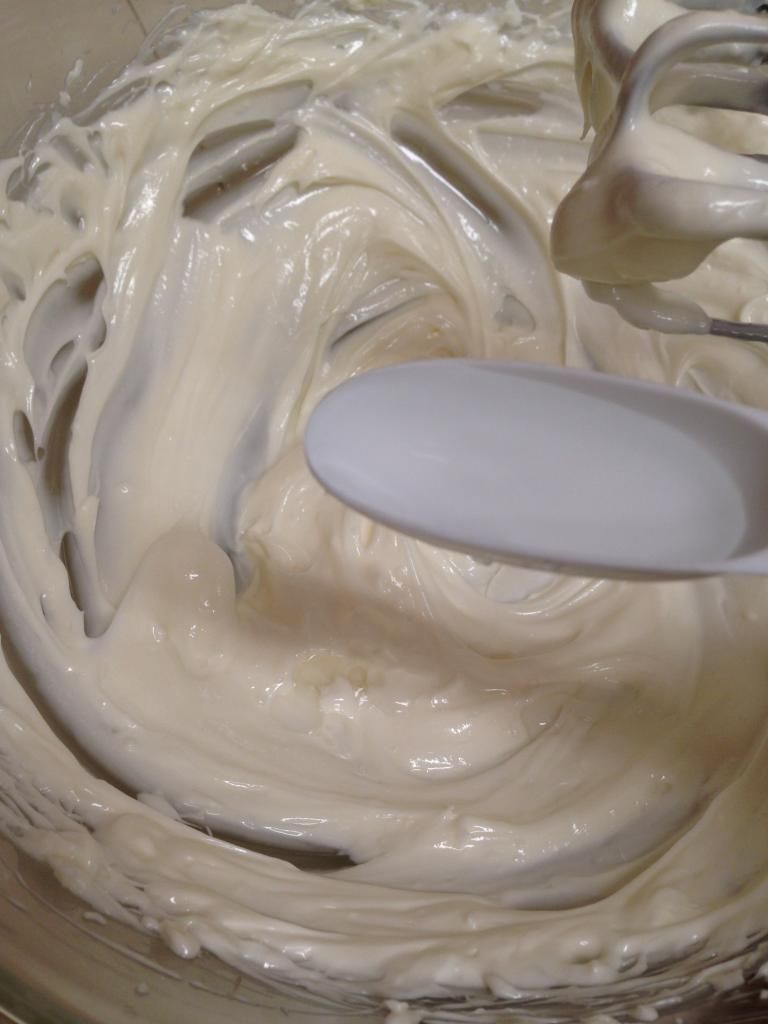
Add sugar all at once, cover mixer with lid, wet towel, raincoat, giant beach umbrella, etc., as you will have a bit of dust and mess, mix on low. Add more liquid as necessary to attain desired consistency. Mix on high for a quick minute until well blended. Scrape sides, mix again. Add extracts.
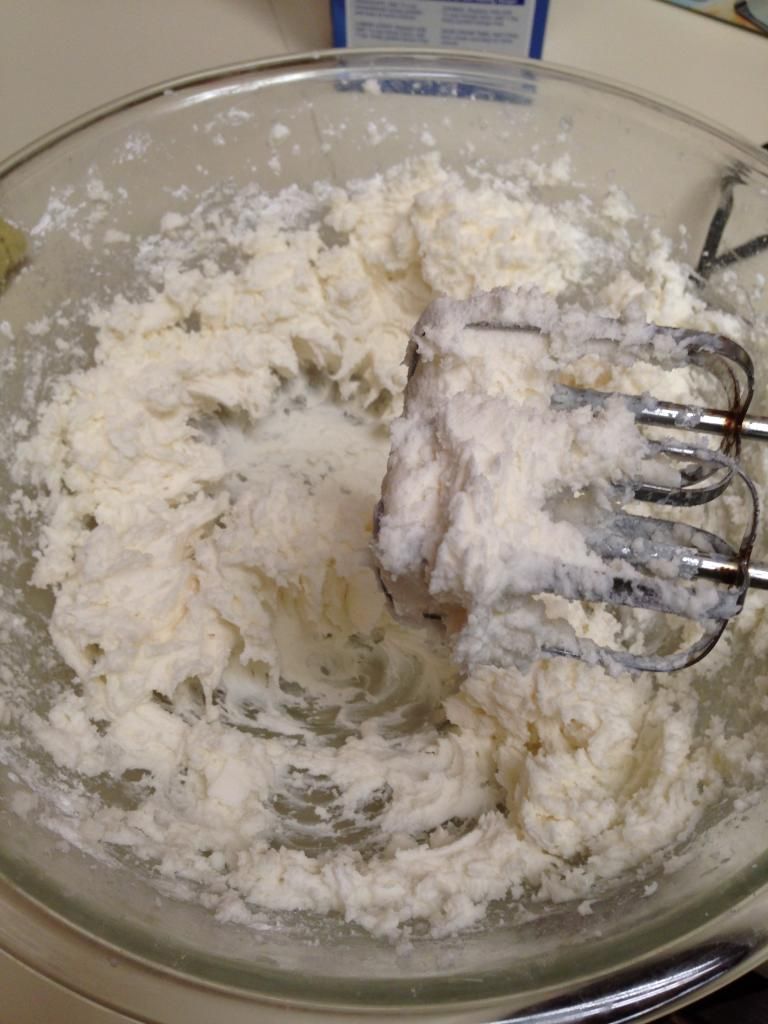
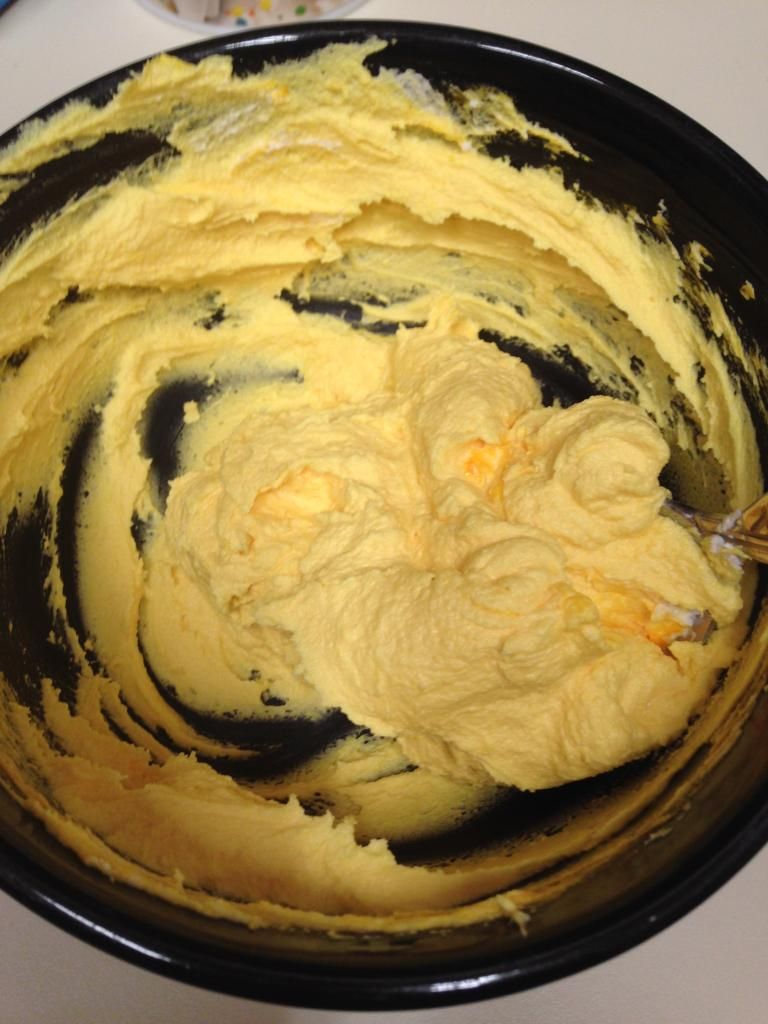
And there you have it! You can see, mine could have used a bit more water. Still, it's a lesson learned.
I colored a bit of mine yellow.
Then put it in a disposable piping bag, with a Wilton's size 3 tip.

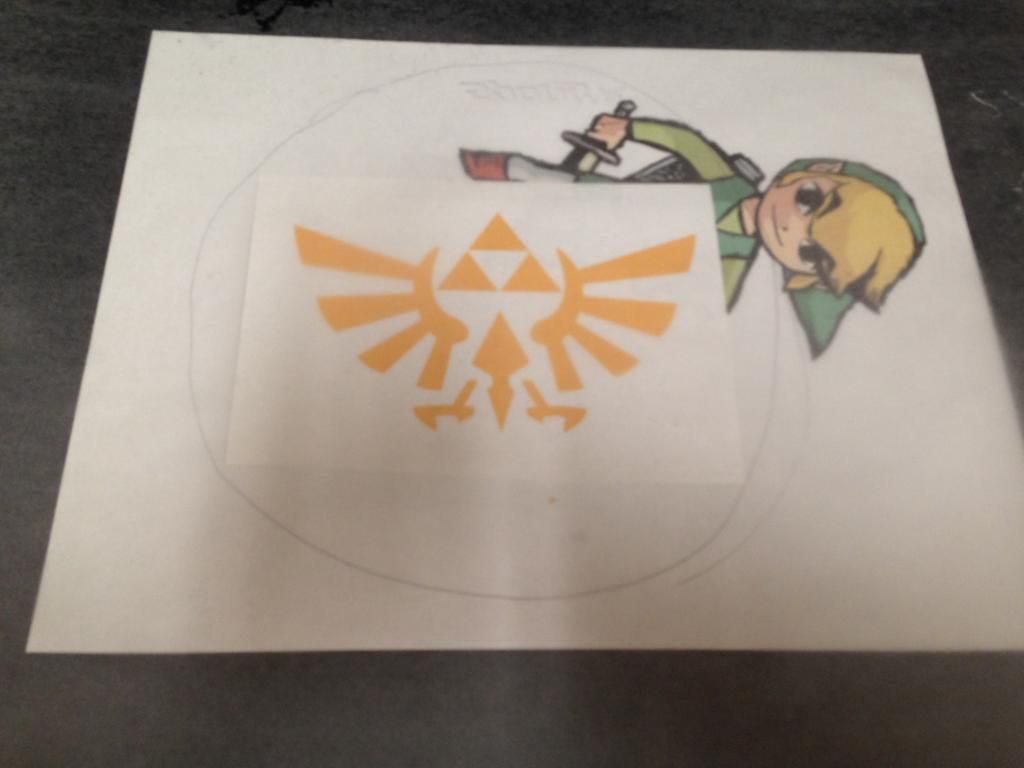
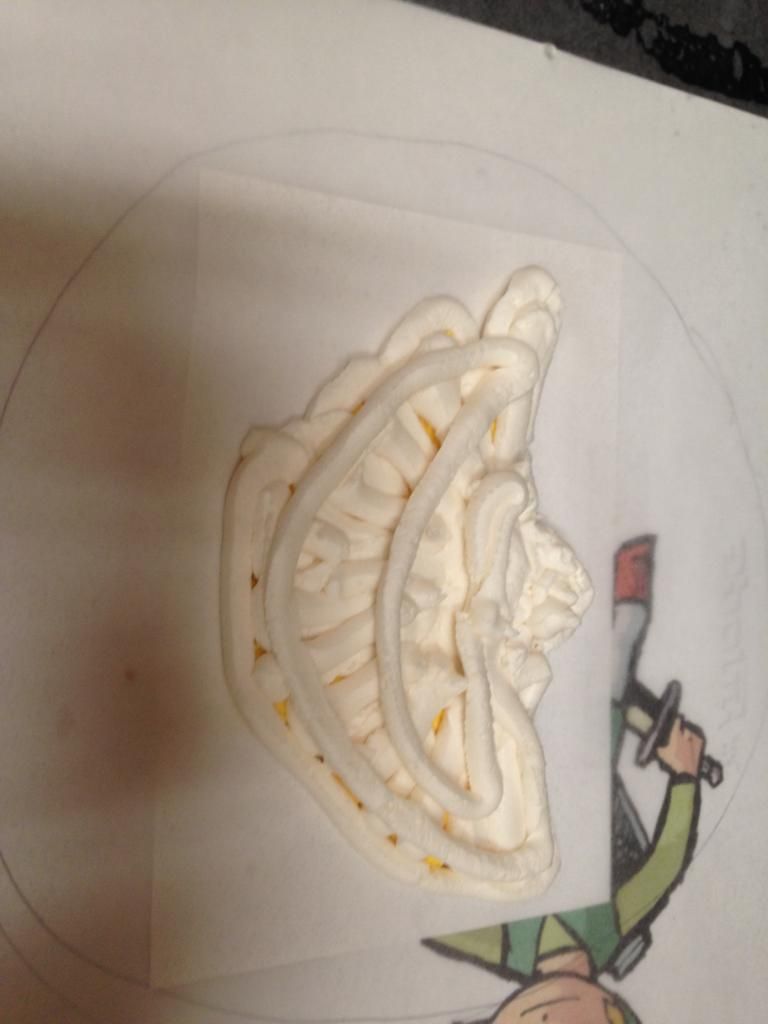
Now, pick an image. I wanted to do an awesome pic of Link from Windwaker, but decided I didn't have the confidence, so I used the Triforce logo from Skyward Sword instead. Find a pic of it online, and print it out. But, since we are going to flip the buttercream tranfer, you'll have to print out the mirror image. So I took my original Link picture and put it in MS Paint. Hit the little "Flip Horizontally" icon and you're done! That's why the sword is in his right hand in the image below. :D
Tape your image onto the back of a cookie sheet. Put a piece of wax paper over the top of the printed logo. Tape it down as well. Pipe the buttercream along the outline, then fill in.
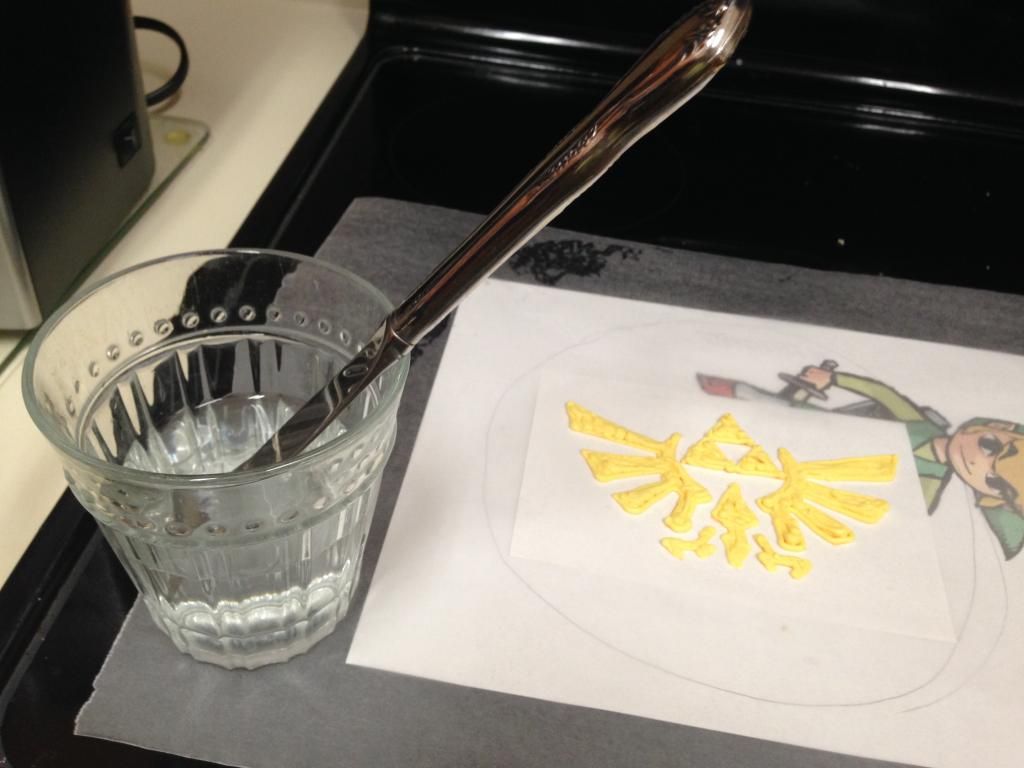
Smooth with a knife and hot water.
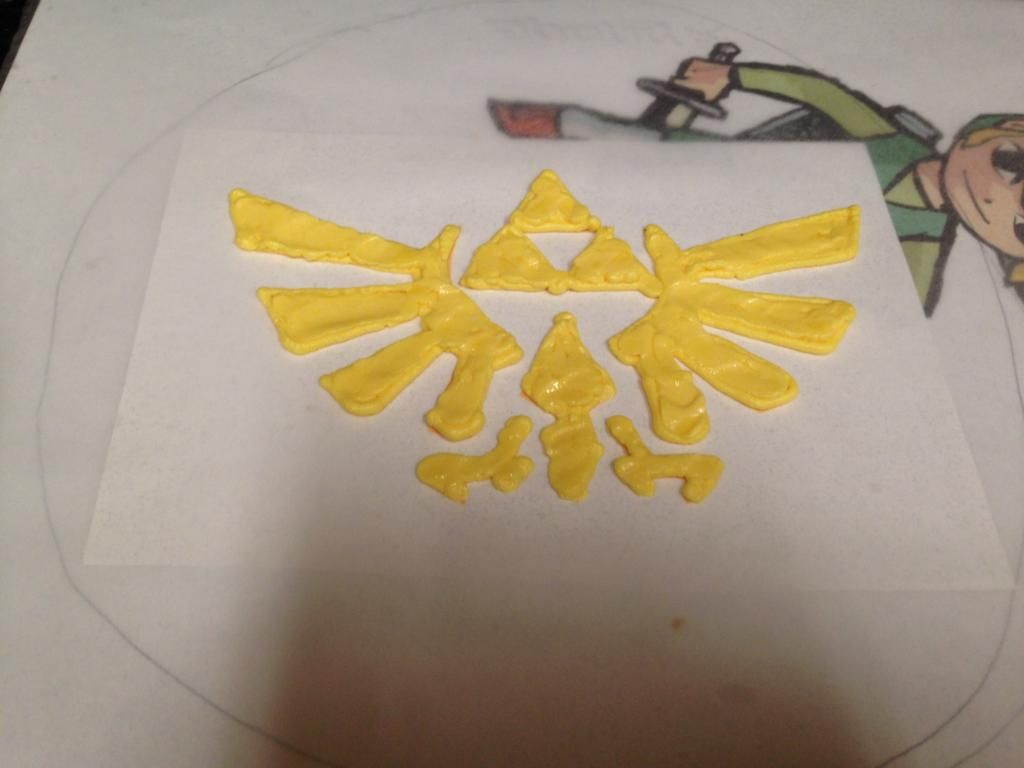
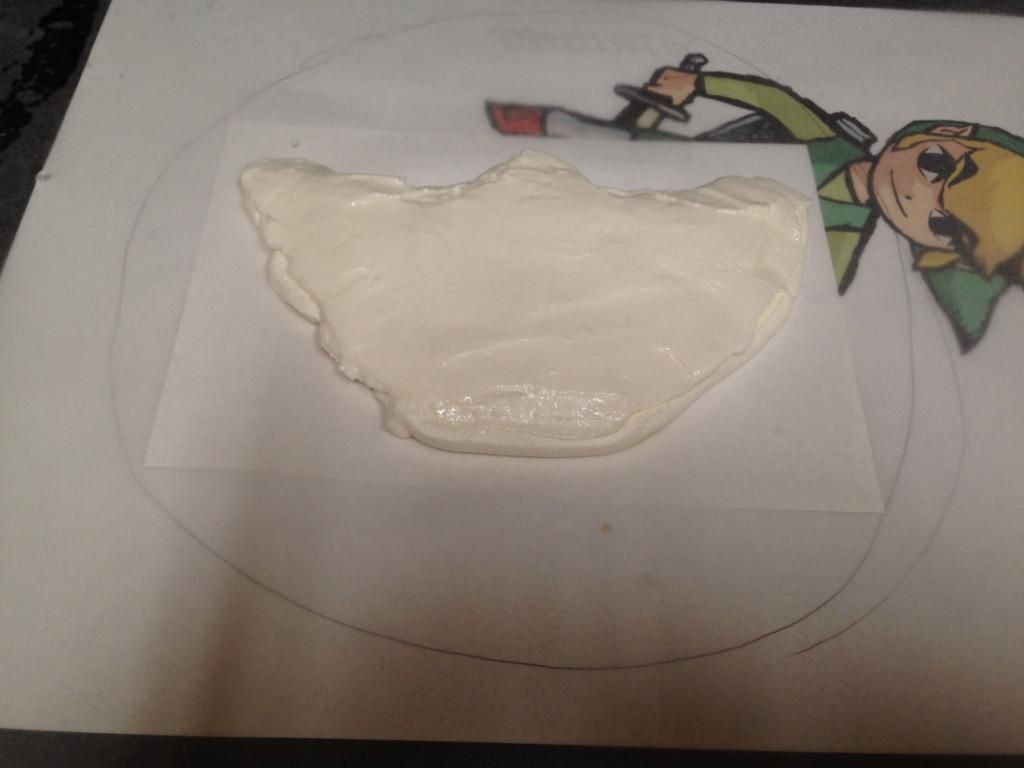
Fill in all the insides with white buttercream. Again, this would have gone better if my buttercream had more liquid. There were some gaps that didn't get filled properly.
Smooth down with the knife.
Now, freeze for at least 90 minutes. I let mine set over night. I used the rest of the white buttercream to frost the cake, and the left over yellow to be in the middle between the layers, then covered it and put it in the fridge. The next morning, I took the frozen buttercream transfer and put on the cake. Gently pull back the wax paper and you're done!
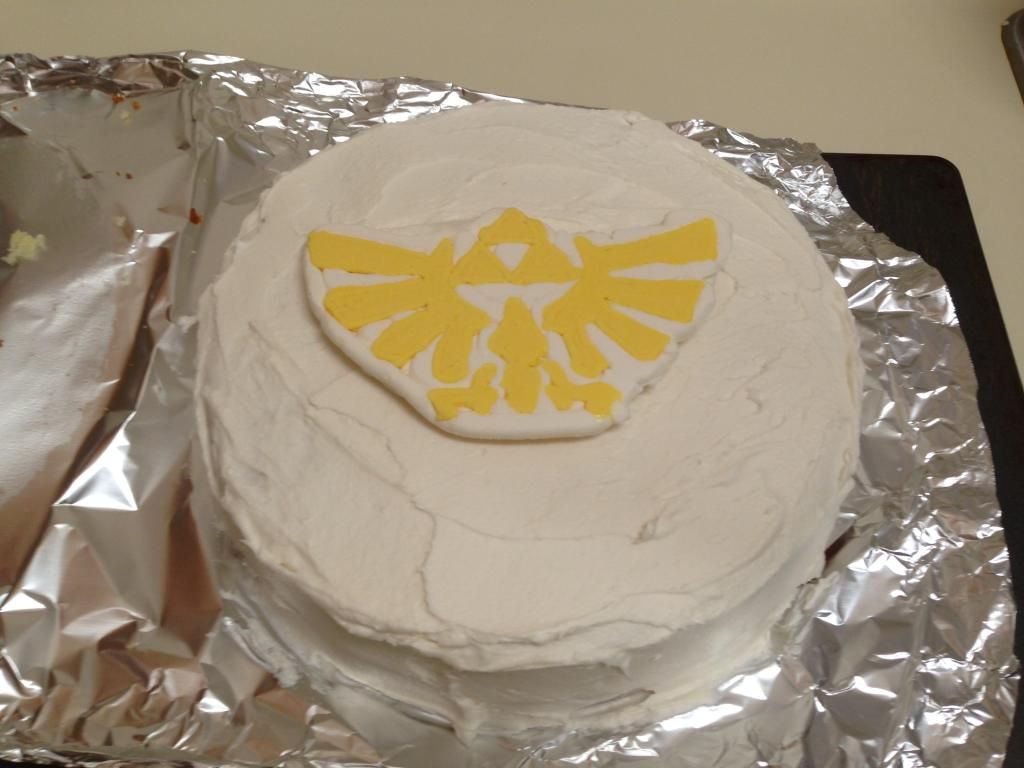
You can see it's not that smooth, but I still think it turned out cool! I made it for the 13 year old I tutor, and he loved it!
We'll be having another party in a couple weeks, and I'm excited to try this again. I'll post pictures of how it turns out!
~Buttons
No comments:
Post a Comment