List of materials:
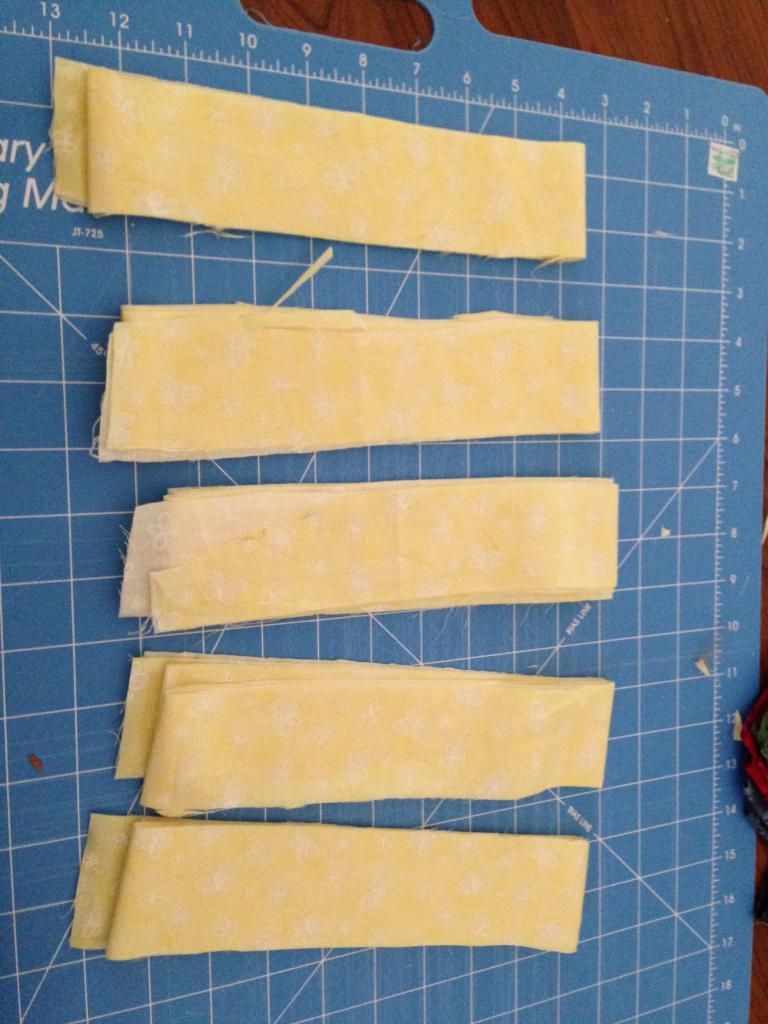
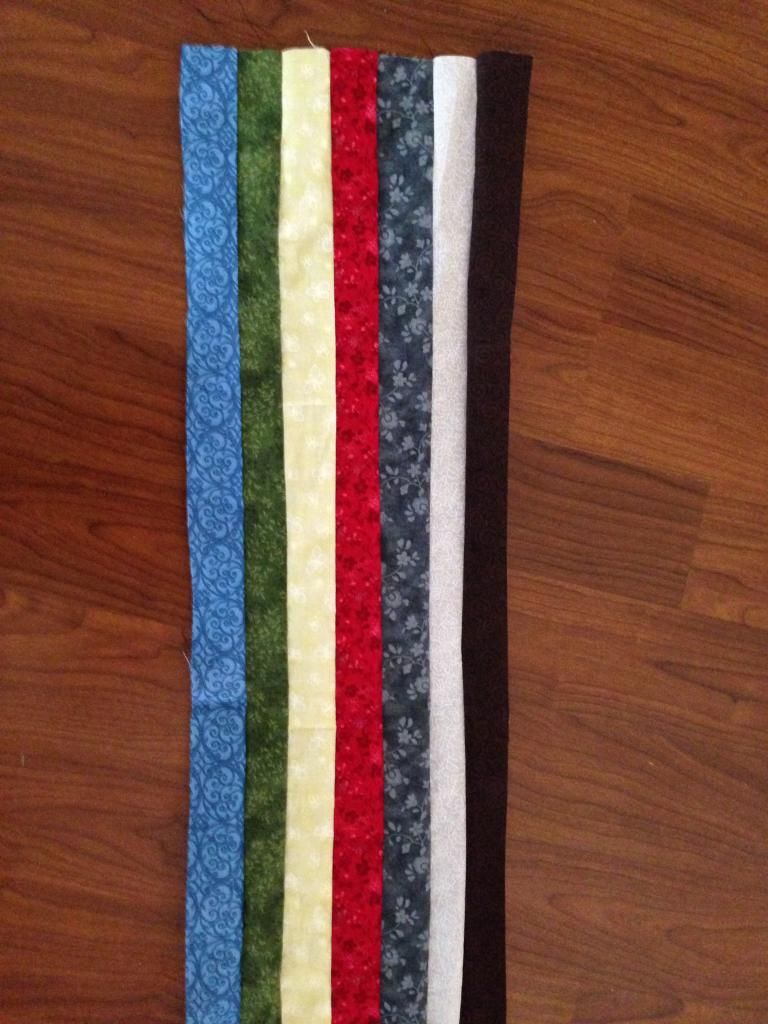
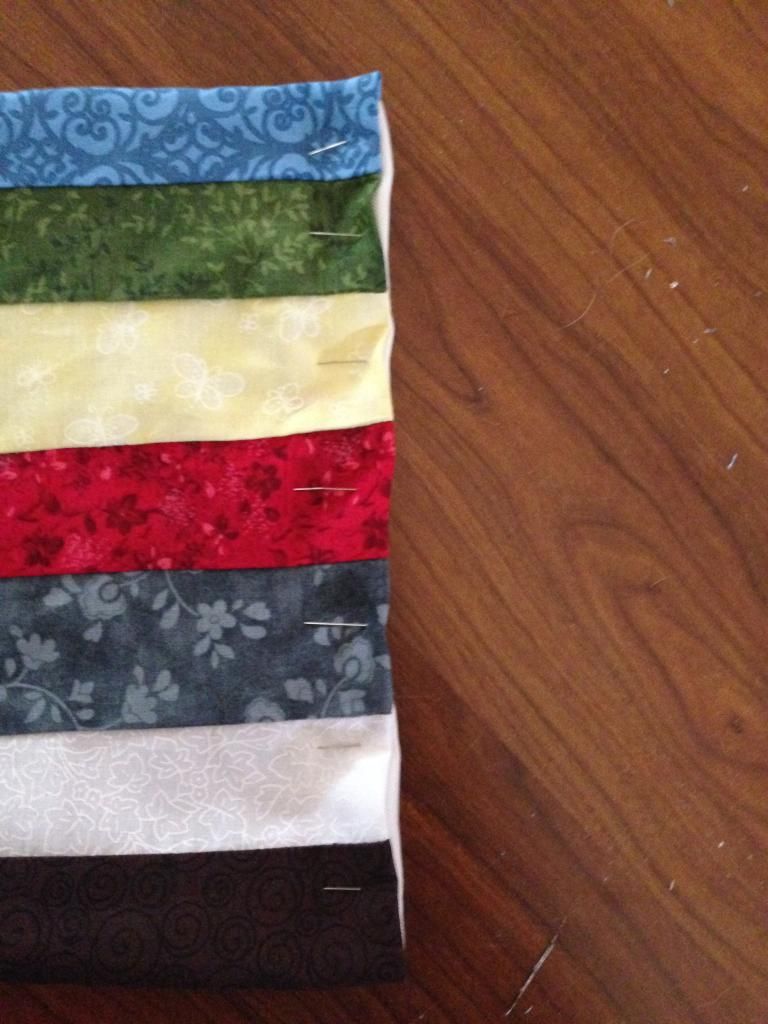
2 inch x 70 inch strips of fabric (in all the 7 colors of the Ajahs)
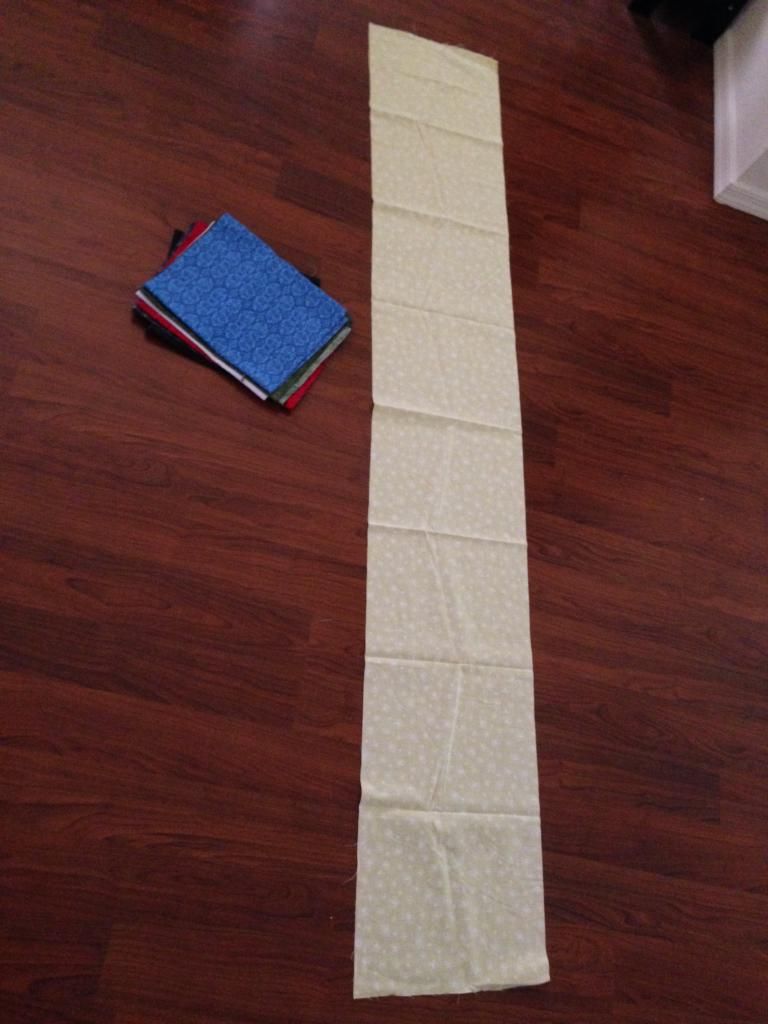
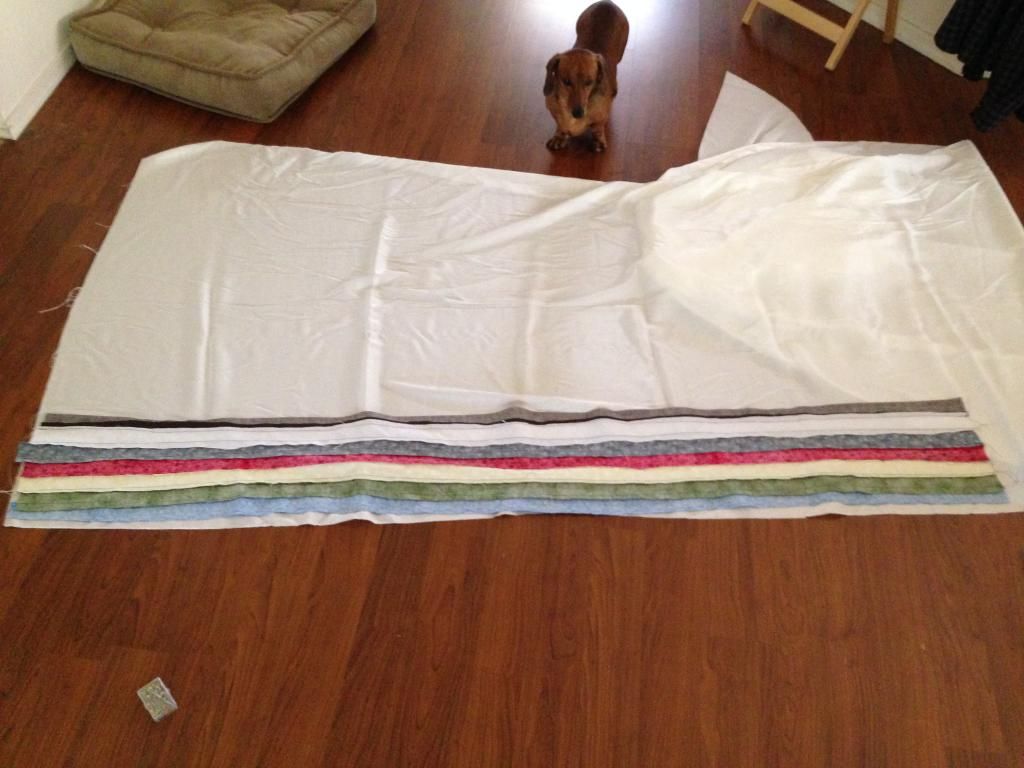
White backing fabric (about 12 inches x 70 inches)
Thread
Sewing maching
Pins
Pockets and I had a ton of left over material from when we made our Ajah color quilts (we'll post that soon). These scraps were about 10 inches by 70 inches.
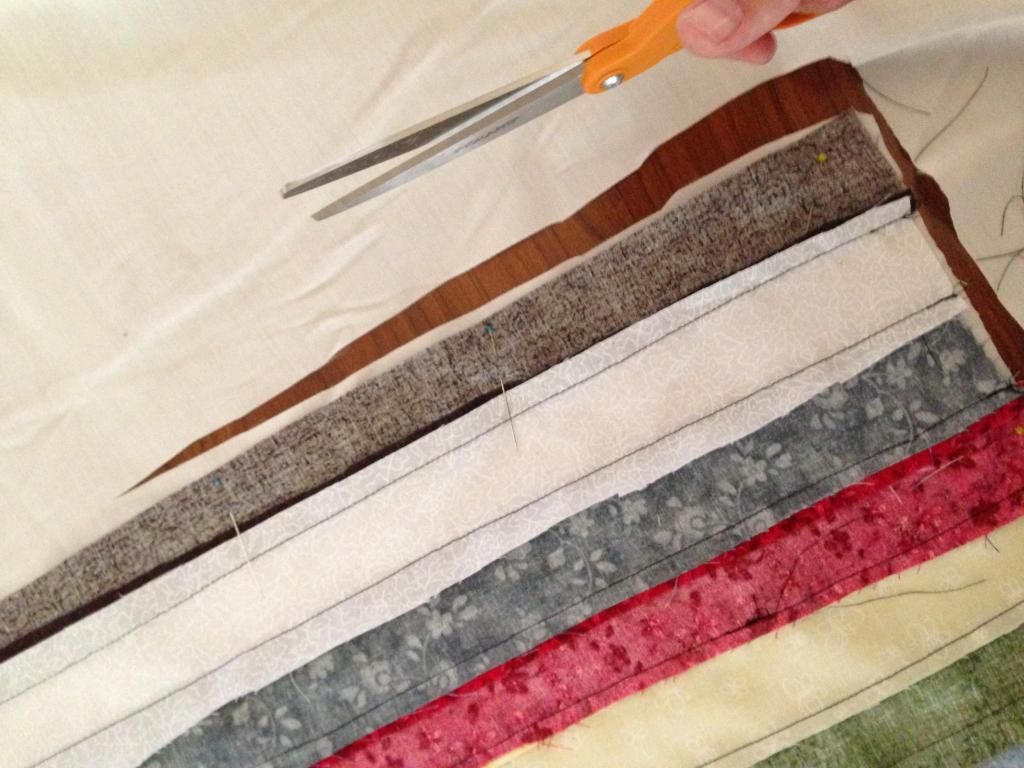
I cut off a 2 inch strip from each of the colors.

For our quilts, we picked patterns that represented the Ajahs, so the Amyrlin Stole will also have patterned fabrics, but I think it still turned out okay!
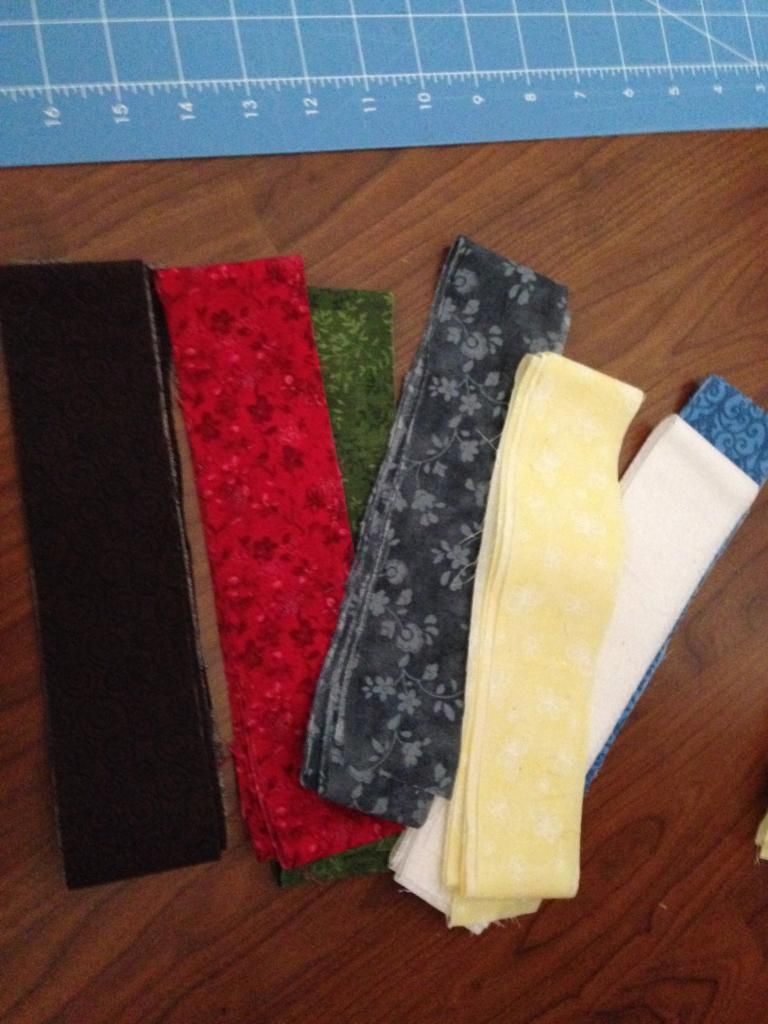
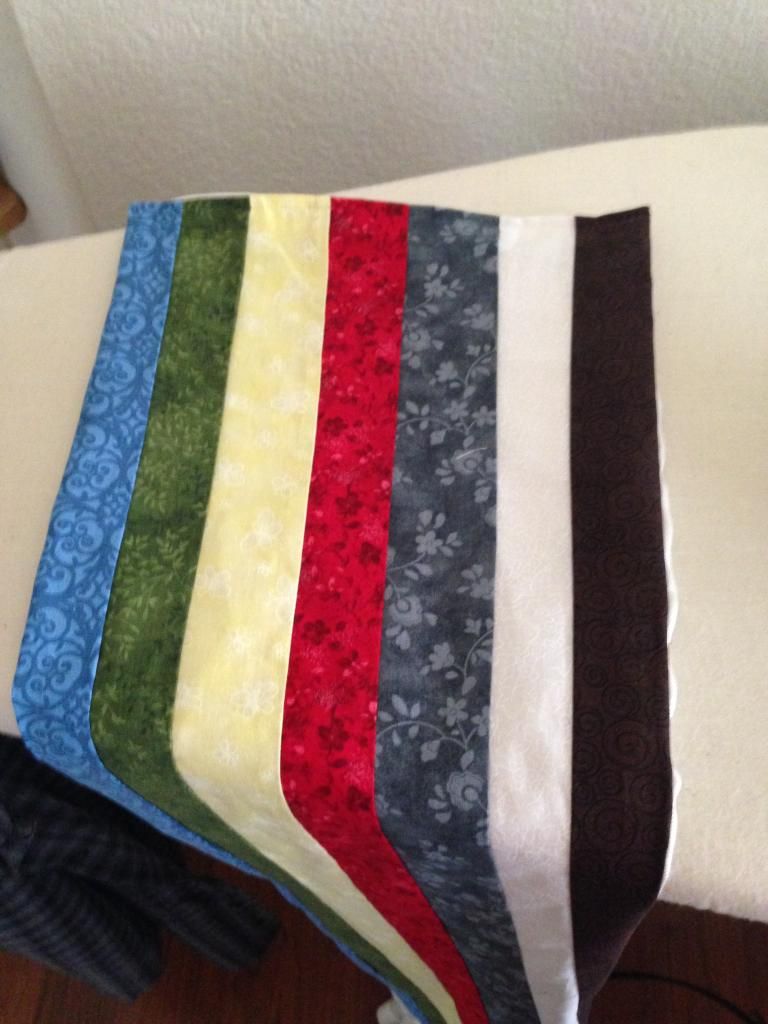
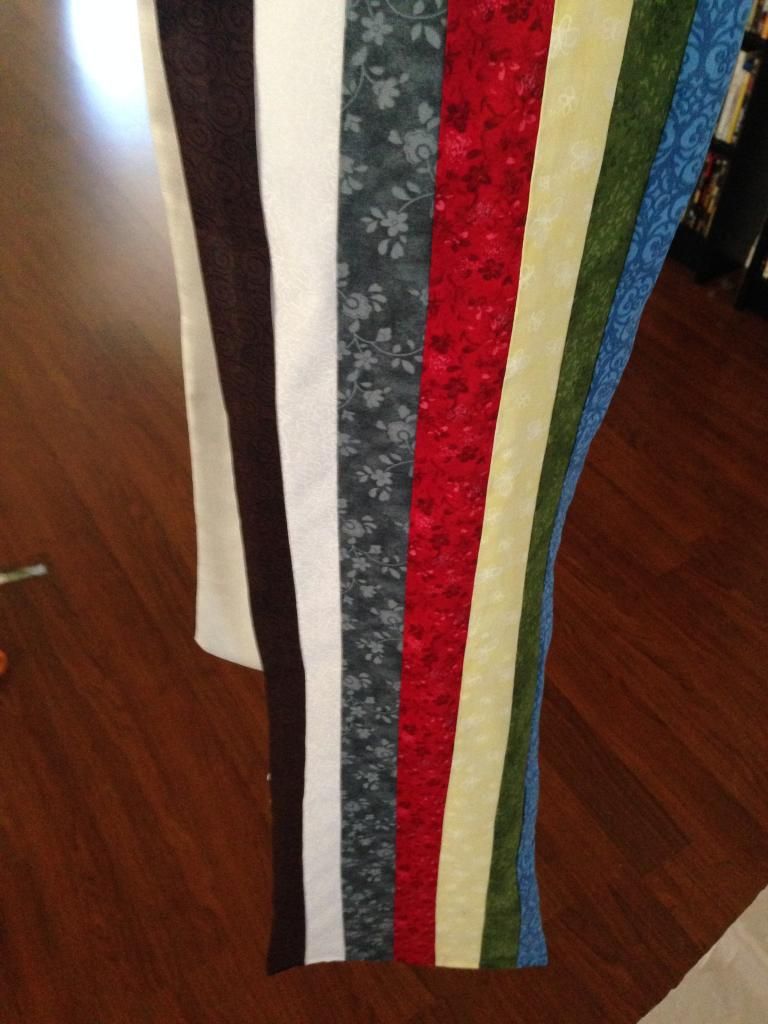
We used the color pattern from our canon sources (the New Spring graphic novel). The order of the Ajah colors goes like this: Blue, Green, Red, Yellow, Gray, White, Brown.
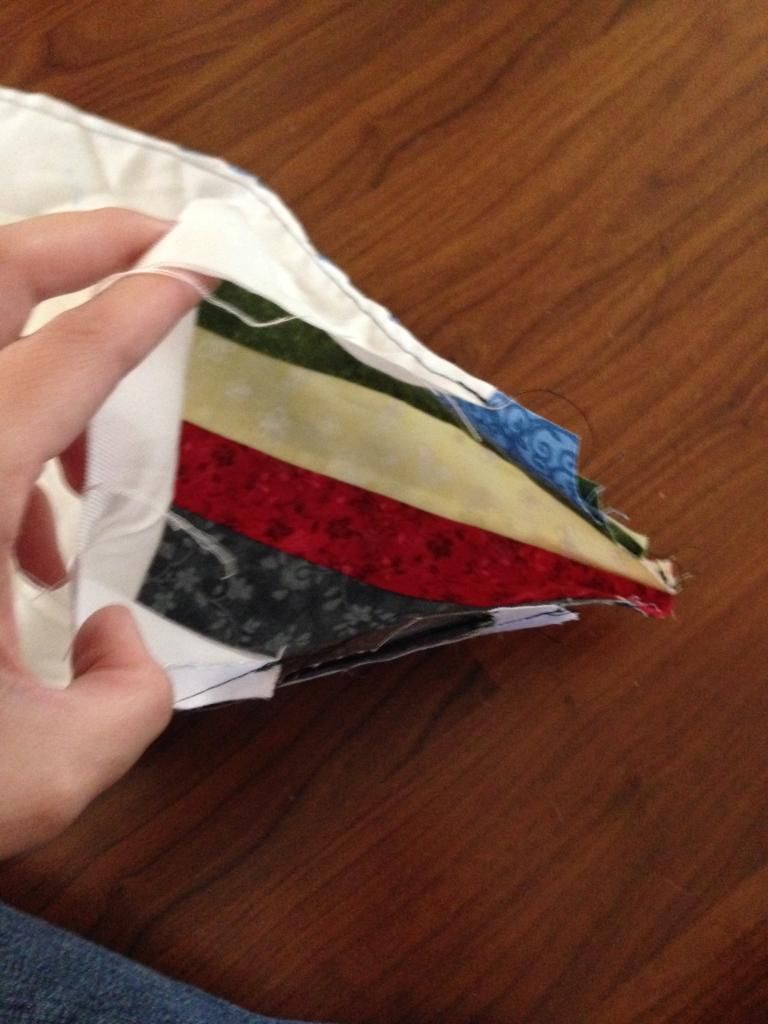
Take your blue and green strips and sew them together with a straight stitch, right side to right side. The color of thread doesn't matter because these will all be inside seams.
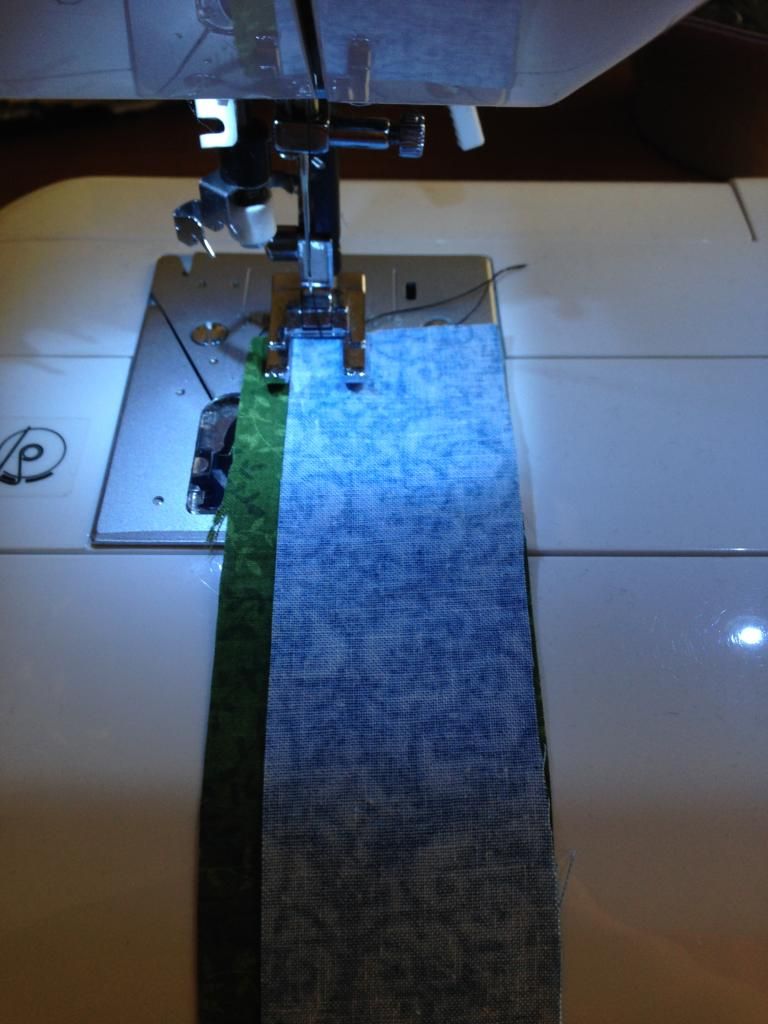
Next, sew the yellow to the green.
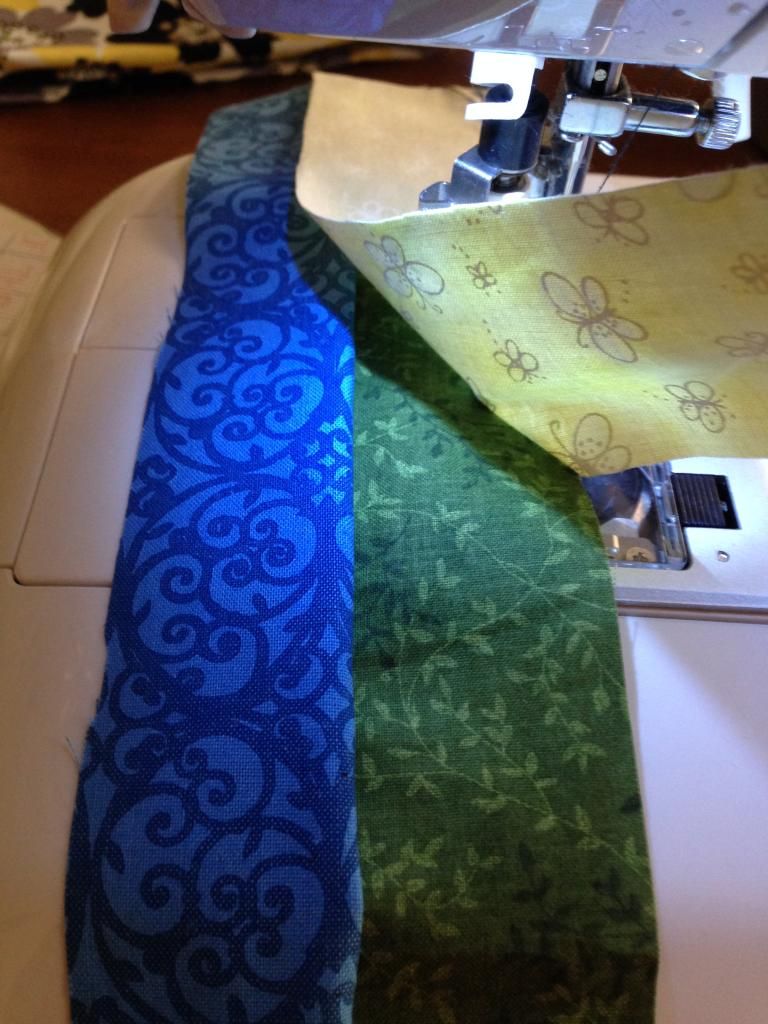
Sew the red to the yellow, the gray to the red, the white to the gray, and the brown to the white.
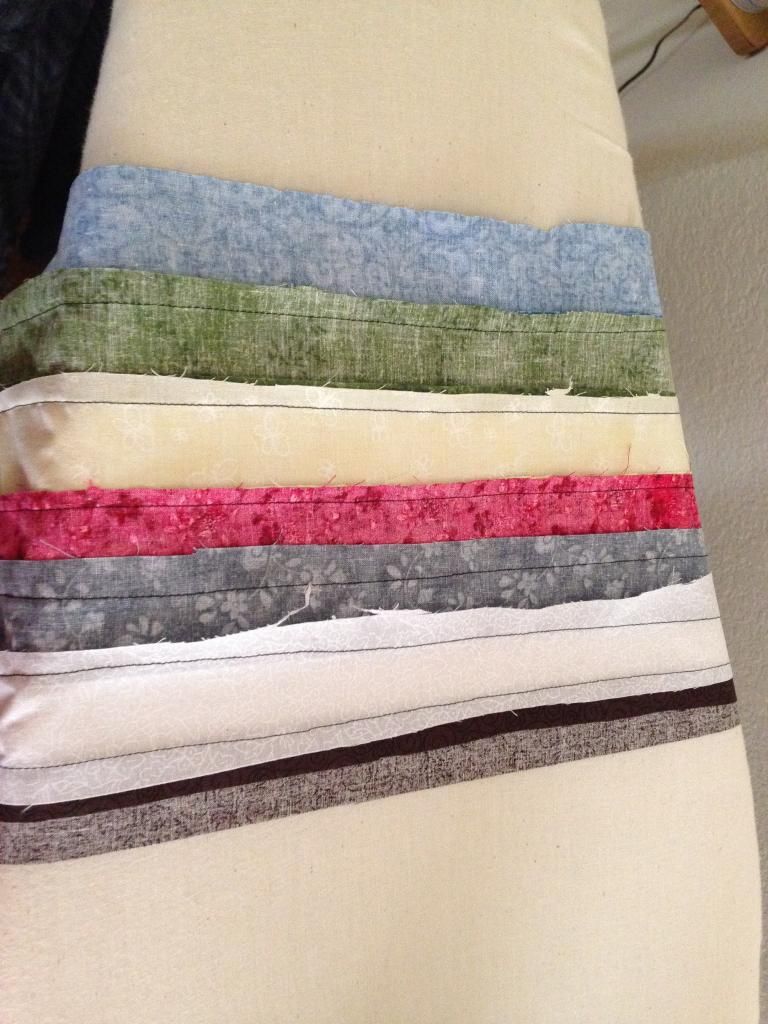
Next, iron down the seams. It doesn't really matter which direction, only I noticed that the white fabric is a bit see-through, so I ironed the seams away from the white fabric.
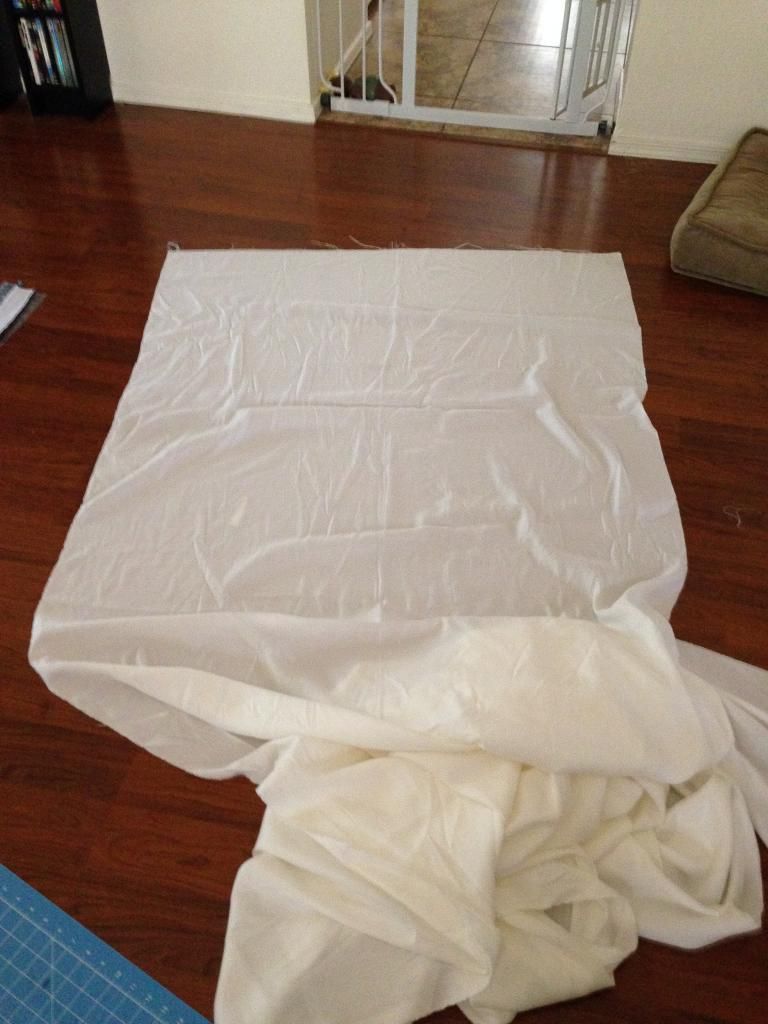
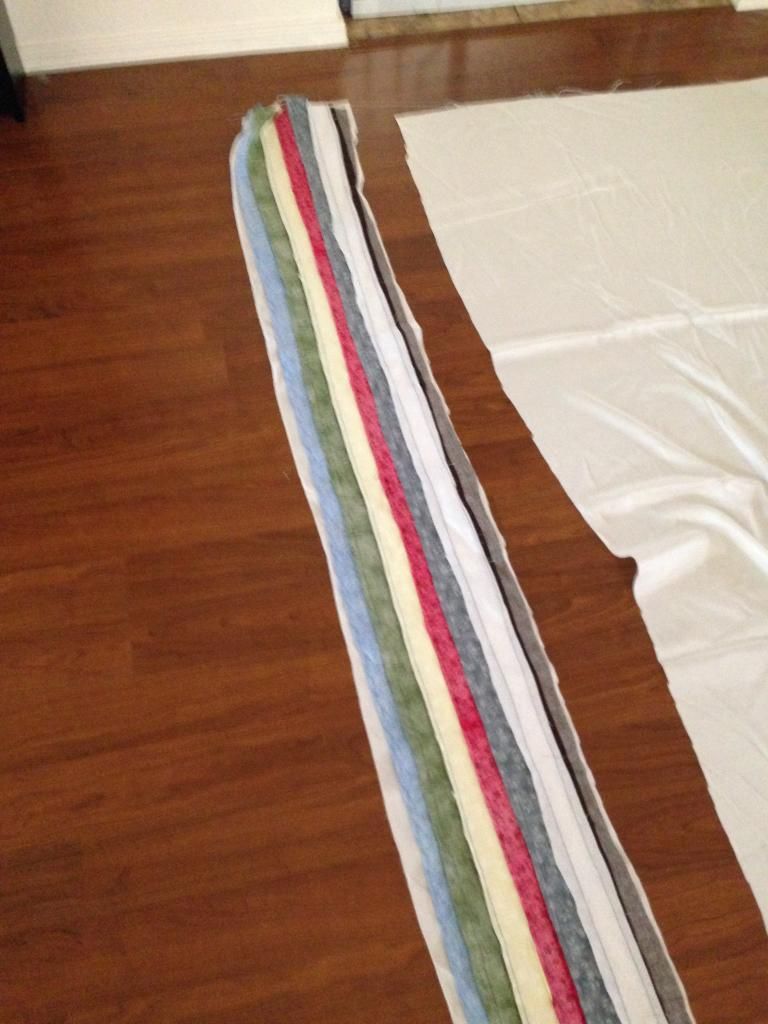
Now, take your white backing fabric... Actually, it doesn't even have to be white. Make it any color you want, or in your Ajah color, and it can double as the Keeper's Stole as well! I have SO much of this nice, white silky material, so I used that.
Place your Stole face down on the fabric (you'll want them right side to right side).
Pin them together, then cut out the backing fabric.
Straight stitch along both the long sides and ONE of the short sides.
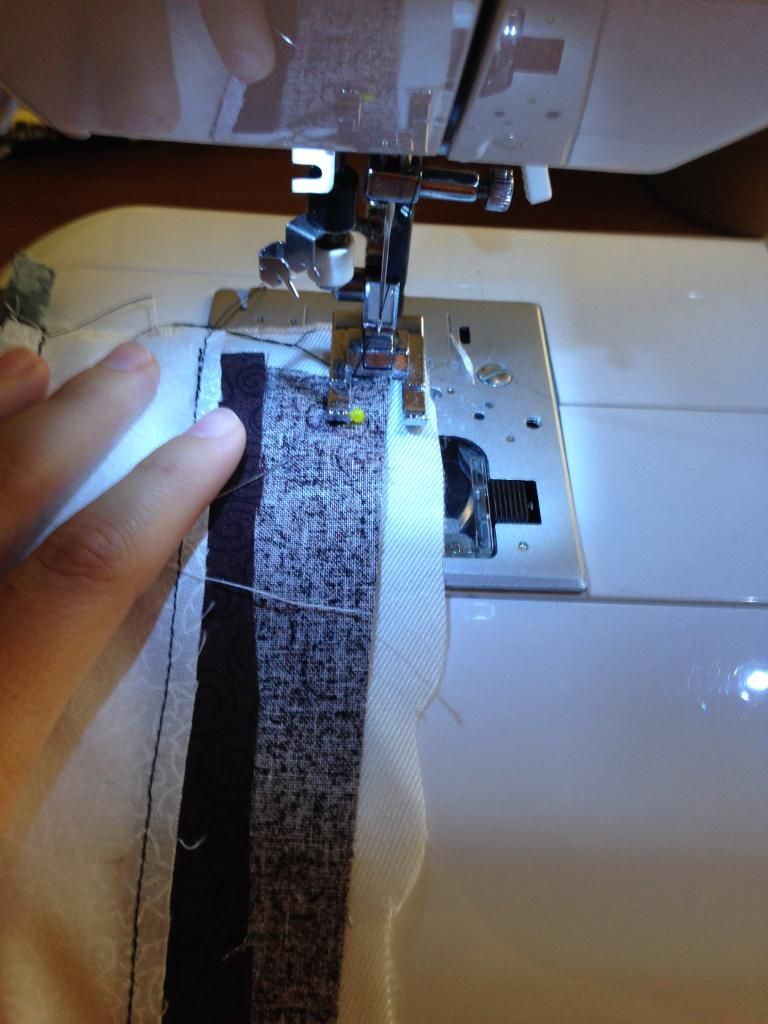
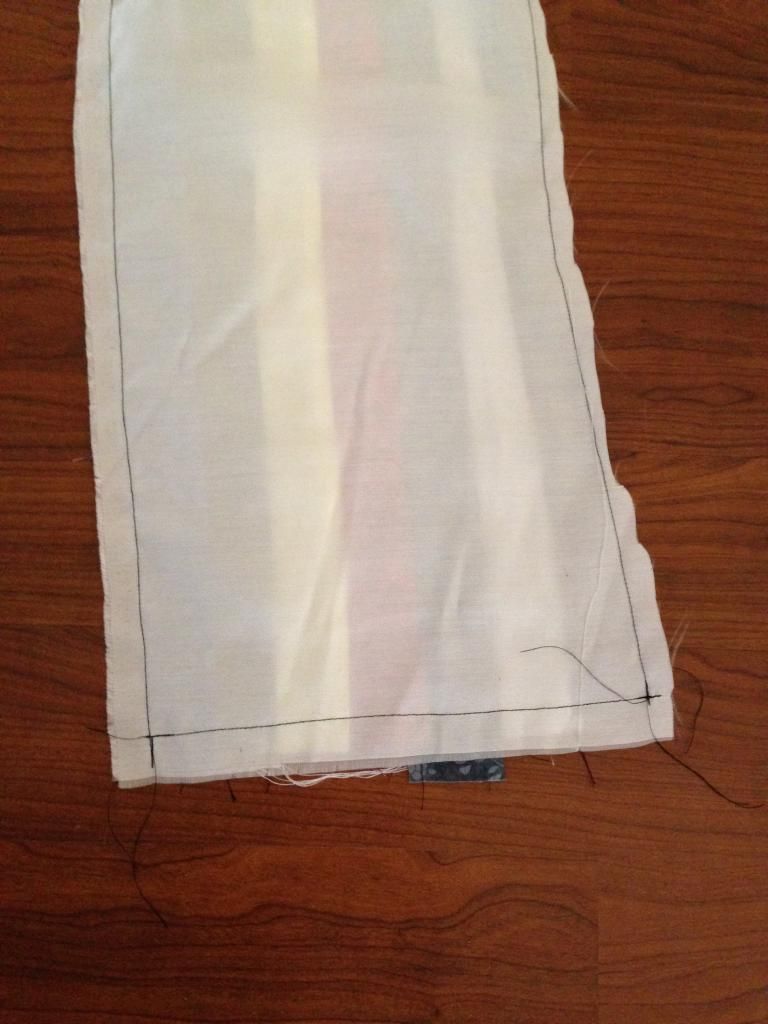
You can see the last edge is still open. This is important!
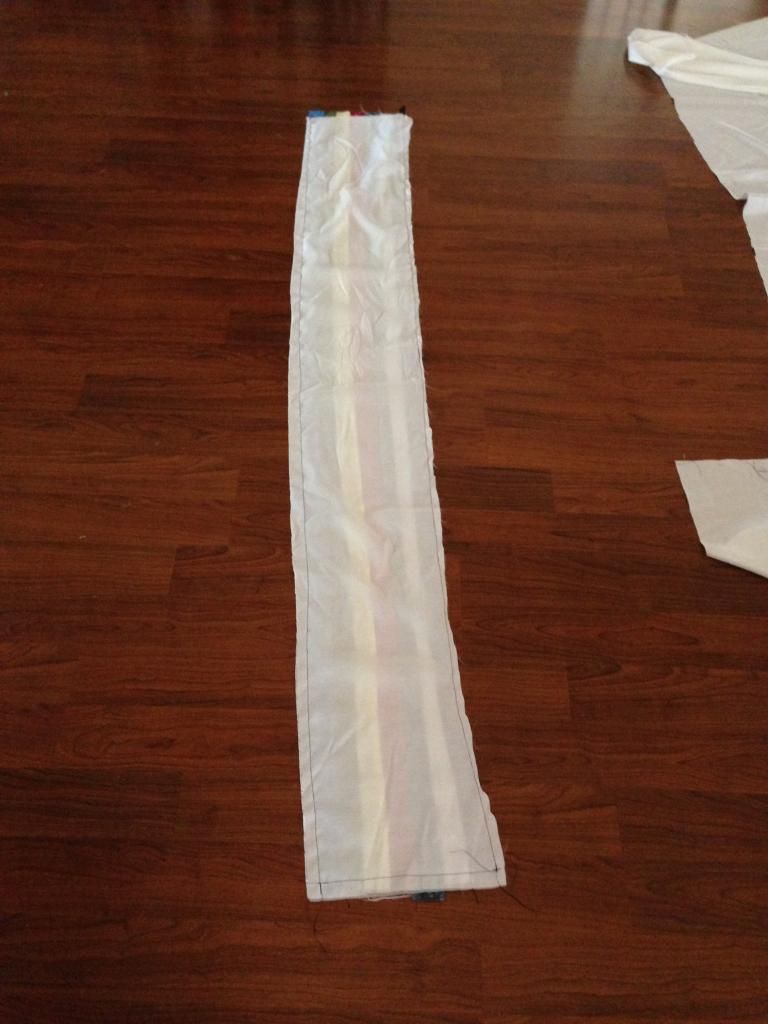
Now we are going to turn it inside out. Reach inside and grab the far end. Pull through.
Tuck under the raw edge about an inch and pin.
Sew it closed. Since I had white fabric on the bottom and multiple colors on top, I used a white bobbin, and a clear quilting thread on top. Now, iron it flat. Be careful if your backing material is silky. You'll have to iron it with the cotton on top or else it could melt.
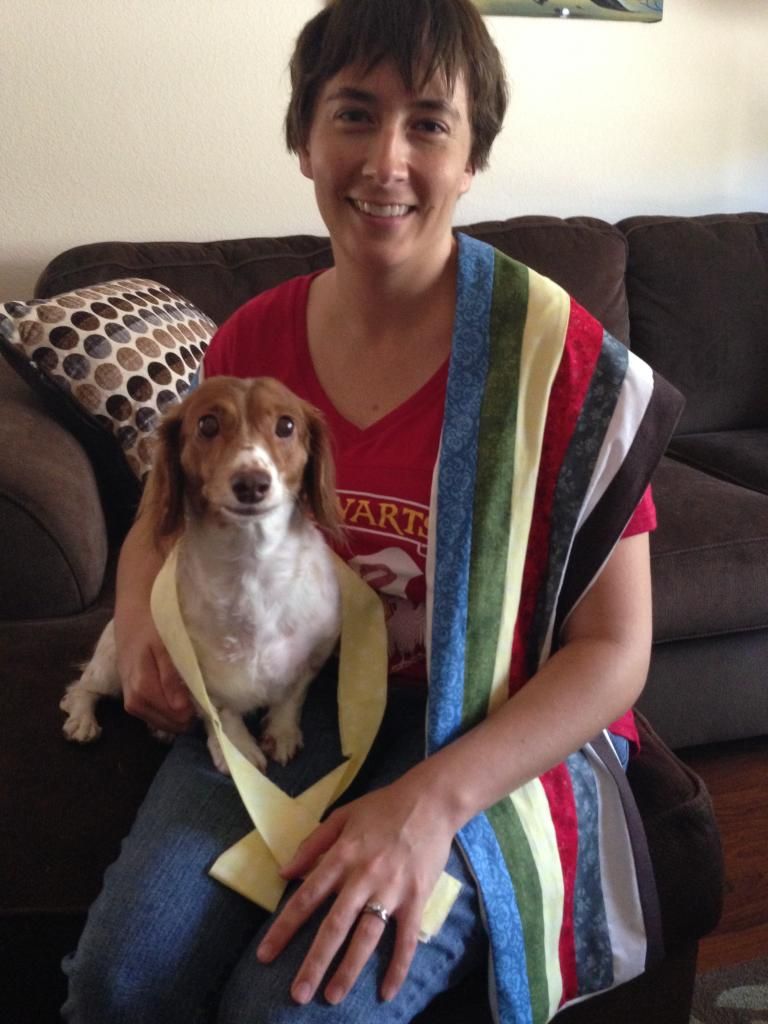
And here it is!
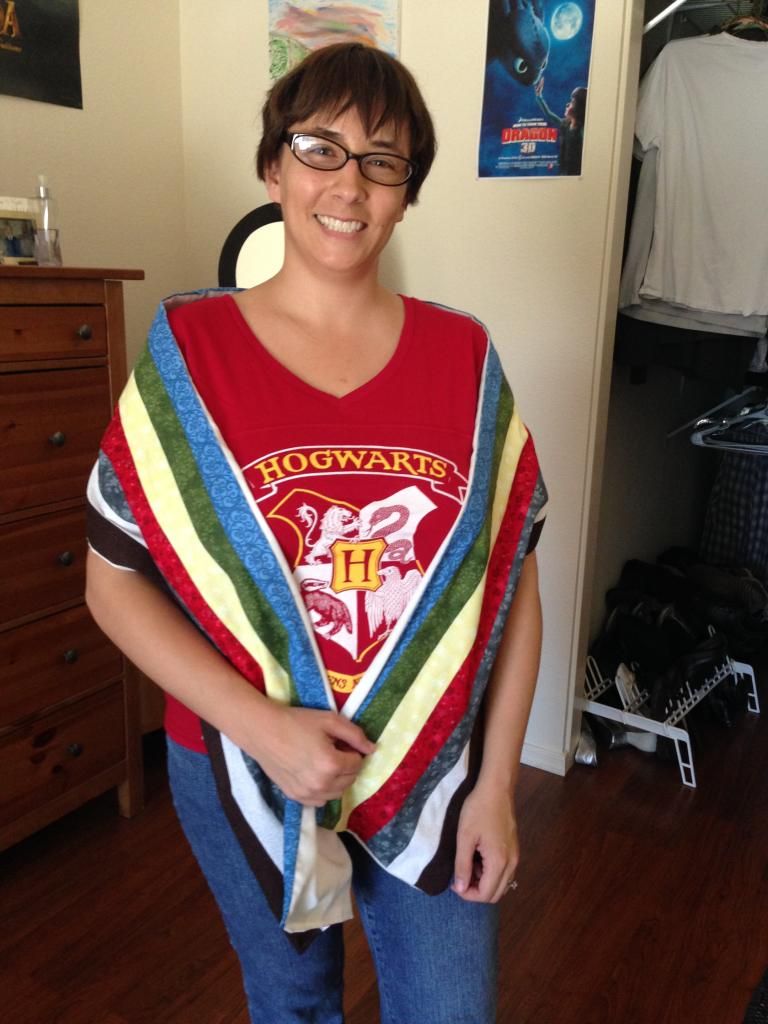
Honestly, it's a bit too wide. The strips could have been thinner. The whole thing is 9 inches by 69 inches. It should probably be no wider than 7 inches. But, for my first try, I'm super pleased with the results!
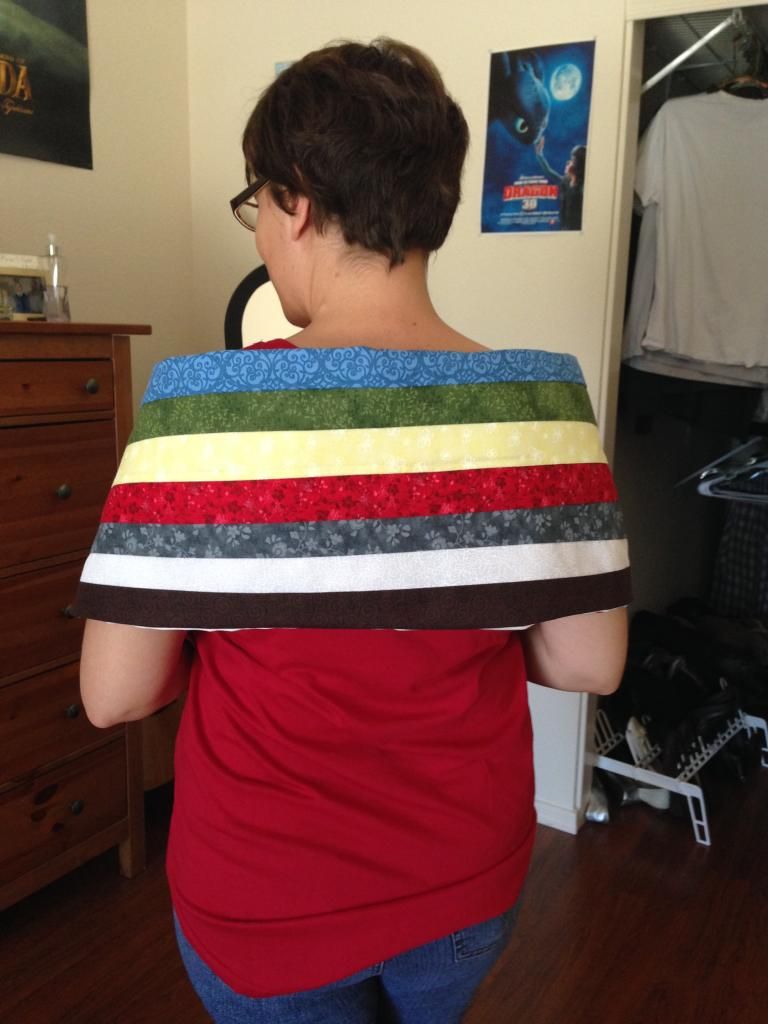
And here I am with my Keeper of the Chronicles! I chose to make her Yellow. :P
~Buttons
No comments:
Post a Comment