HA! This turned out to be a mistake, but I'll still share the steps, because it turned out pretty cute, and it would be a great idea if you needed a prop for a child.
First, I cut out a rectangle of gray fleece and folded it in half.
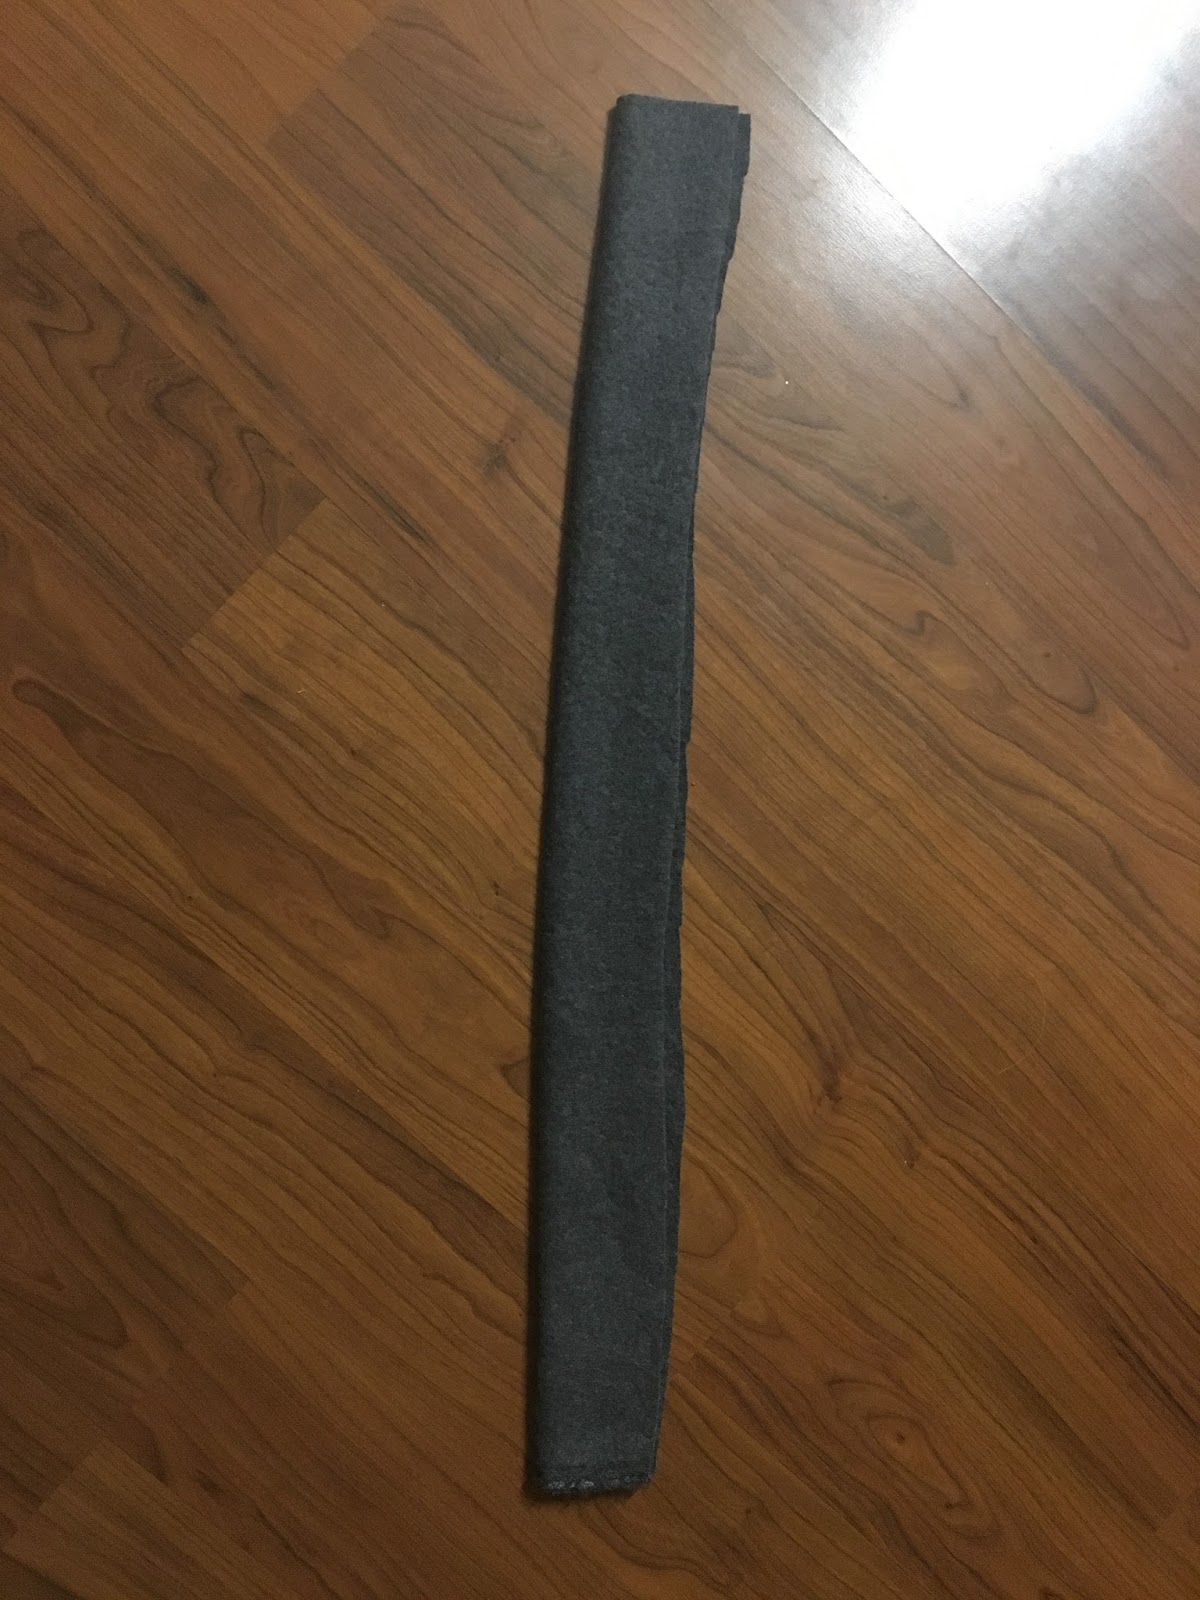
Next, I stitched from the top to the bottom, going in at an angle.

I trimmed off the excess fabric and flipped it inside out.

Next, I added a taped hanger to try and give it a structural element to keep its shape.

Then I stuffed it with polyfill.

My dog loved the polyfill.

Naturally, I had to manipulate this photo....

Moving on. With the metal part of the pin done, I moved onto the plastic yellow ball. I cut out eight pointed ovals.

I sewed them all together using my sewing machine. I left the last stitch an inch undone.

Turning it inside out, I then stuffed it with polyfill.

I hand stitched it onto the top of the pin.

And it wound up looking something like this:

Pretty cute, but totally impractical. It had no structure, despite the hanger inside. It was way too floppy.
So, I bought a dowel and a Styrofoam ball and did as the tutorial instructed.
I painted the dowel white. Then painted it gray/silver. I also added a Mod Podge top layer to seal it.


For the ball, I added a Mod Podge base, a few coats, to try and fill in the holes. It didn't quite work. I would have spent more time on it, but my deadline was quickly approaching.

I painted it white. Then yellow. Then added another top layer of Mod Podge.
And I wound up with this:

The original tutorial said to sand the edge into a pencil-like point. I didn't have the tools for this, so I left it as is. This made it just a tad too long. But, it worked just fine!
And the whole thing together:

~Buttons
Thank you for your Arrietty tutorials! My daughter wants to go as Arrietty for Halloween this year and I was so kost on where to start.
ReplyDelete